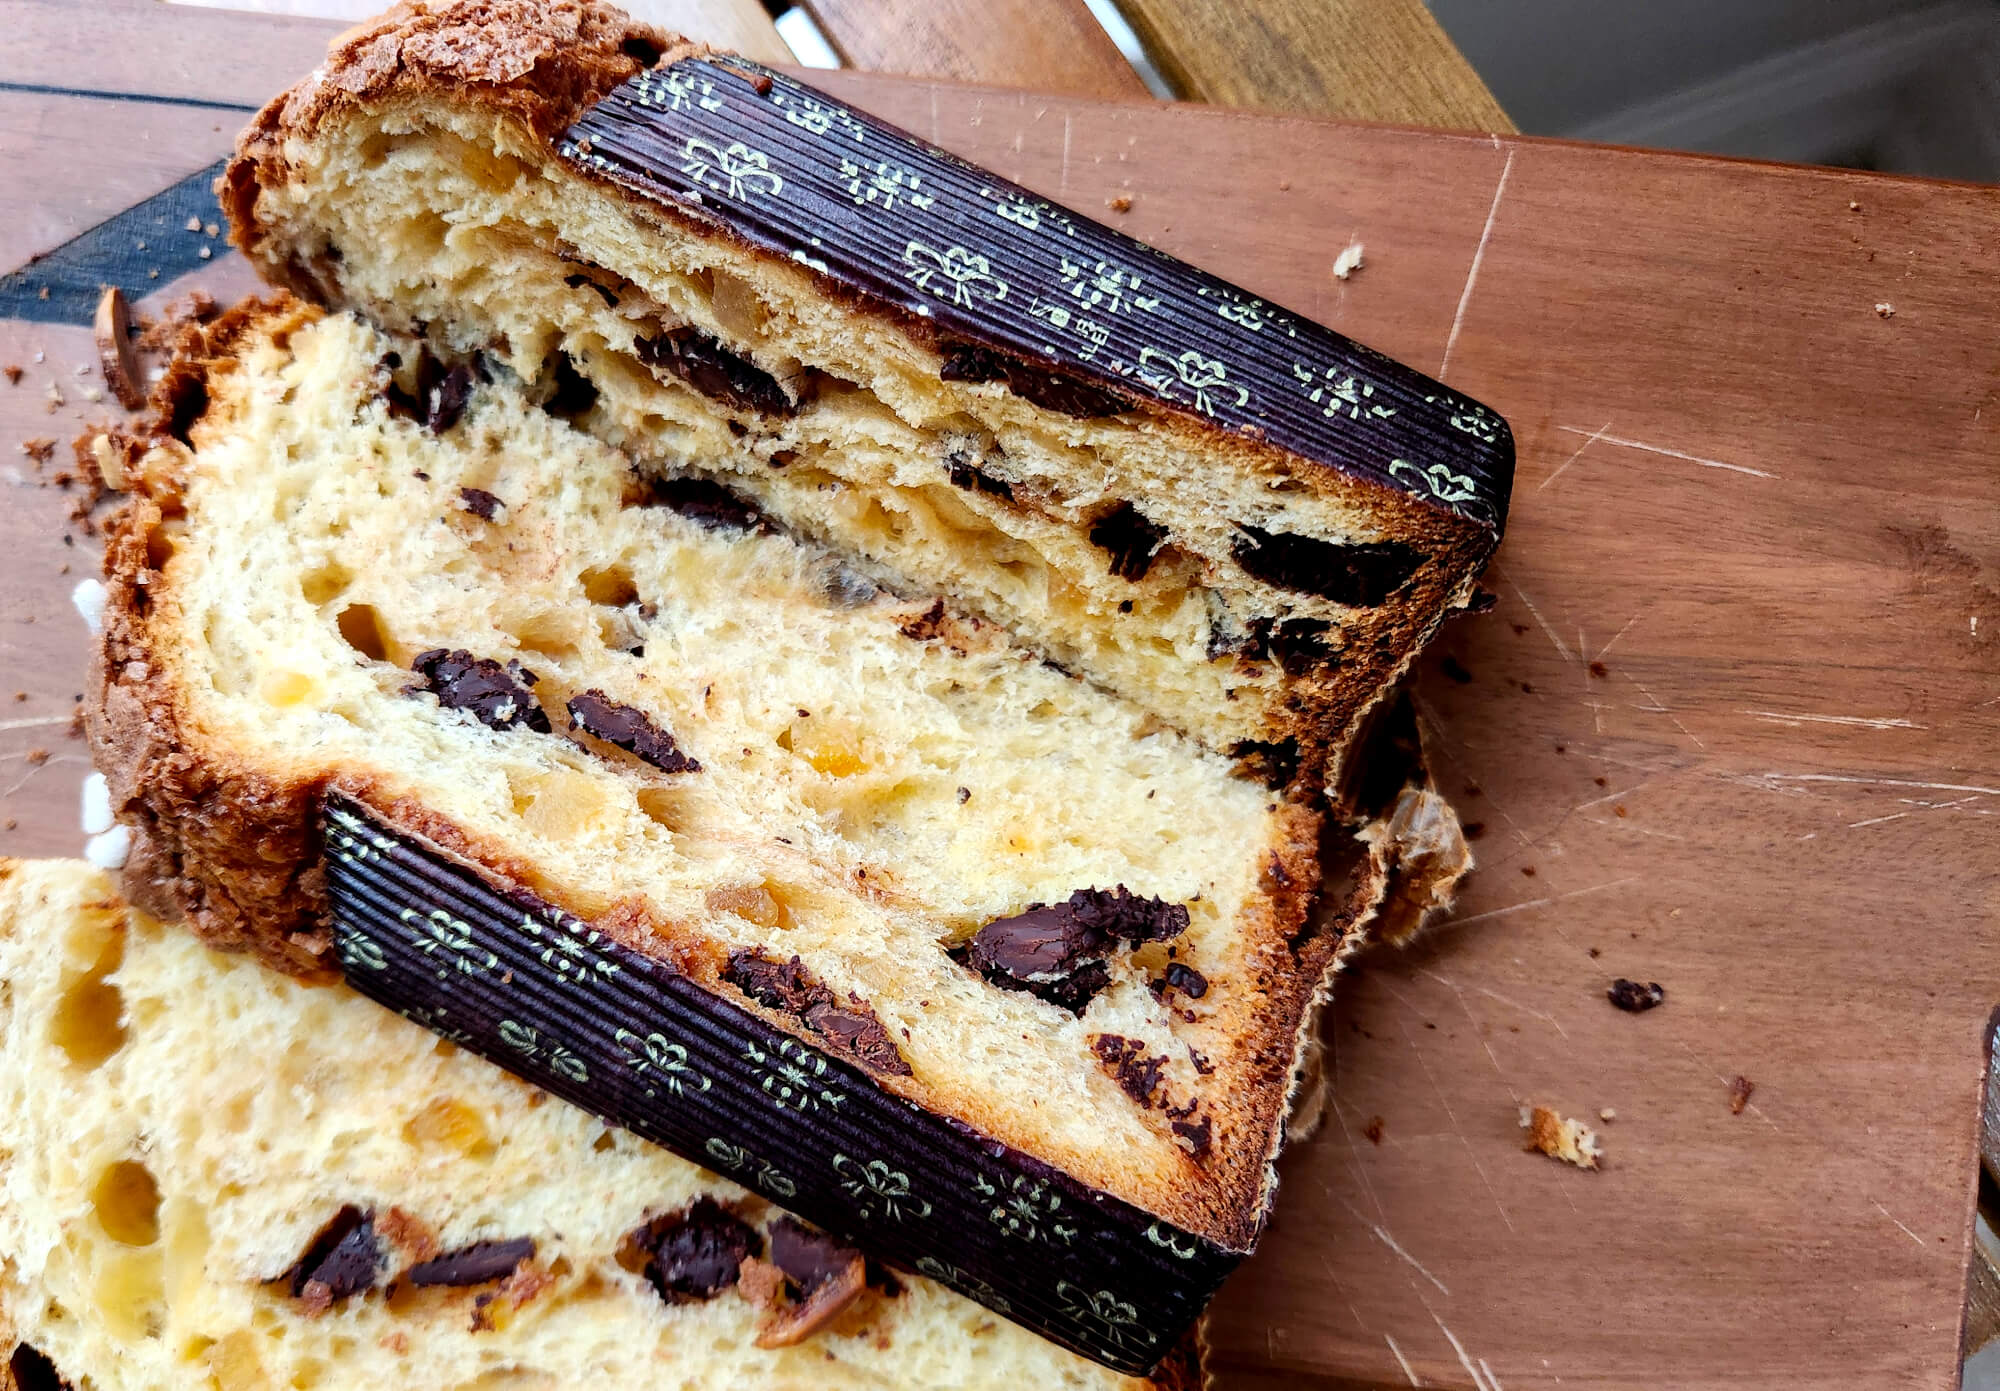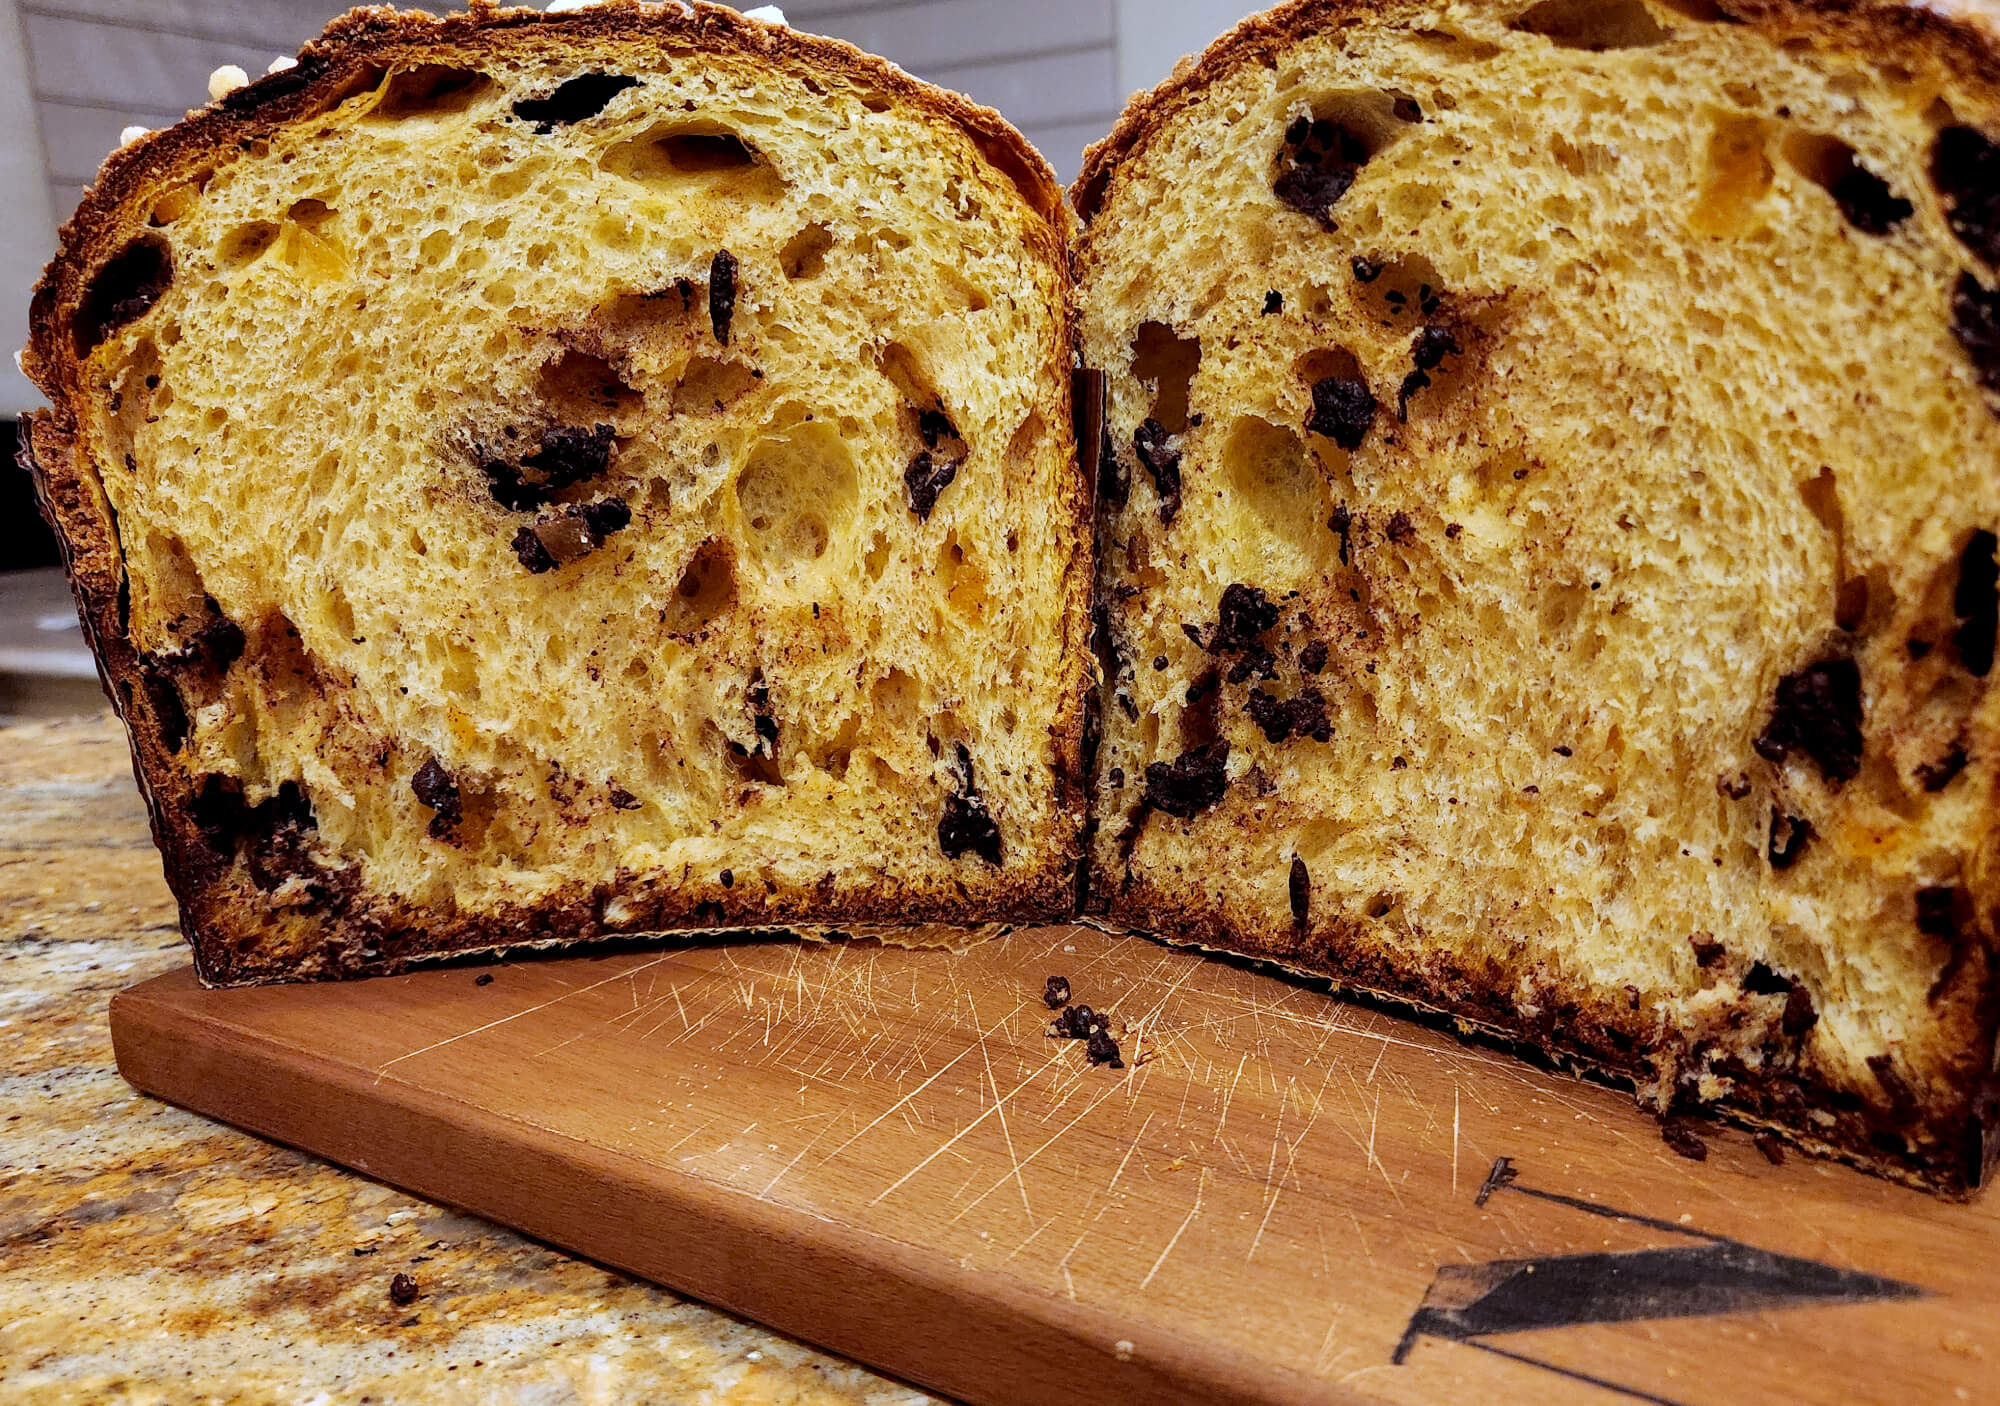
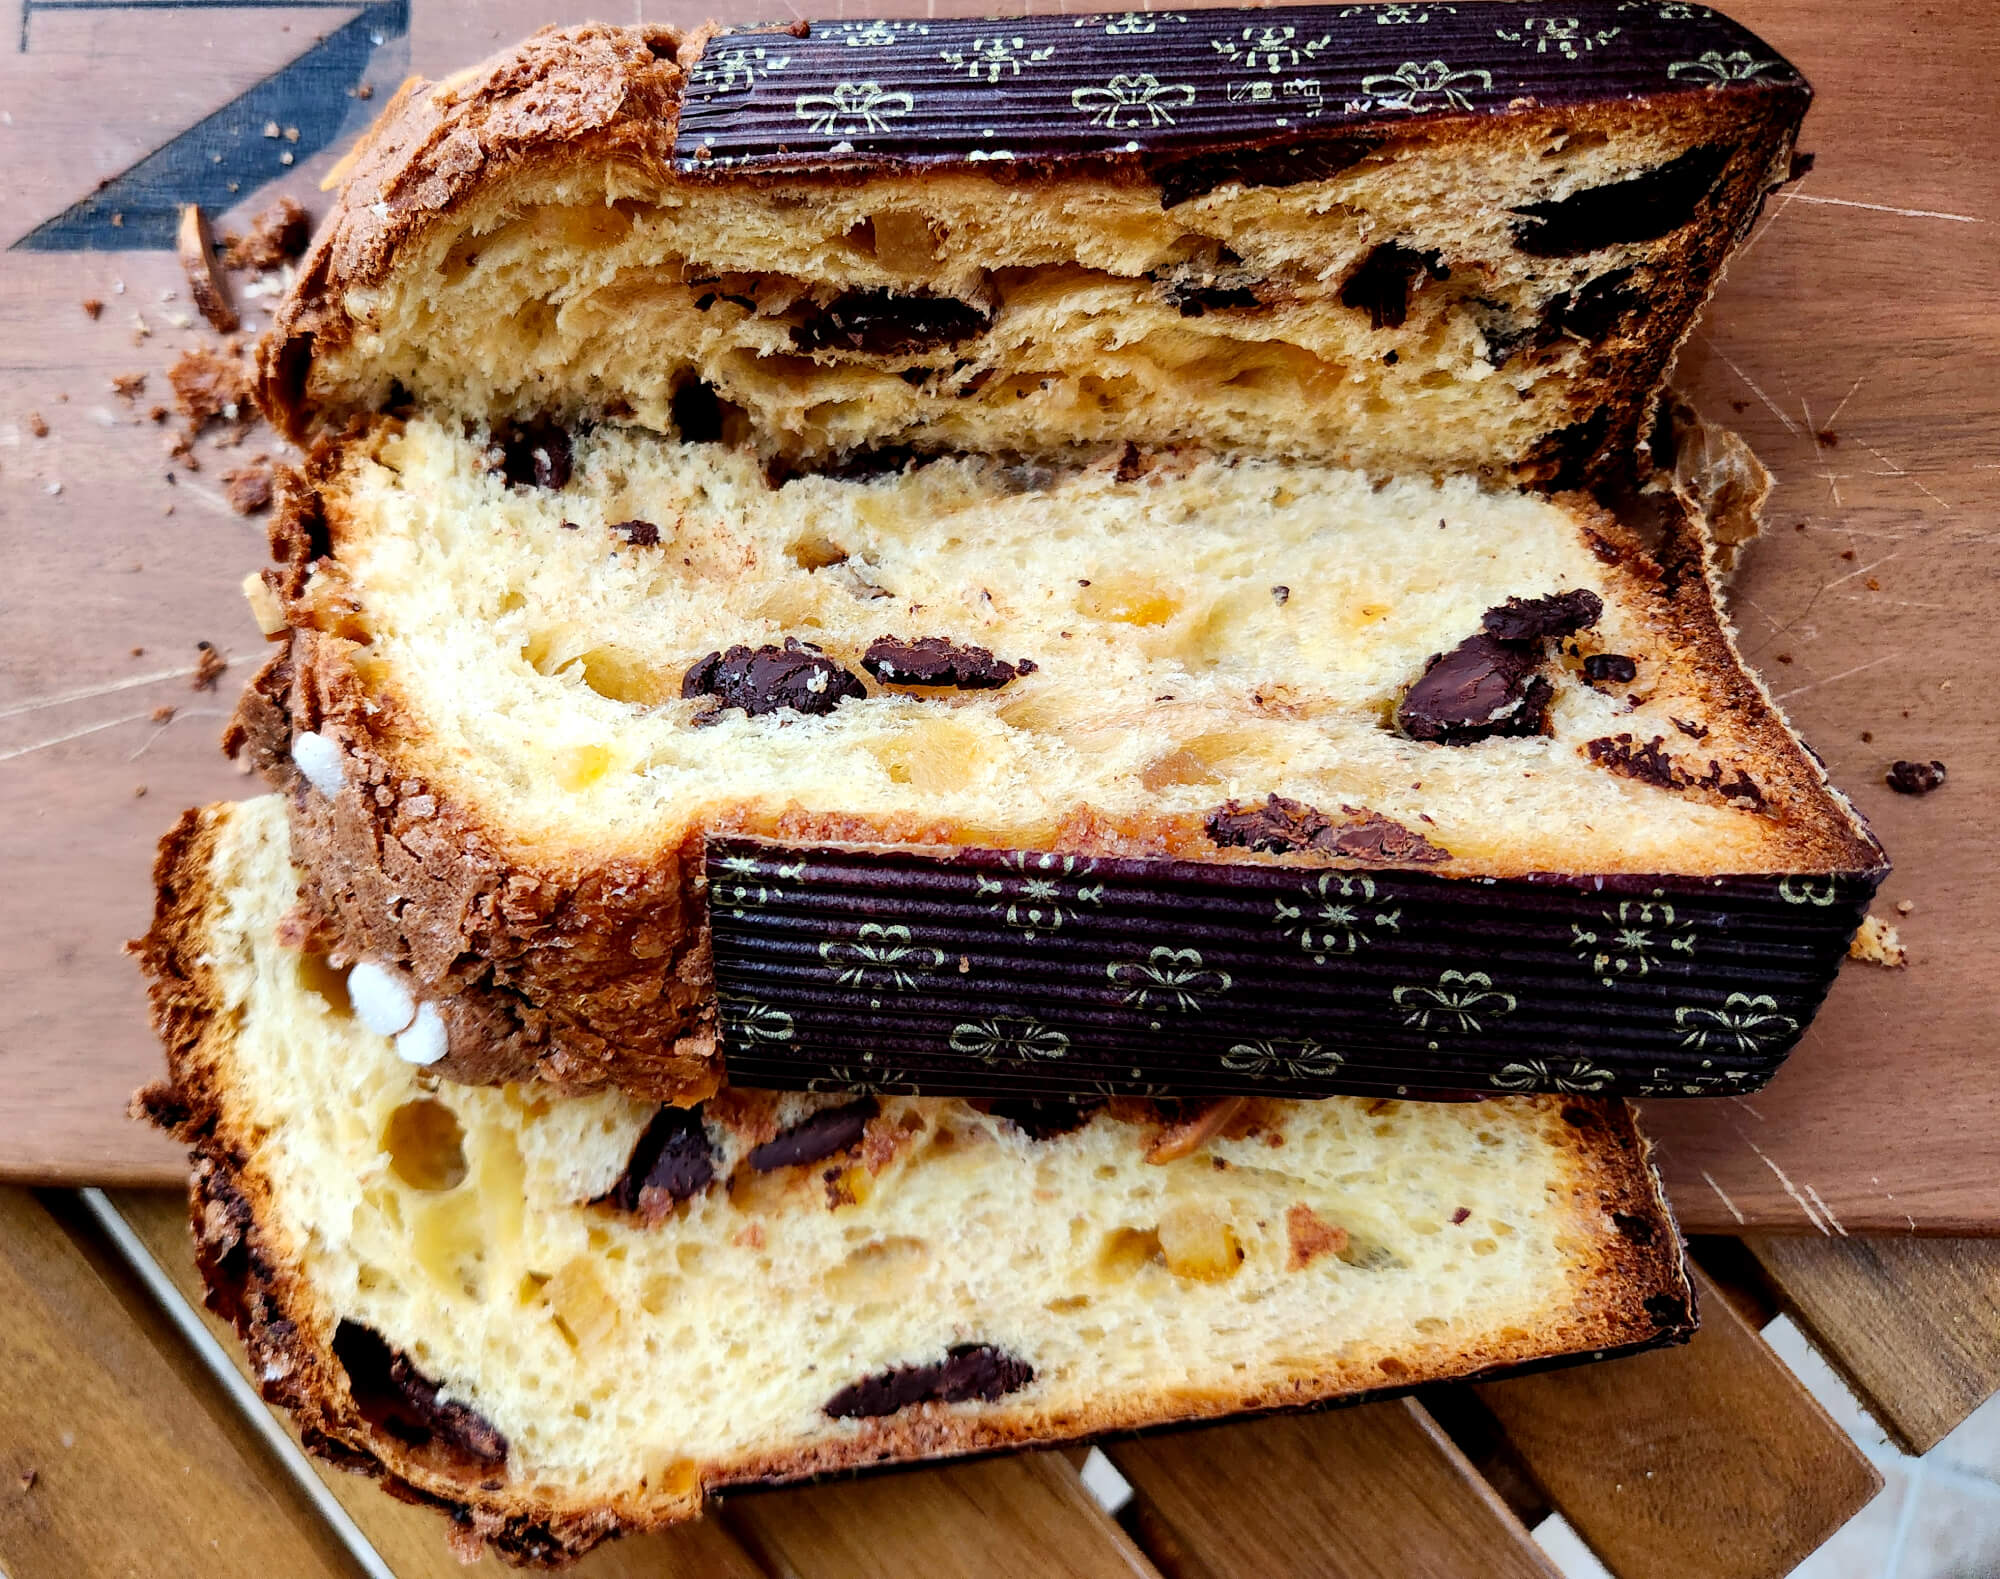
It’s a labor of love making one of these Panettone, the delightful gorgeous looking Christmas season bread from Milan. A few years ago I made one based on my knowledge and experience in baking and treated it like a regular sourdough bread. It was ok, not what I had envisioned though and not a proper artisanal very rich yet very airy loaf of beauty and flavor. I noted at the time that the flavor of the sourdough just clashed with the chocolate and orange peels. Here’s my latest attempt, adapted (actually followed very closely) from the recipe and process in Marc Vetri’s book Mastering Bread where he simply calls it Panettone alla Vetri.
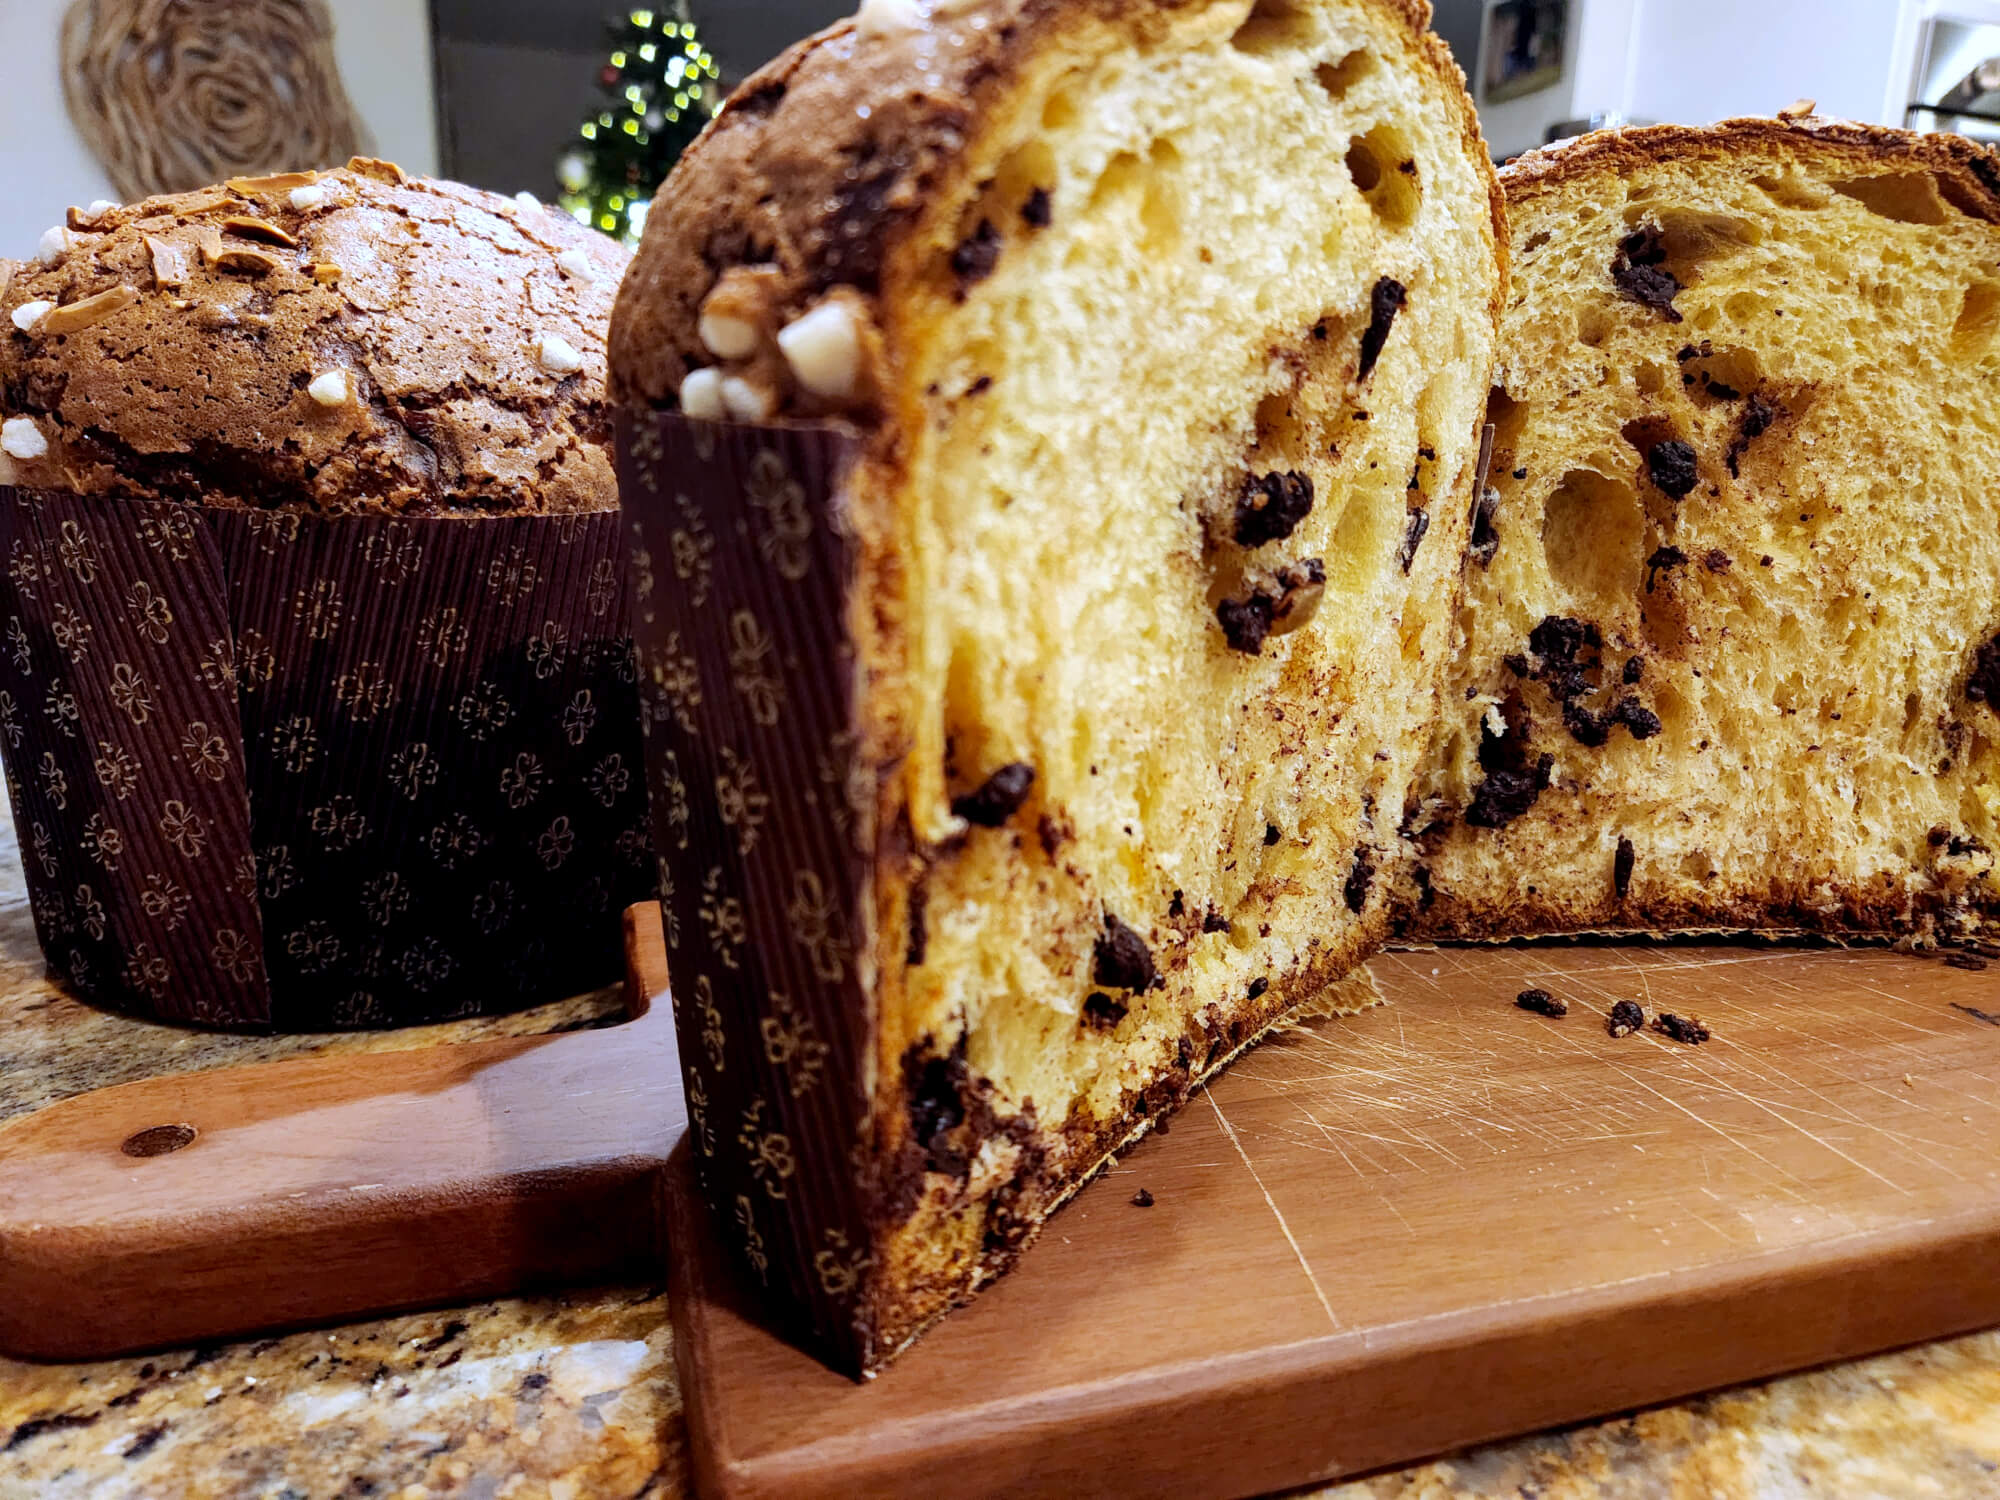
This is my third year making it and I learned a few things on how to work with this dough, how to organize the days and what to look for and avoid. I’m very pleased with this one and I’m hoping next year’s version will be even better. The recipe in Vetri’s book with detailed instructions and tons of pictures spans multiple pages and is an excellent tutorial for this project. This post is more of my own pictorial and a few tips here and there. Buy the book and try making it. It’s worth it.
Another resource that helped me in understanding what I’m looking for is YouTube and especially this video from Italia Squisita. It’s worth checking out to get a feel for how the starter should look, how the proofing stages progress and what the dough should look like when mixed correctly:
The recipe assumes you already have a sourdough starter, if not you probably need to make one of those and start maybe a month before you want to bake. Italian Panettone is made with a very stiff type of sourdough starter known as Lievito Madre. Regular very liquidy starter like the one I usually use will not produce the right flavor and, since it requires long fermentation times, the bread will have a too sour of a note that does not work here as I noticed all those years ago. The Lievito Madre favors the growth of yeast over acidic producing bacteria and as a result the Panettone is a balanced bread with bready, yeasty, sweet eggy and buttery flavors plus all the lovely aromas of dark chocolate and candied orange.
The Process
A whole lot of mixing for a long time is required. I really have no idea how or if old school pre-electric mixers bakers made this bread. If so, not sure how. The day before baking, the starter is refreshed a couple more time to make sure we have enough yeast and it is as active as possible. This gets mixed with strong bread flour, a load of egg yolks (about 15 to 16 yolks for the two loaves), sugar and warm water. In the electric mixer the dough -this is the impasto 1 stage- is mixed with a dough hook for about 30 minutes until the gluten is very well developed and the mixture is stretchy, like gum. Now, the butter gets added (a lot, about 275 gr) a bit at time and the dough is mixed and stretched some more. A good indication that it is ready is that you can almost pull it all out on the dough hook or by hand without much of it sticking to the mixer bowl.
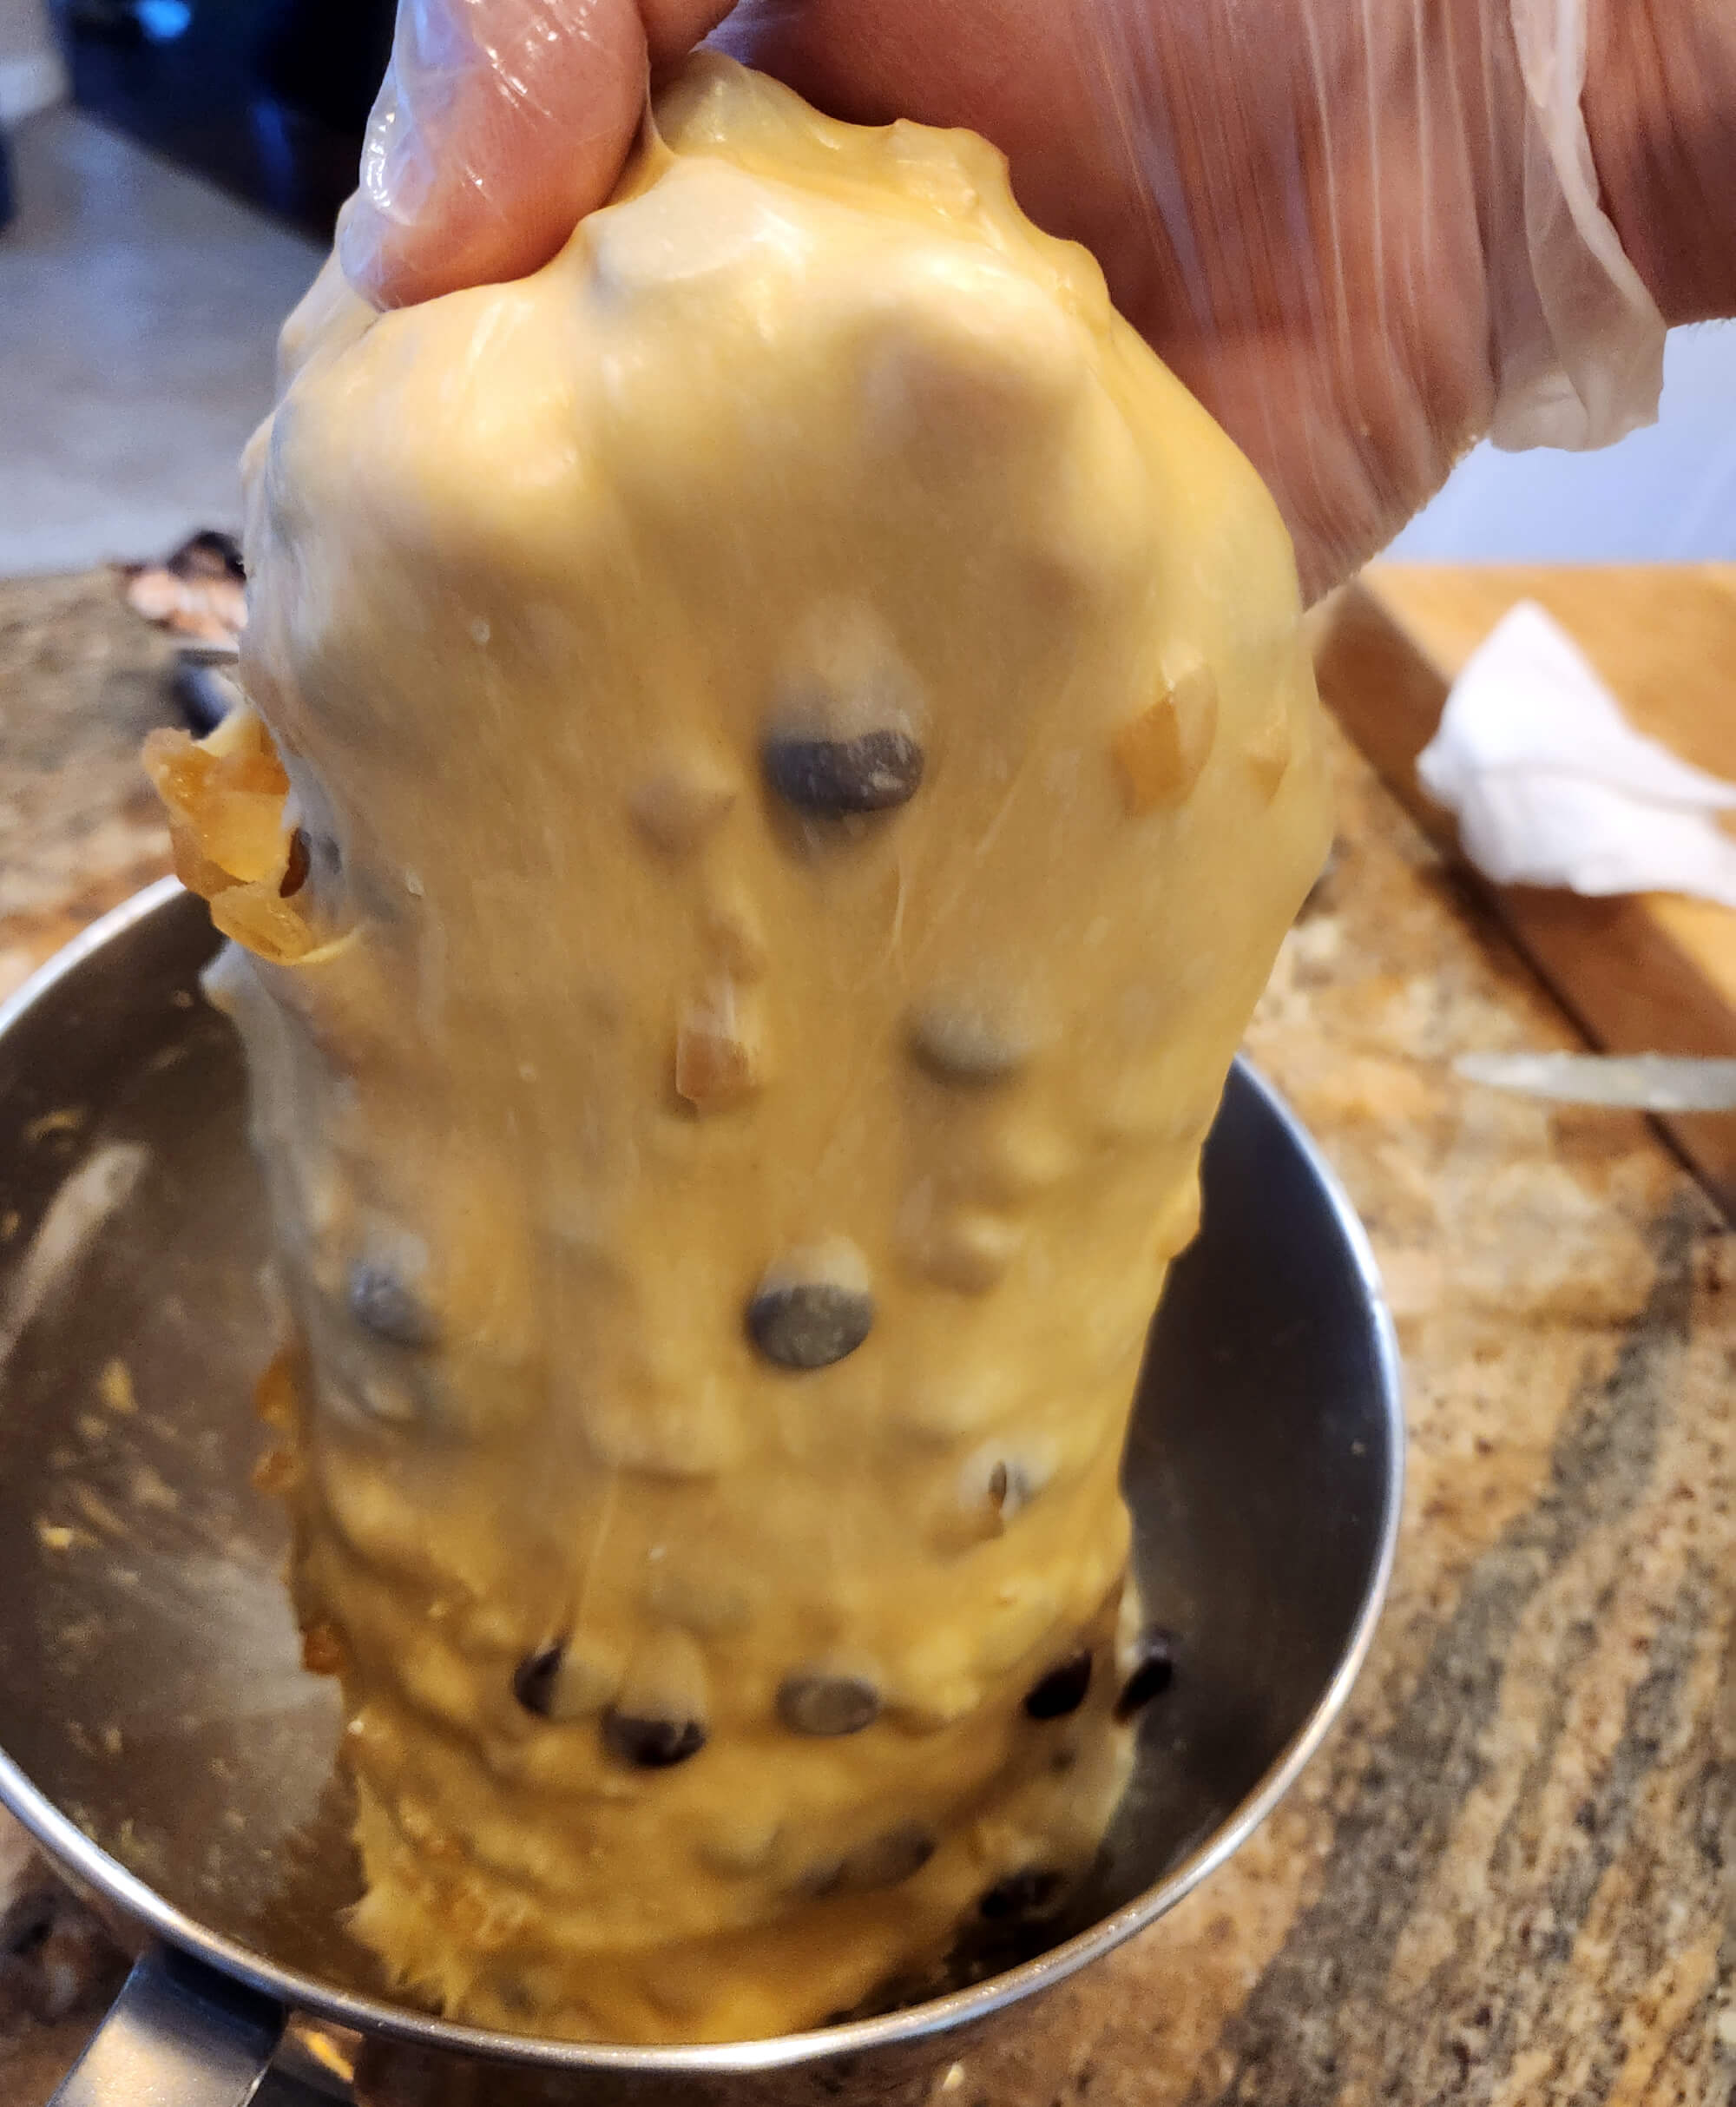
The first fermentation is a long one. The dough goes in a large container with a loose lid and into my oven. I have a “proof” setting in my oven, so I used that and set it to 85 F. To help increase humidity, I placed a bowl of hot water in the oven too. Temperature is important for this dough. Ideally you want it in the 85 to 90 F range. Too cold and the dough will take a long time to proof and will end up sour. I put this to proof at night and by the next morning, about 10 hours later, it had tripled in size almost and looked and smelled delightful, yeasty not sour.
The second mixing, impasto 2, is similar to the first one. To the Impasto 1, flour, more egg yolks, sugar, salt, honey and some flavorings (vanilla, orange blossom) went in this time at various stages. Butter is also added towards the end and mixed until the dough is shiny, extensible and really like taffy. This is when the inclusions go in, dark chocolate chips and candied orange peels. I mixed those with my hand to ensure good distribution.
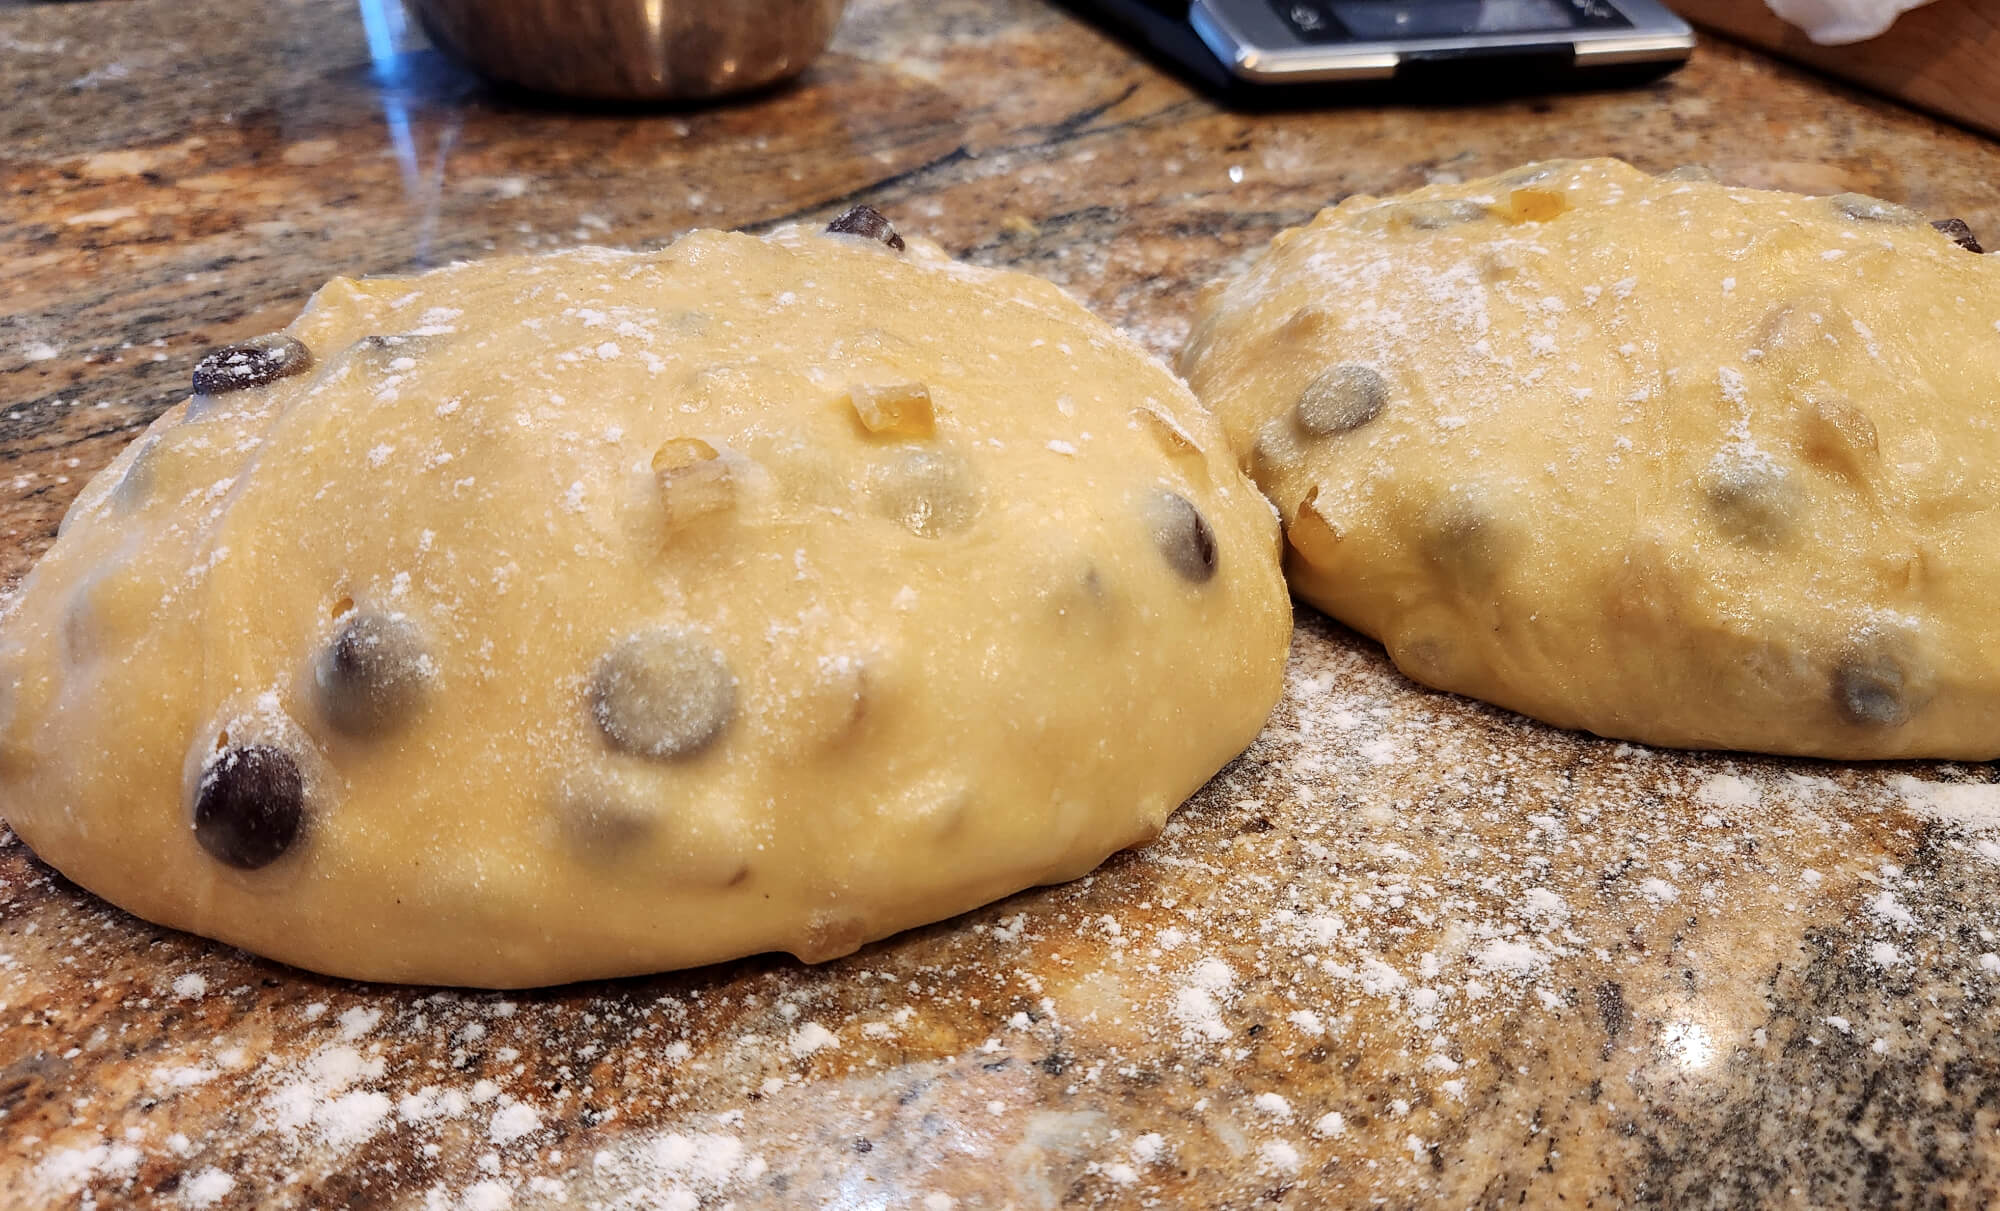
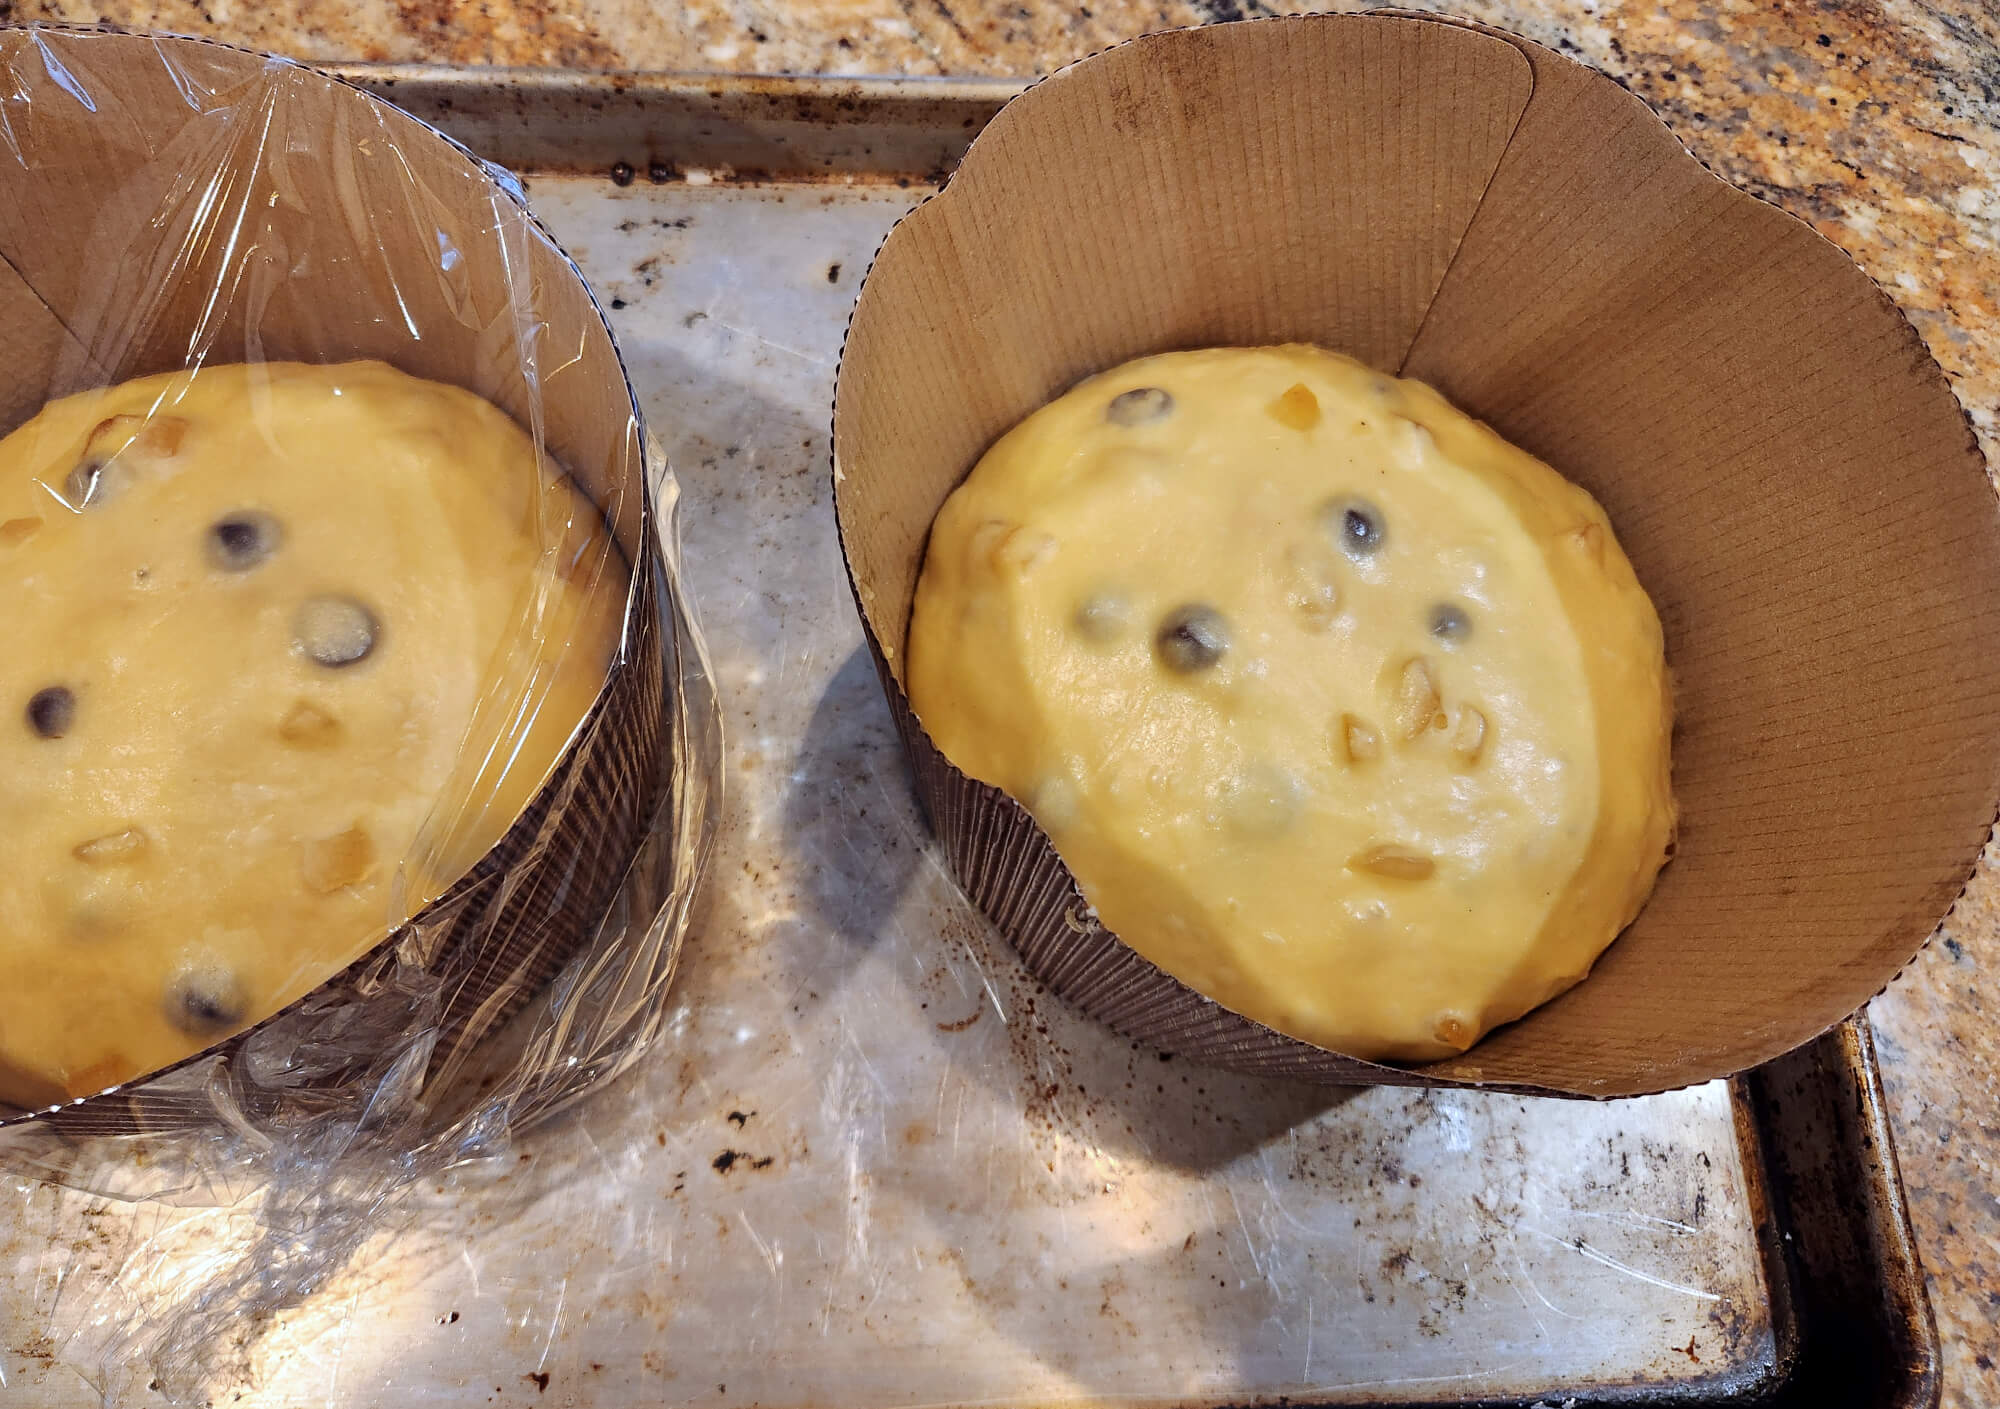
On a floured counter top, I divided the dough up into two 1-kilogram pieces, made a nice tight ball with each and put them in Panettone paper baking molds. One thing I learned is to make sure the baking molds are large enough or else divide up the dough into smaller portions. The rolled and tucked ball should not come up to more than halfway of the baking cup BEFORE it rises or else stuff is going to spill. This bread has some amazing oven spring if done right. I covered the loaves loosely with plastic wrap and they went back in the humid oven to rise for a few hours. They are ready to go when they are just shy away from the top of the molds, about 5 hours or so.
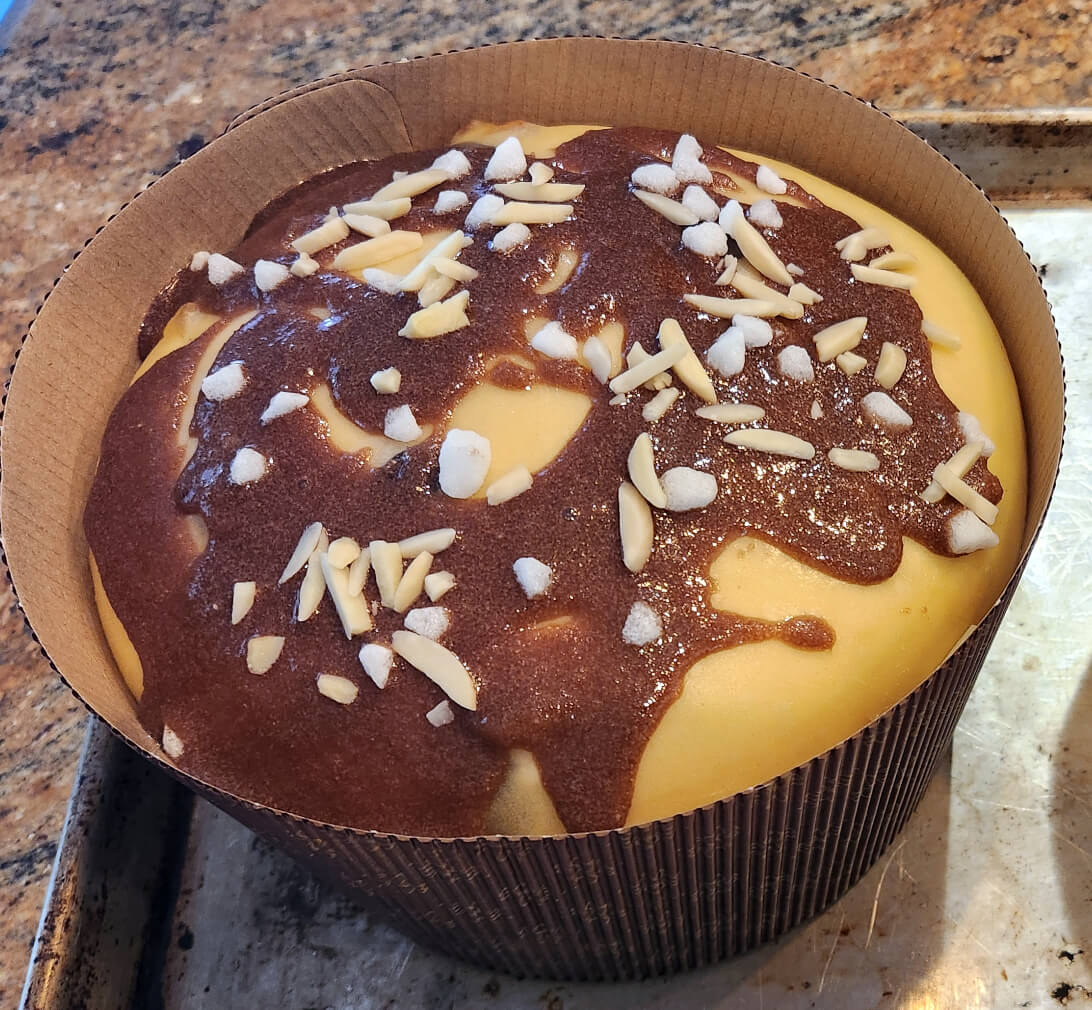
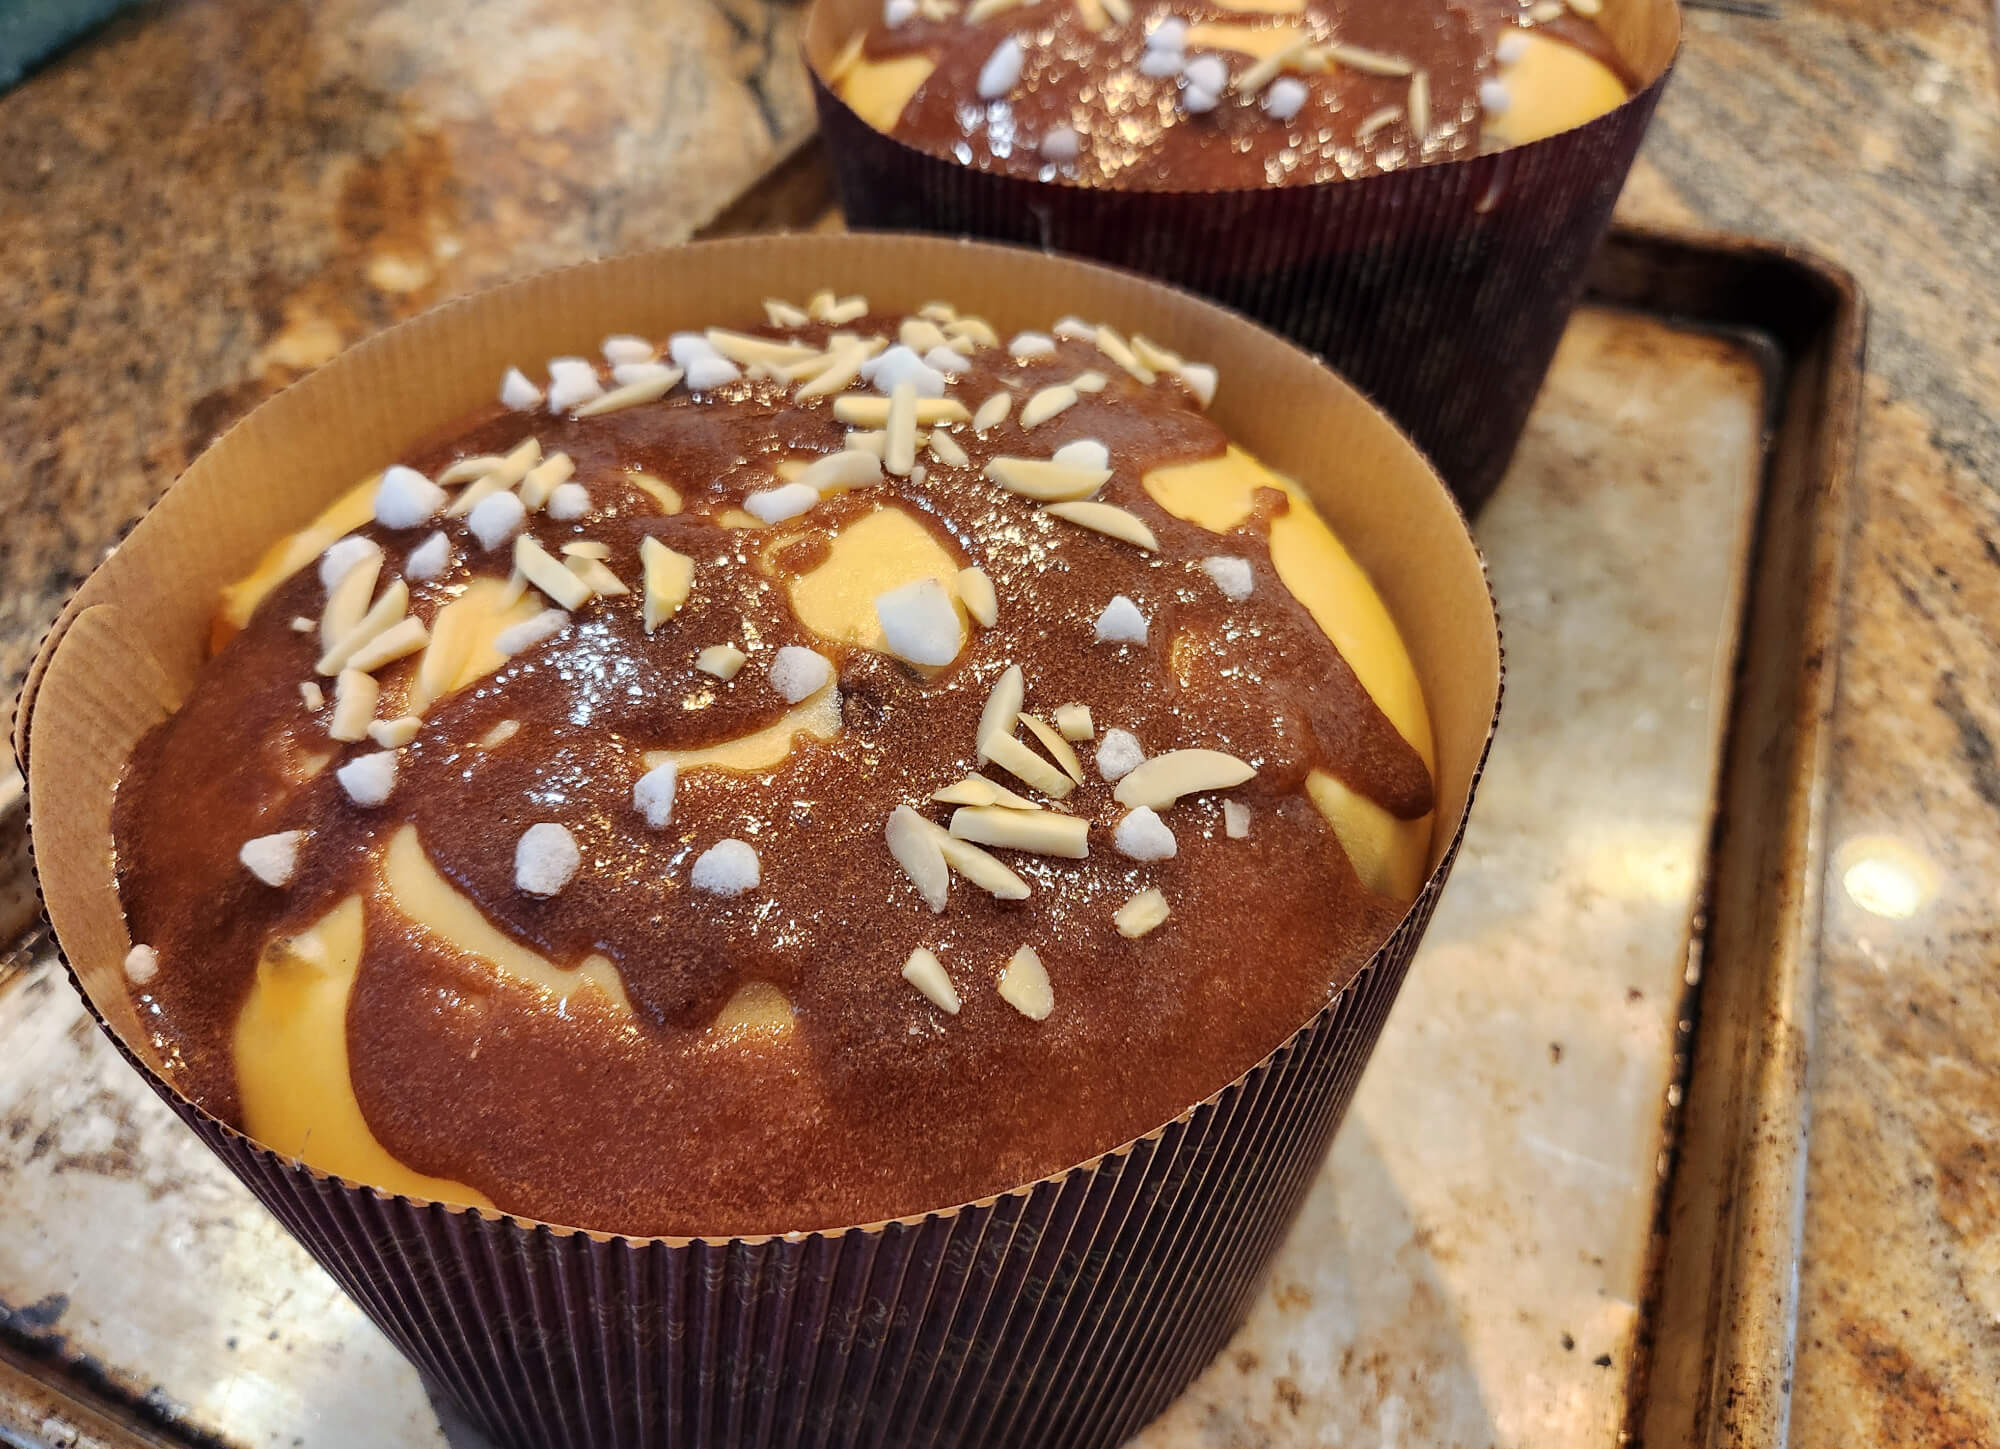
Prior to going in a 325 F oven, the loaves get a topping for texture and flavor. The topping is a glaze of sugar, egg whites, ground almonds (or hazelnuts), cornstarch, salt and cocoa powder. Use less glaze than you think you need, do not cover the whole top with a thick layer. Then I sprinkled on slivered almonds and pearl sugar.
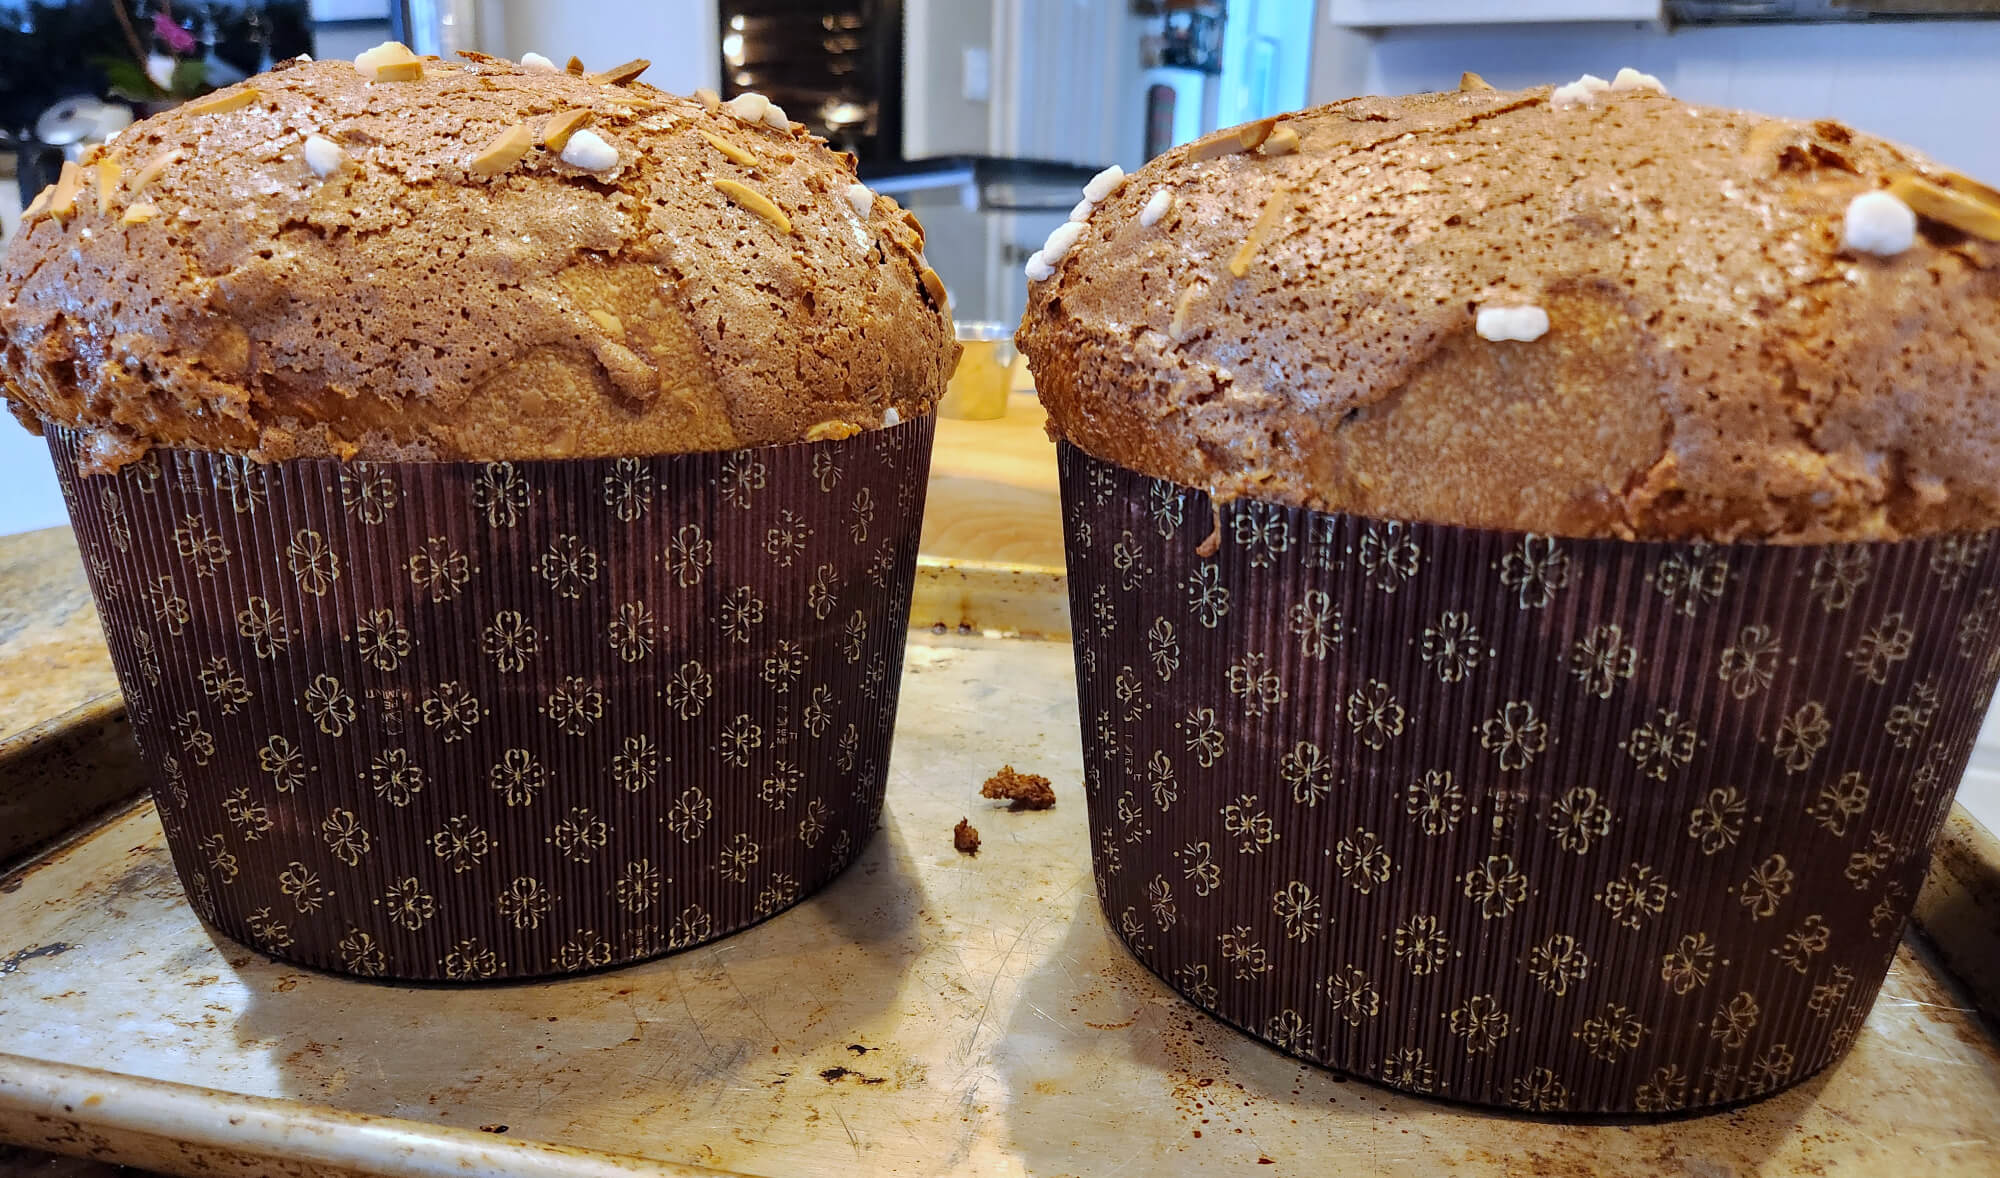
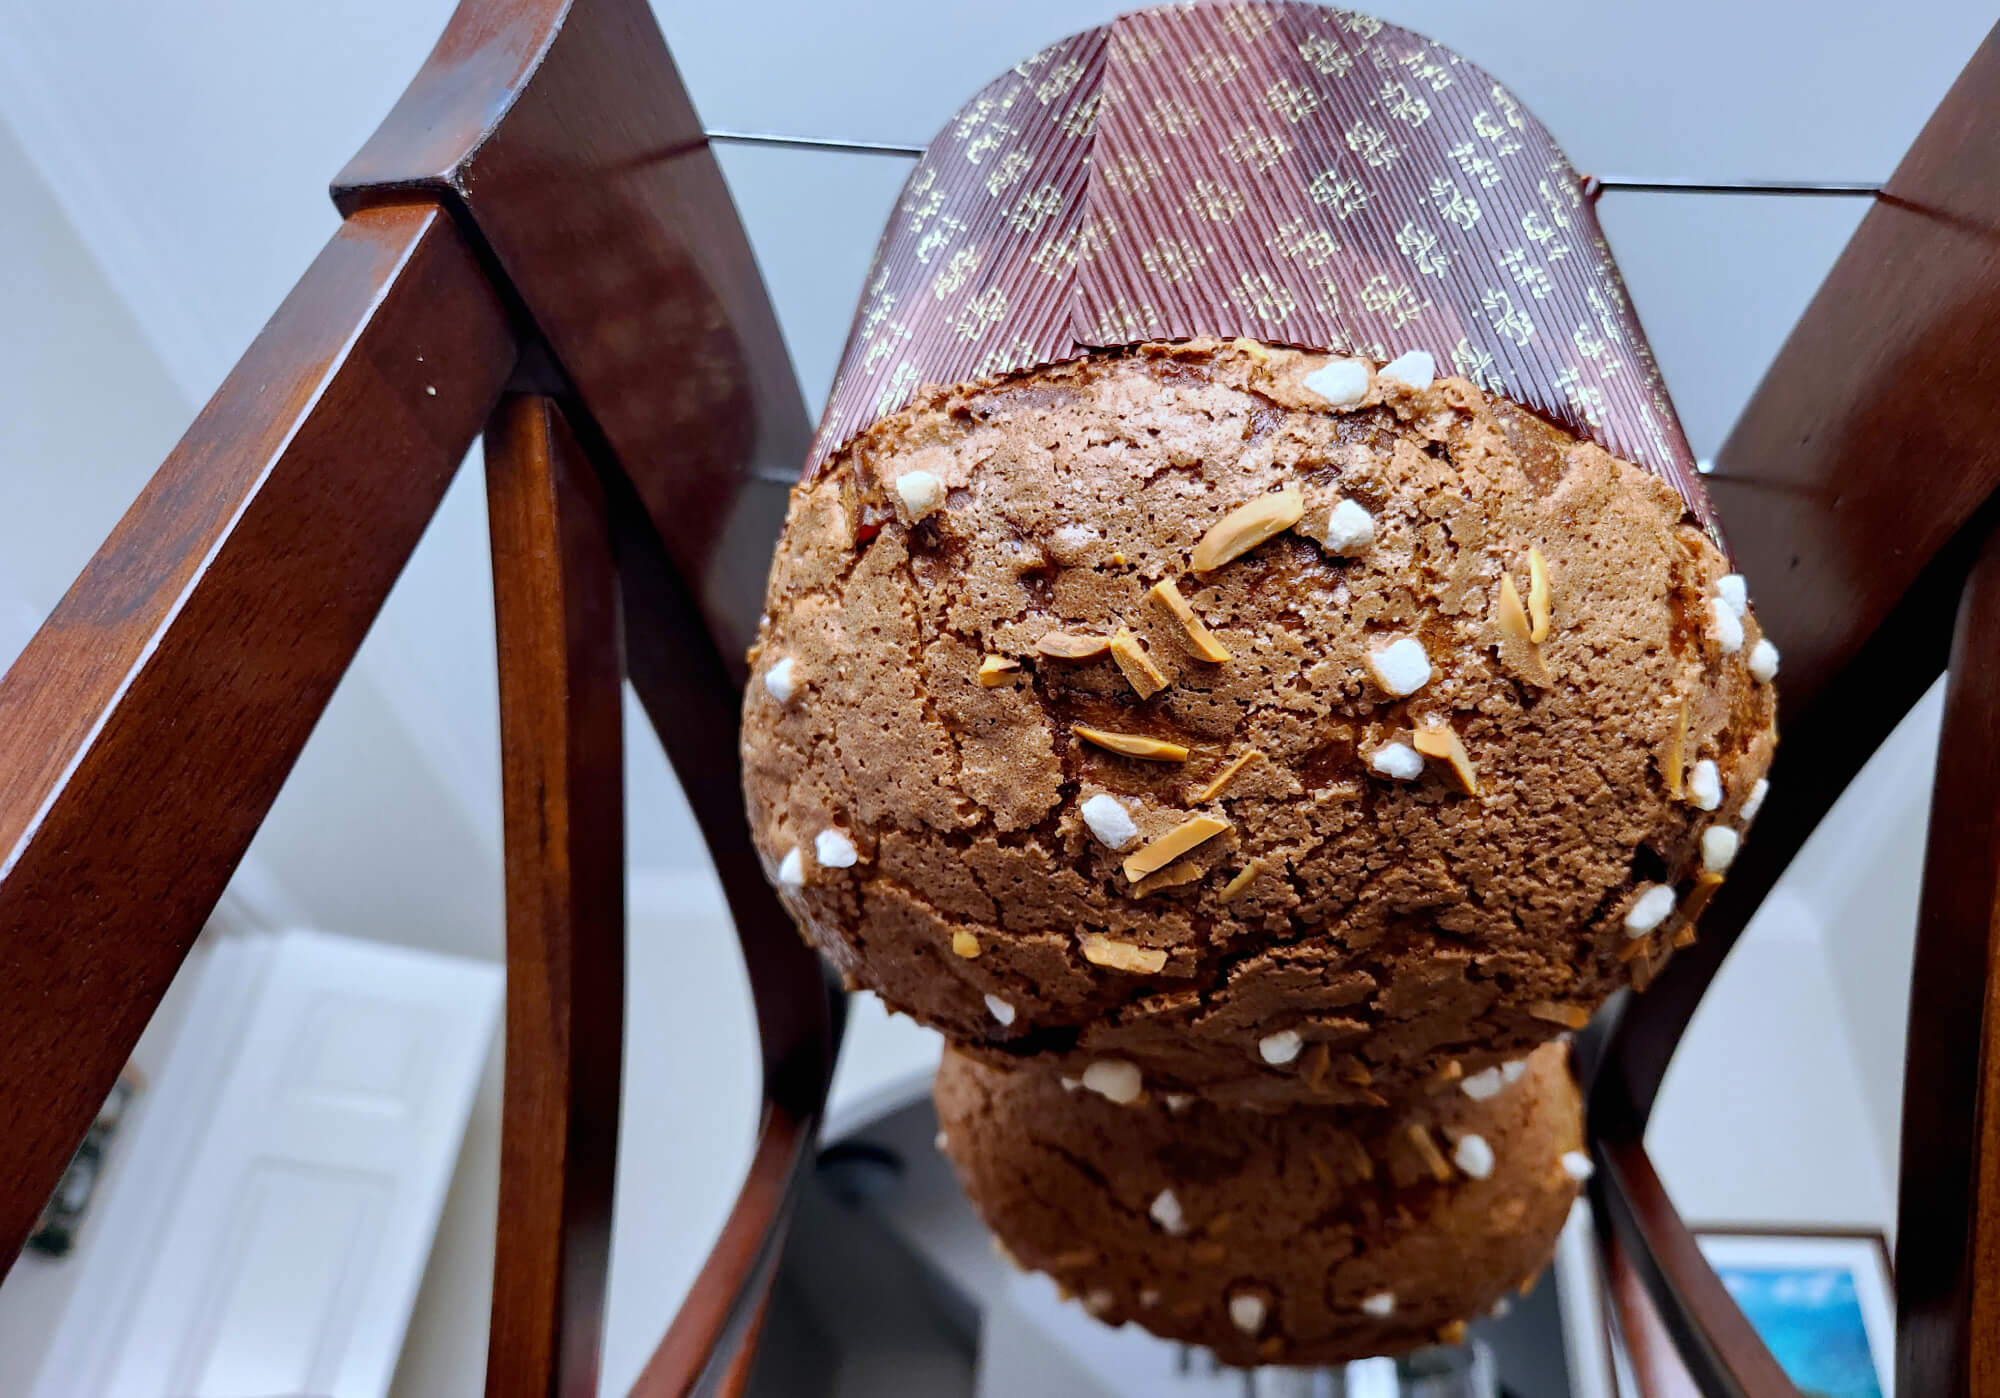
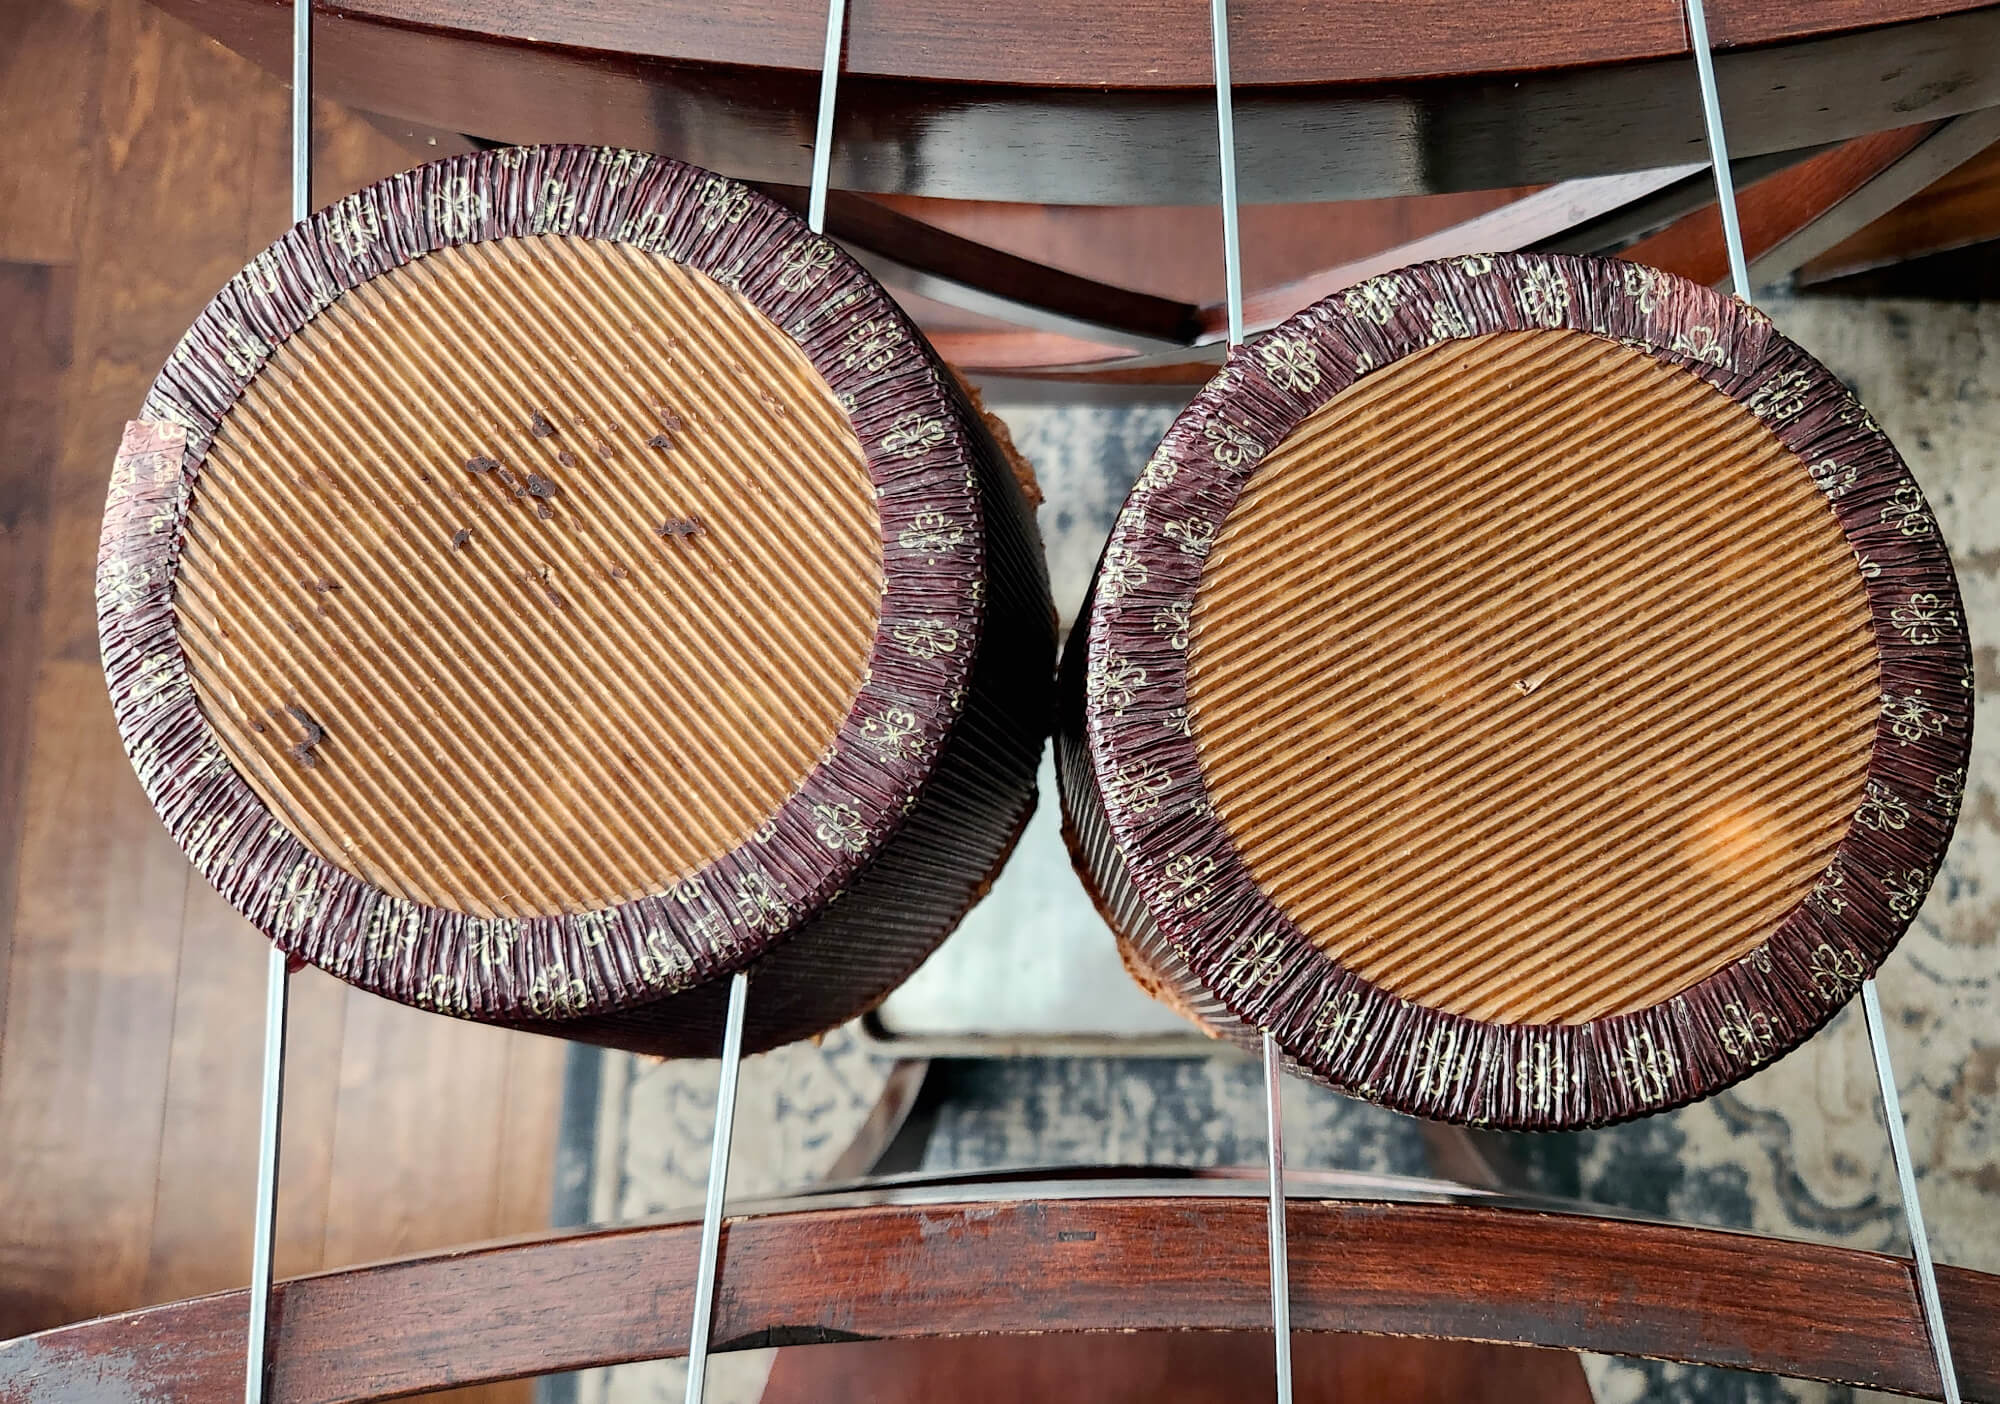
After baking for an hour or so, the Panettone process is still not done. The breads are so light yet so rich that they will collapse and turn a bit dense if left to cool as is. It’s a shame for this to happen, for them not to reach their full potential after all this hard work and expense! The solution? They need to hang upside down, let gravity help keep their shape and even allow them to “rise” a few more centimeters. To do that, I insert skewers in the bottom of each loaf, parallel to the countertop of course. I found that doing this after baking is easier and more efficient than doing it before the baking as the book recommends. The loaves then are carefully turned upside down and with the aid of the skewers hang between the backs of two chairs in our dining room to fully cool, about 3 hours.
The cooled Panettone will last for a couple of weeks well wrapped in plastic. Slice through the paper, peel it off and enjoy. Any leftovers make fantastic French toast. Merry Christmas!
