
Amino pastes is what Shih and Umansky in Koji Alchemy call these applications of Koji. It’s the category that Japanese miso belongs to. In Noma Guide to Fermentation they frequently use terms like Peaso to refer to amino paste made from split peas. Bottom line these are all the same, a cooked mixture rich in protein and carbohydrates, inoculated with koji spores and 5 to 10% salt, allowed to age and ferment for at least 2-3 months.
Please read the post about making Koji for more background and context.
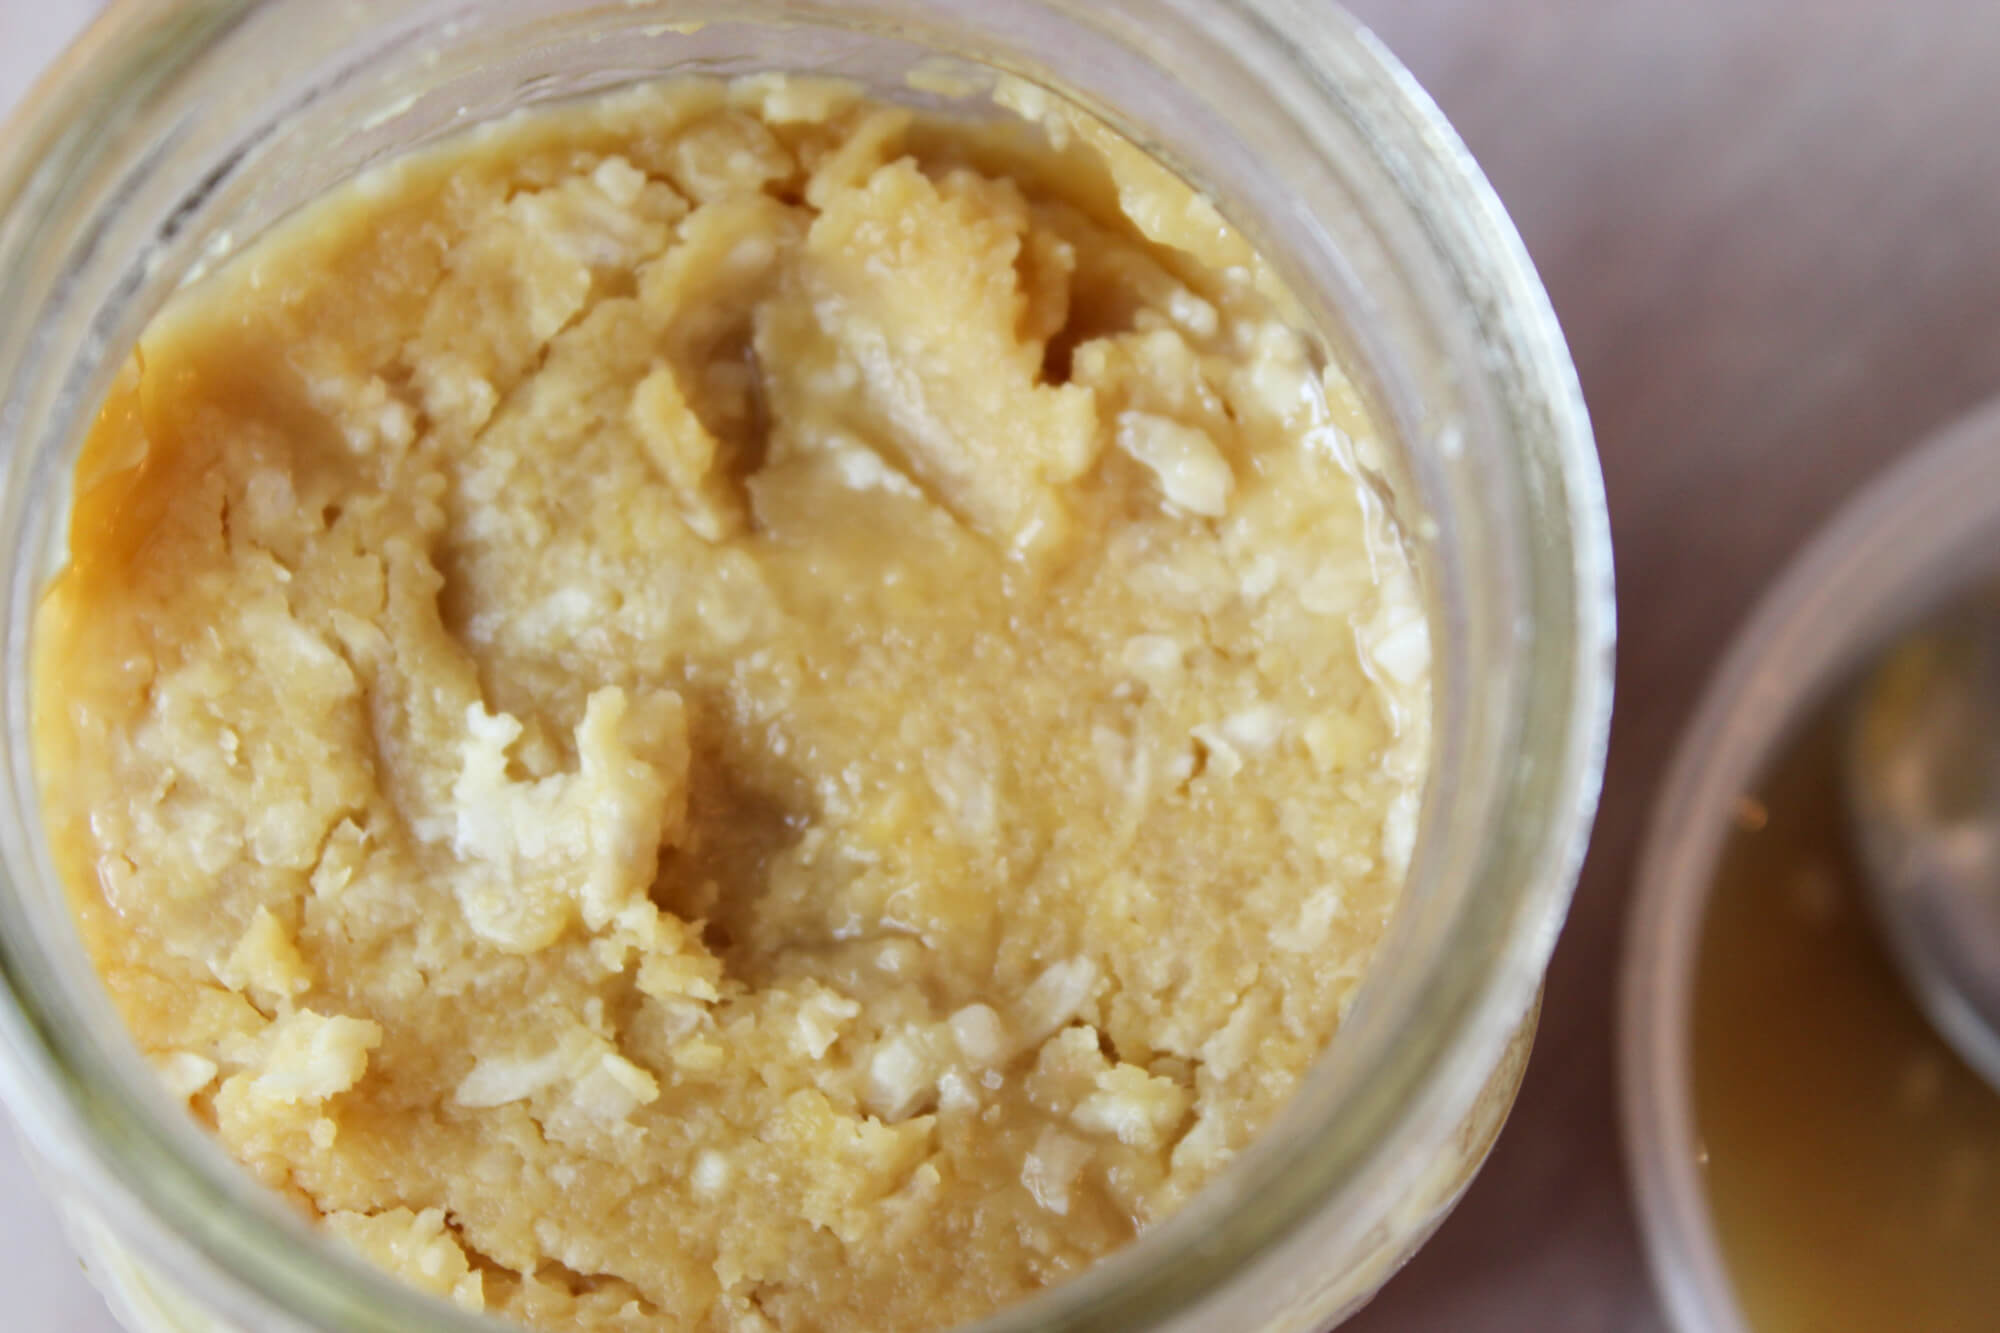
Miso certainly falls under the longer term applications of koji. The result from my 2 trials have been outstanding and worth the wait. They worked great and had a wonderful flavor unlike anything I can buy from the store. I’m looking forward to experimenting with the limitless varieties of amino pastes.
The two versions I have tried so far are based on chickpeas and red lentils. The process is pretty much identical no matter the protein source. That’s what you need for an amino paste (I’ll use that term interchangeably with “miso”), a good source if protein plus salt, Koji and of course time. How much time? About 3 months. This is considered light and is the focus of this post. “Misos” allowed to ferment for 6 months or more are called “dark”, use more salt and I have not tried one of those yet.
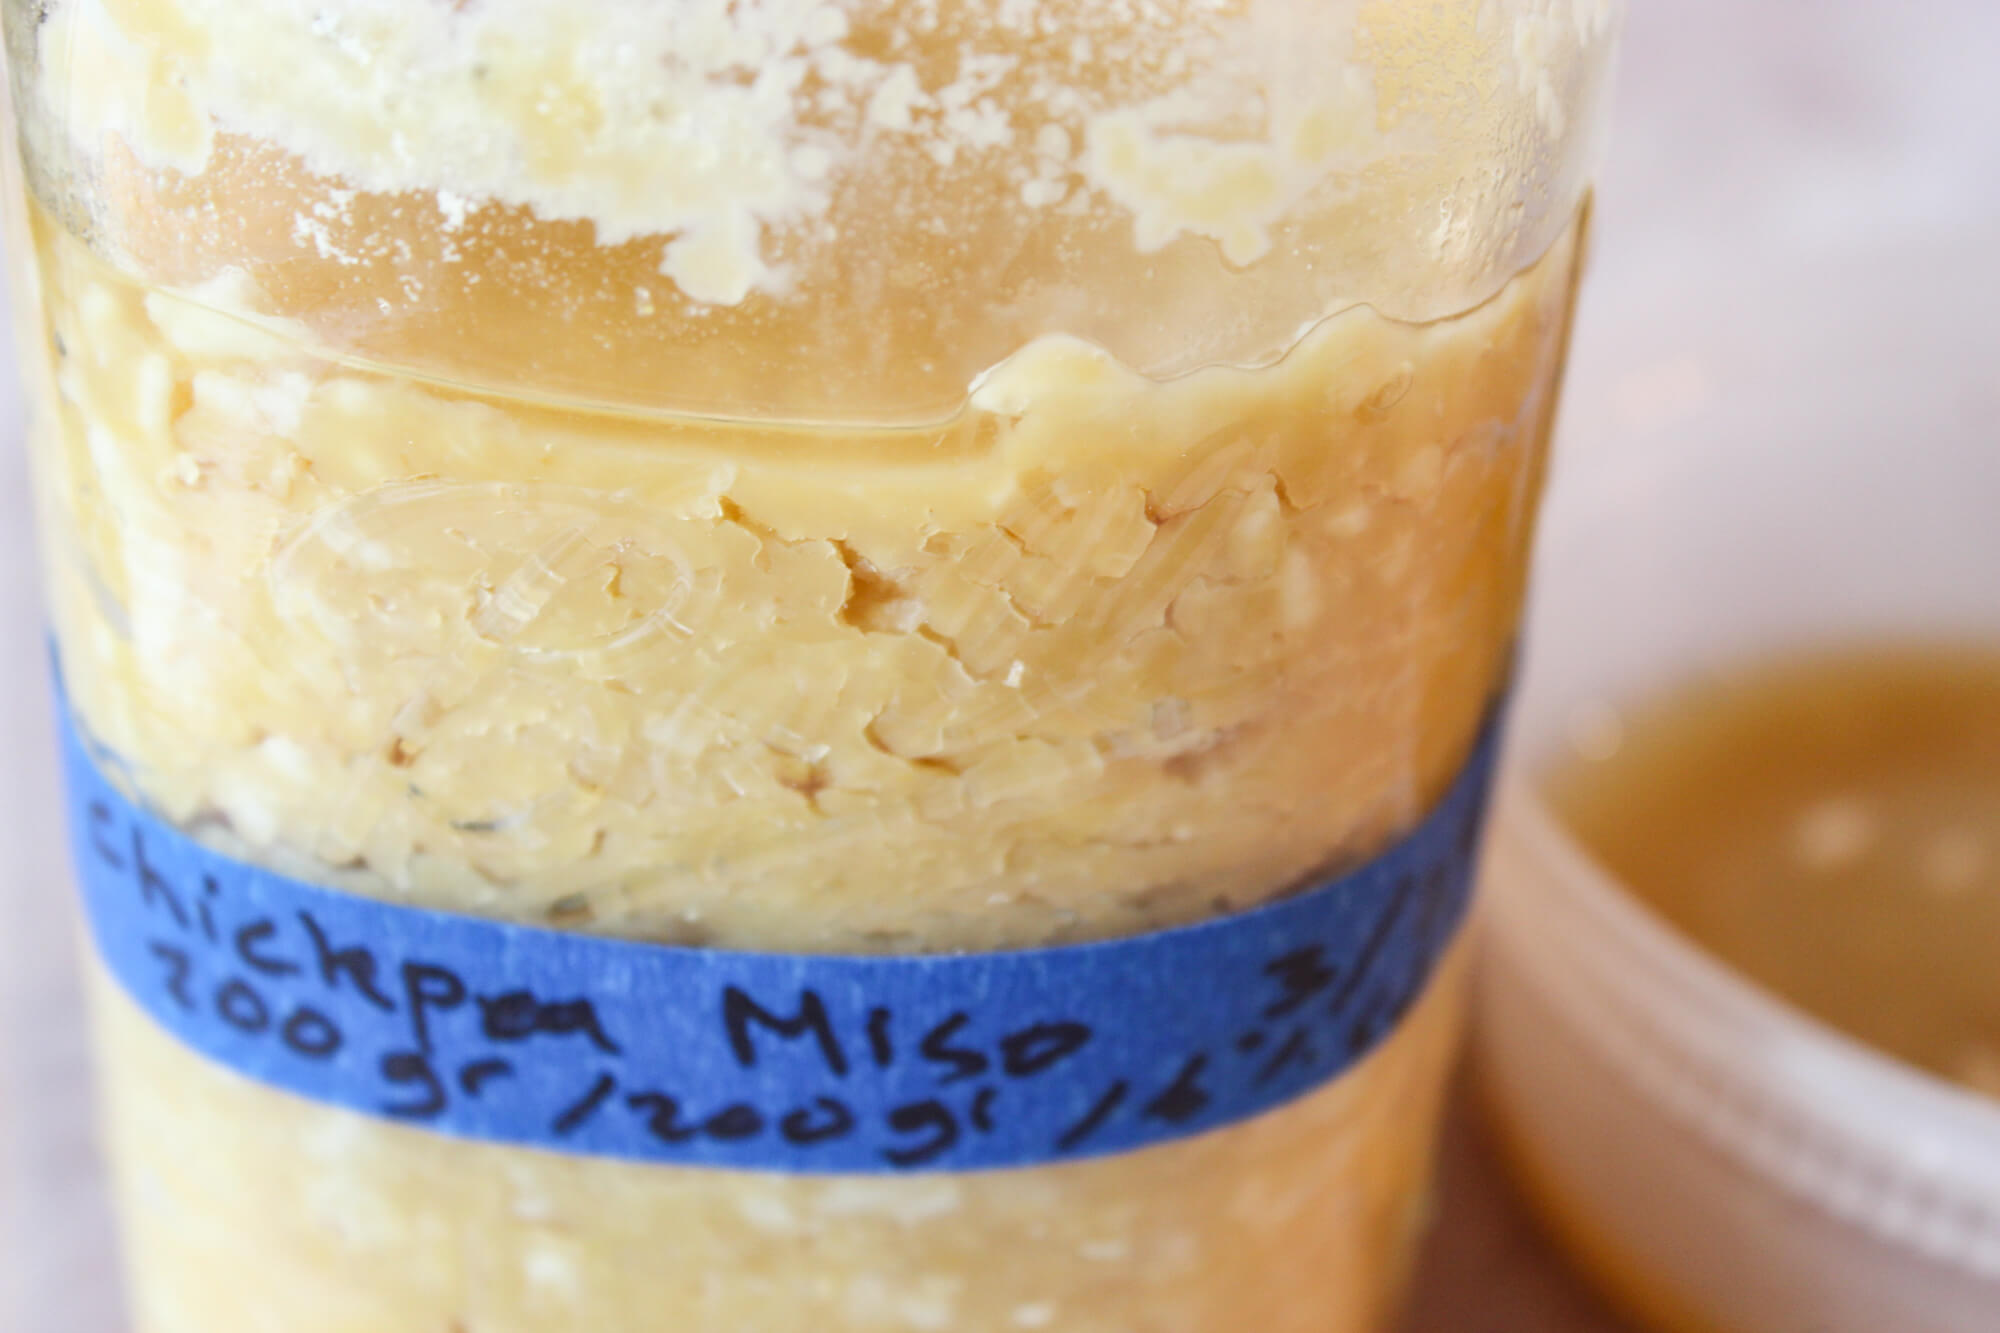
The classic and most ubiquitous Japanese miso might be the one made from soy beans. That is one reason why I opted not to focus on it though. Tapping into more middle eastern legumes made sense. Hence, the first version I tried was the chickpea amino paste. Chickpeas are already a bit funky when you cook them and that worked great with the aged umami flavors of the finished paste. It reminded me of sharp Parmesan cheese. Red lentils produced a milder miso that had a sweeter edge, but equally tasty.
I would love to try some more unexpected bases for amino pastes. It seems like so many protein sources are possible per Koji Alchemy
“…we have used other legumes, nuts, seeds and everything from whey powder, cookie dough, bacon, and cacao beans as flavor drivers. One of our standout discoveries is a ricotta based miso that developed aged Parmesan/Romano cheese flavor in two months”
Yes, lots of options as long as you keep some guidelines in mind. For example, high fat protein sources can go rancid, so these should be done in a shorter time and fermented in the fridge. I will post any experiments with stuff like this here if I decide to try say a bacon miso!
Tips and notes for making Amino Pastes
- Pick base ingredients that are high in protein but low in fat at least for the first couple of times you do this. Almost any legume would work.
- Cook the base ingredient and mash to a paste, try and remove as much water was possible.
- Once mixed with the Koji and salt, pack the mixture tightly in a jar or crock to reduce eliminate air pockets as much as possible.
- While it is fermenting, it should be weighed down. I use glass pickle jar weights. Search for “Fermentation Glass Weights for Wide Mouth Mason Jars” online and you’ll find what I am referring to.
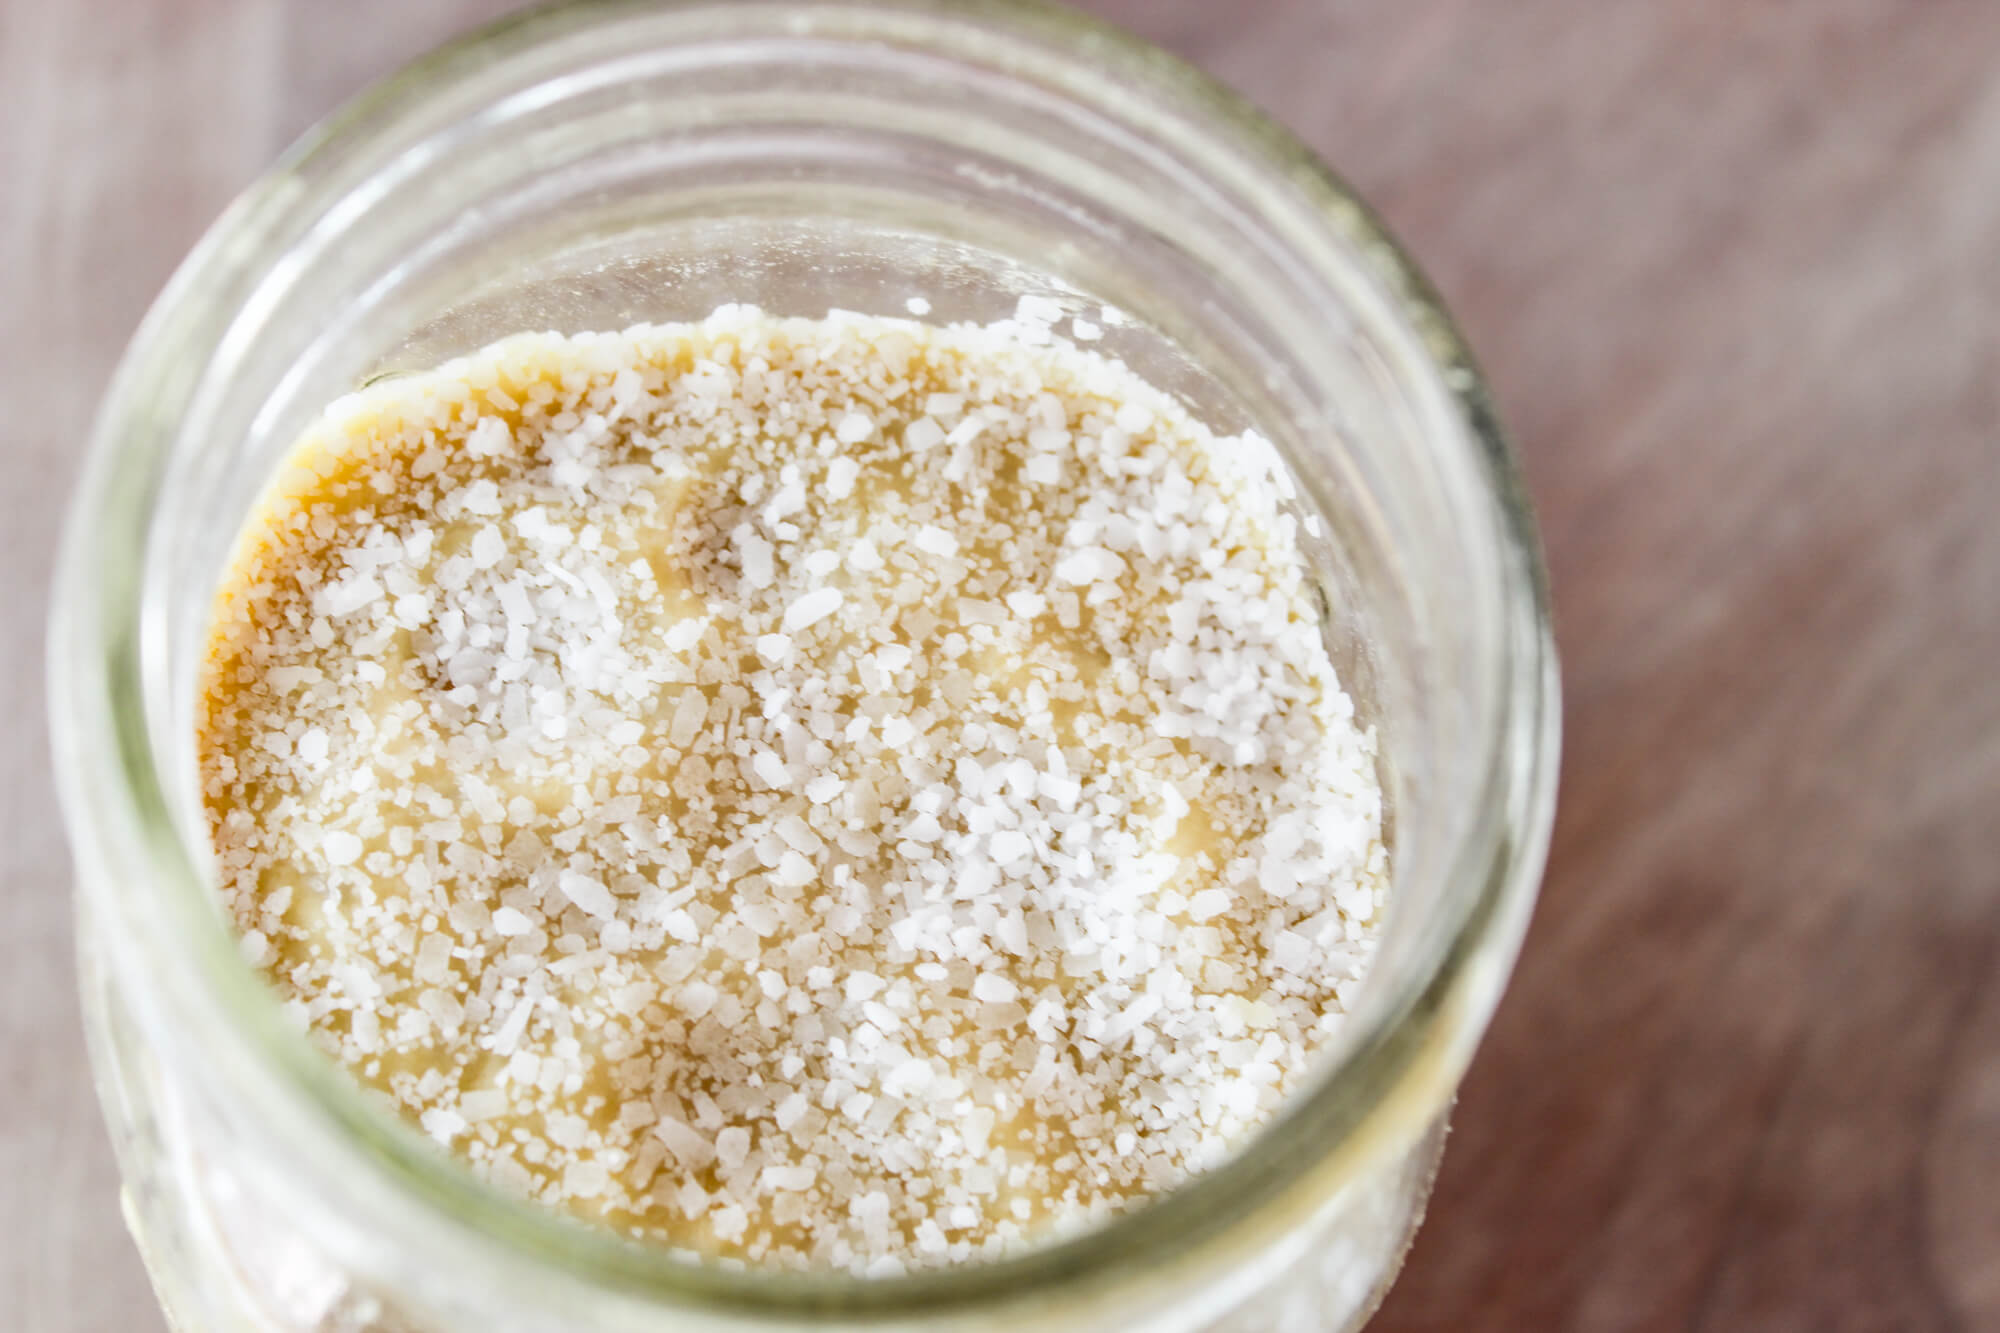
- To reduce the possibility of contamination, I sprinkle some salt on the surface then lay a plastic wrap on that and then add a couple of weights.
- Ferment it at a temperature of about 65F to 100F which is a broad enough range that almost any home kitchen cabinet can handle.

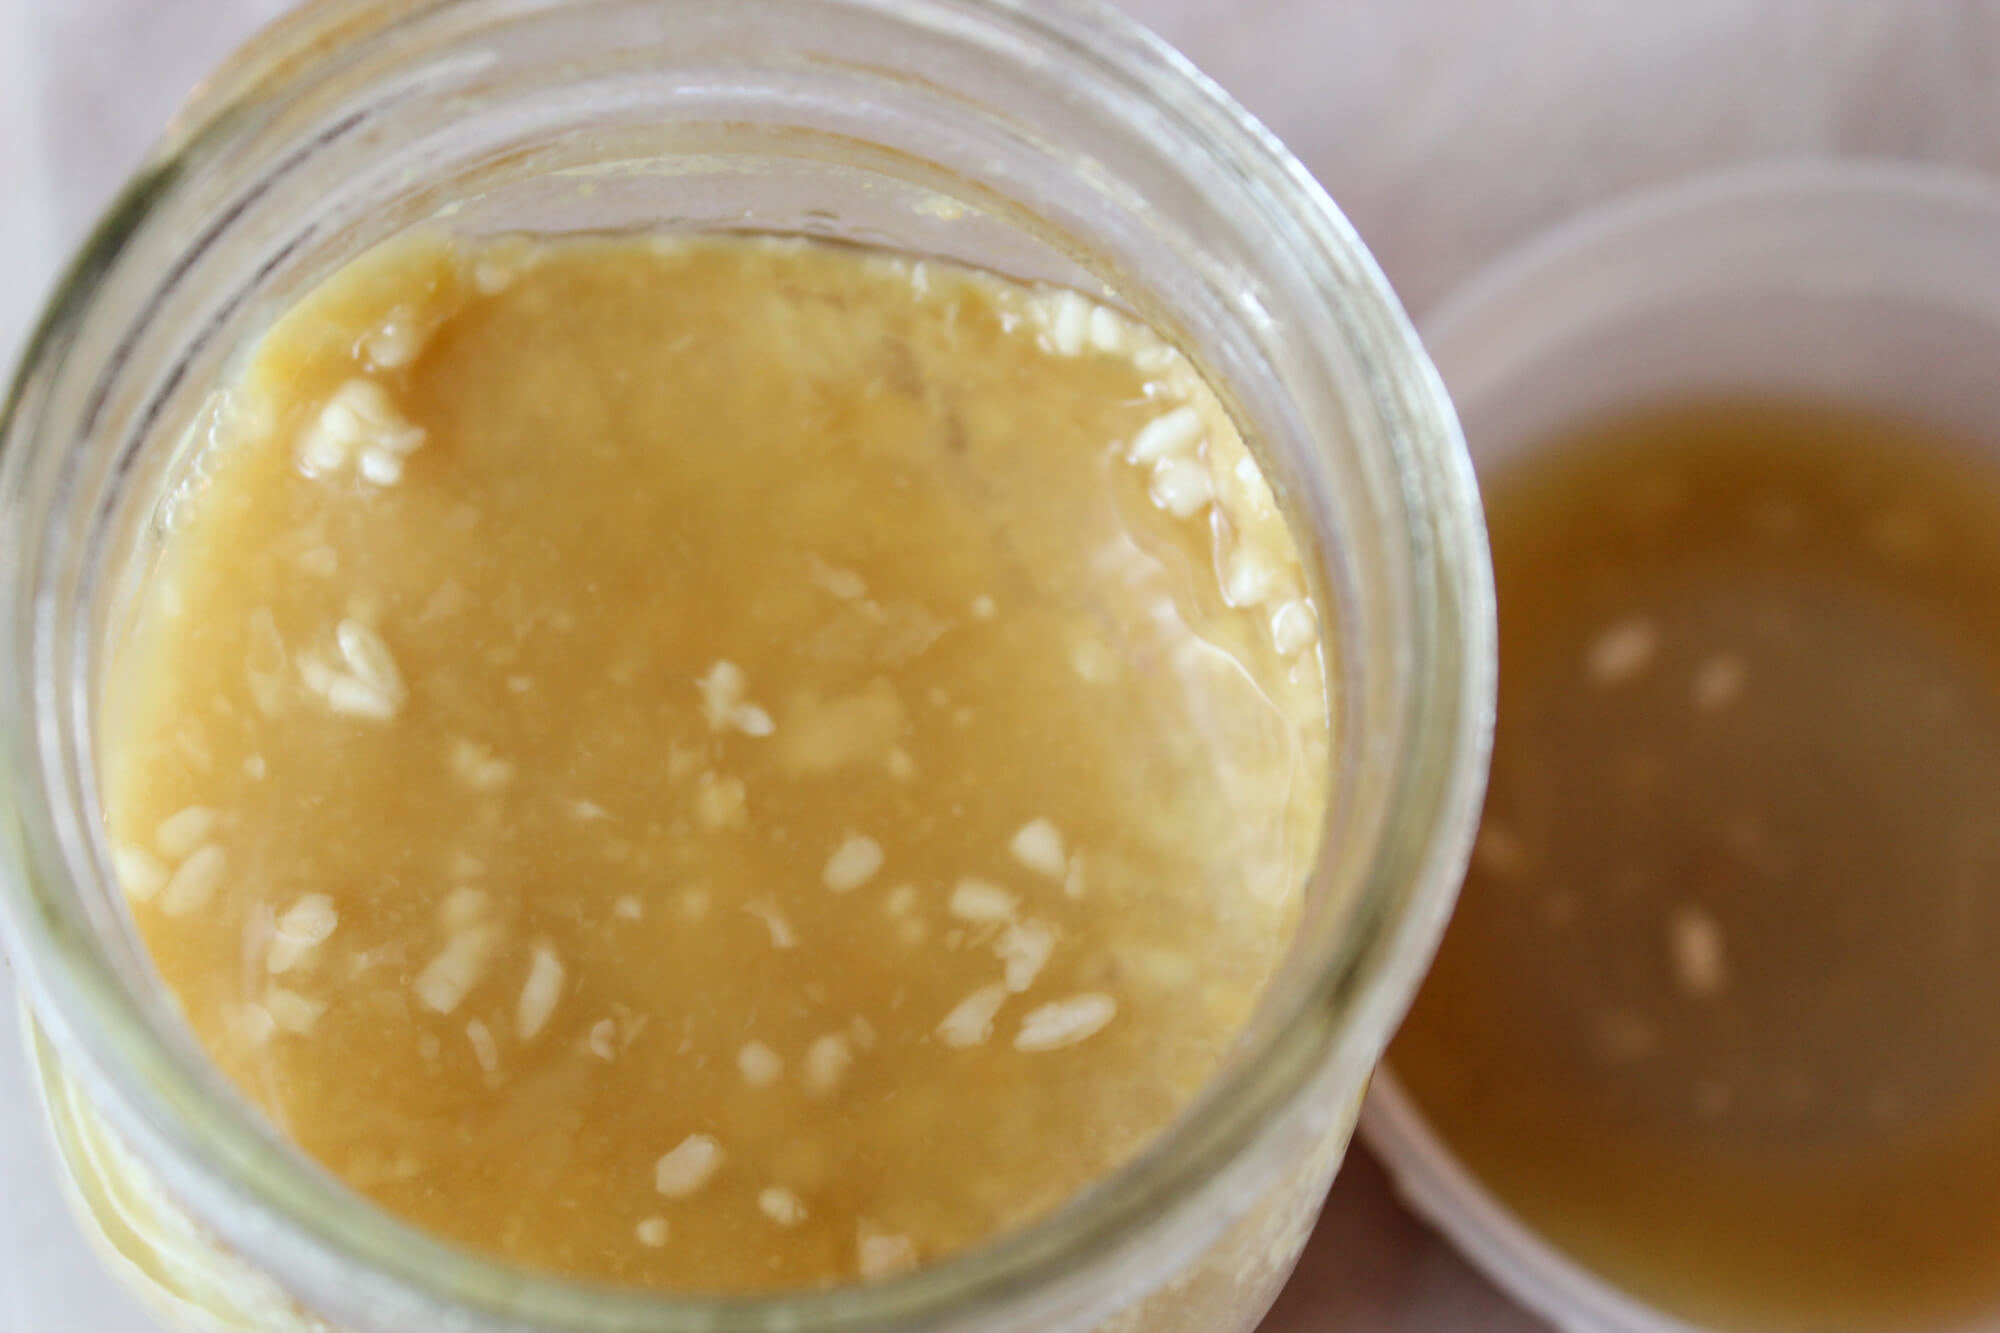
- As it ferments, many complex processes are occurring. This produces a thick sweet salty, umami-packed liquid on the surface of the miso. This is Tamari. Do not waste this stuff, collect it and use like a soy sauce. It is delicious.
Light Amino Paste (“Miso”)
The below is a good amount for your first miso. It should fit comfortably in a wide mouth quart jar. You can double or quadruple the quantities if you want, but always maintain the same proportion of base to Koji to salt.
Servings: about 500 gr
- 200 gr Koji
- 200 gr Chickpeas or red lentils (or some other legume)
- 24 gr Salt (6% of the total weight of Koji and base ingredient)
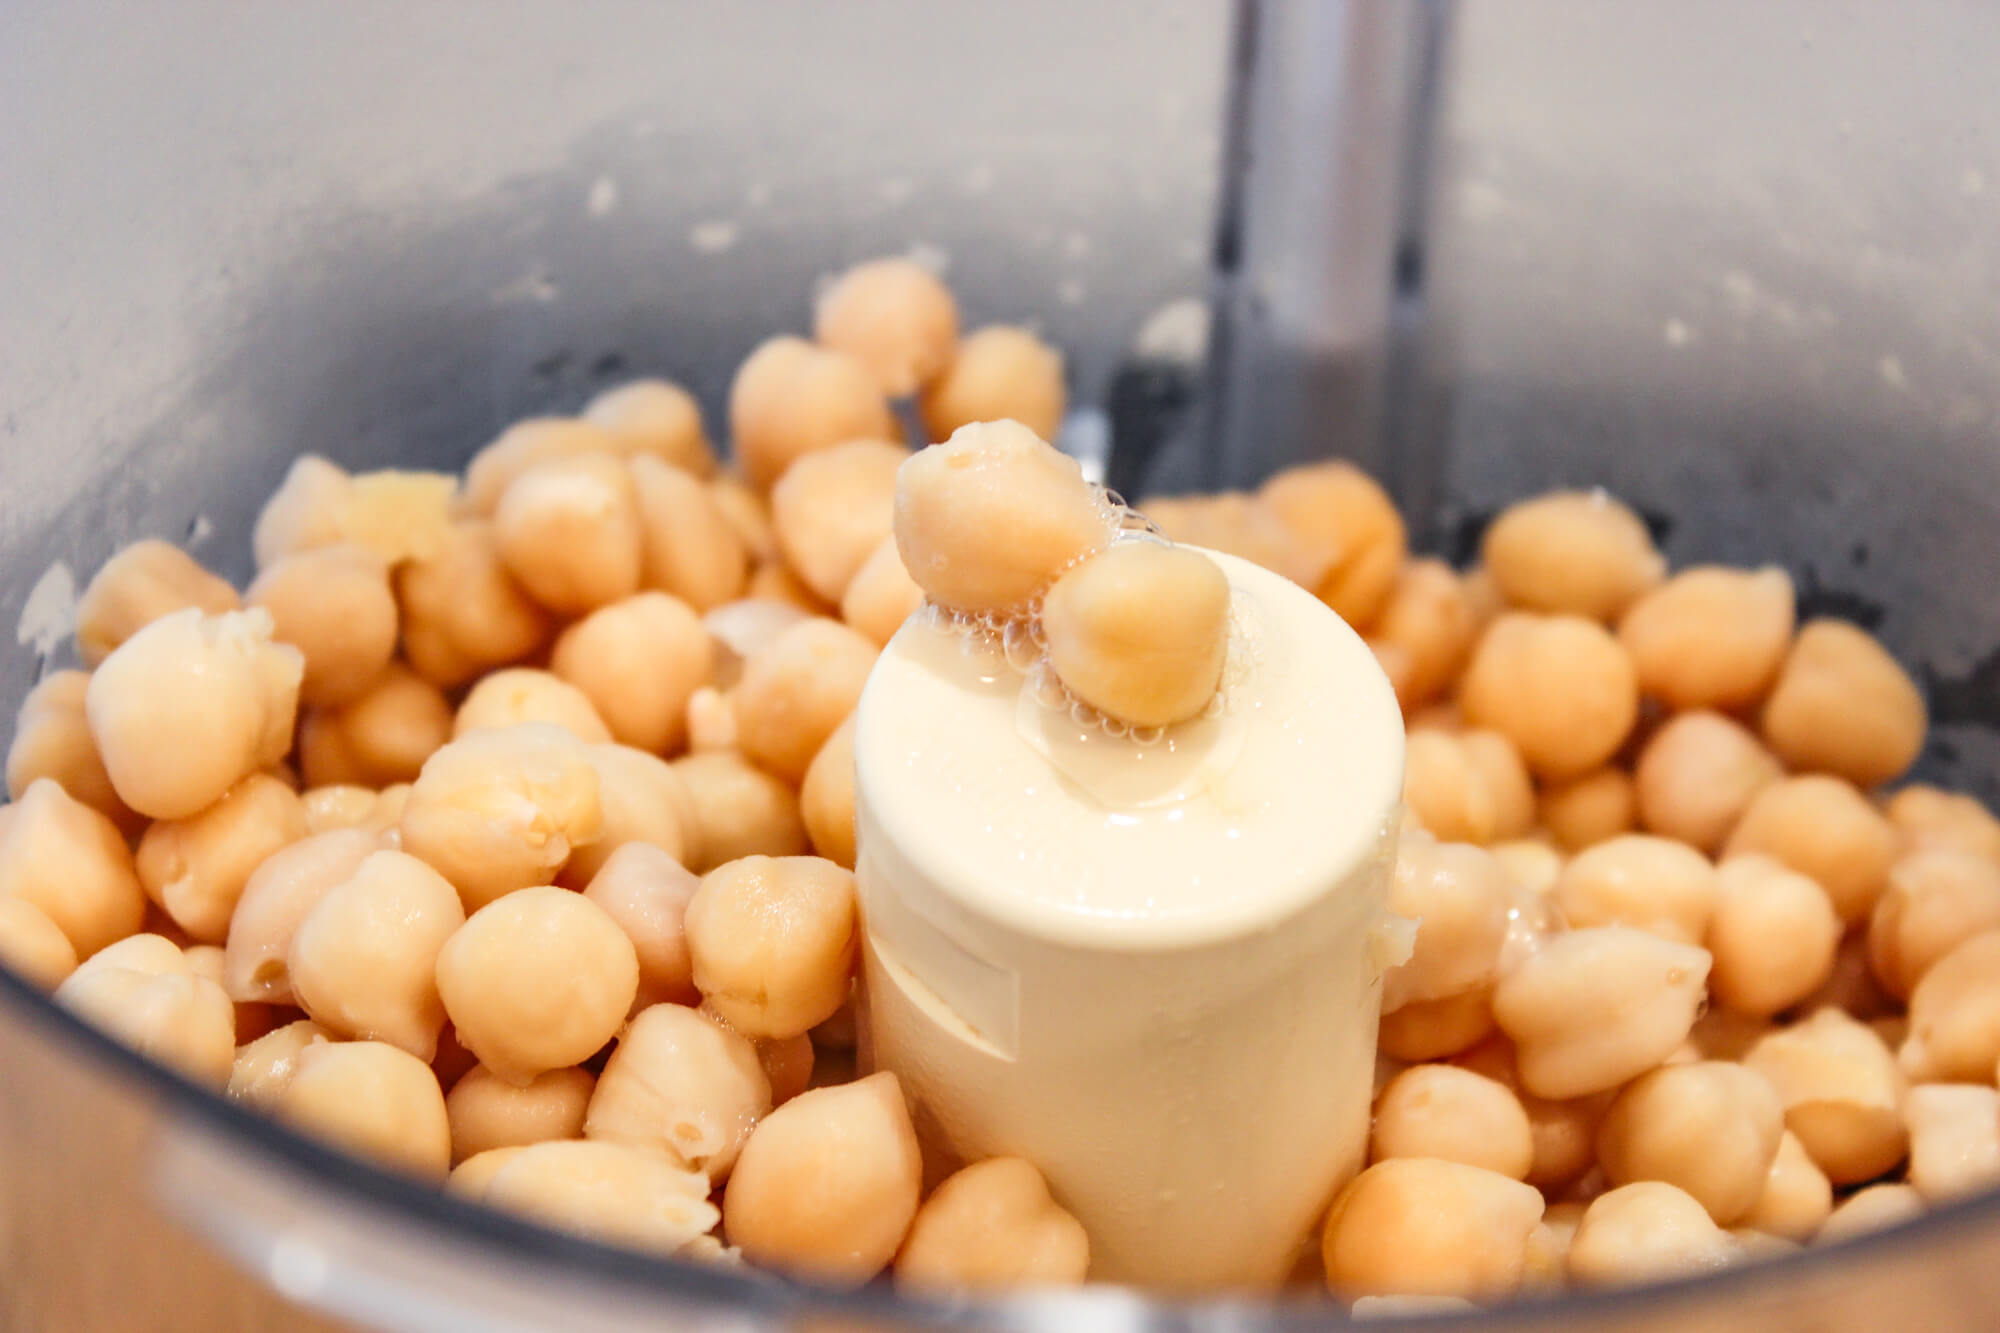
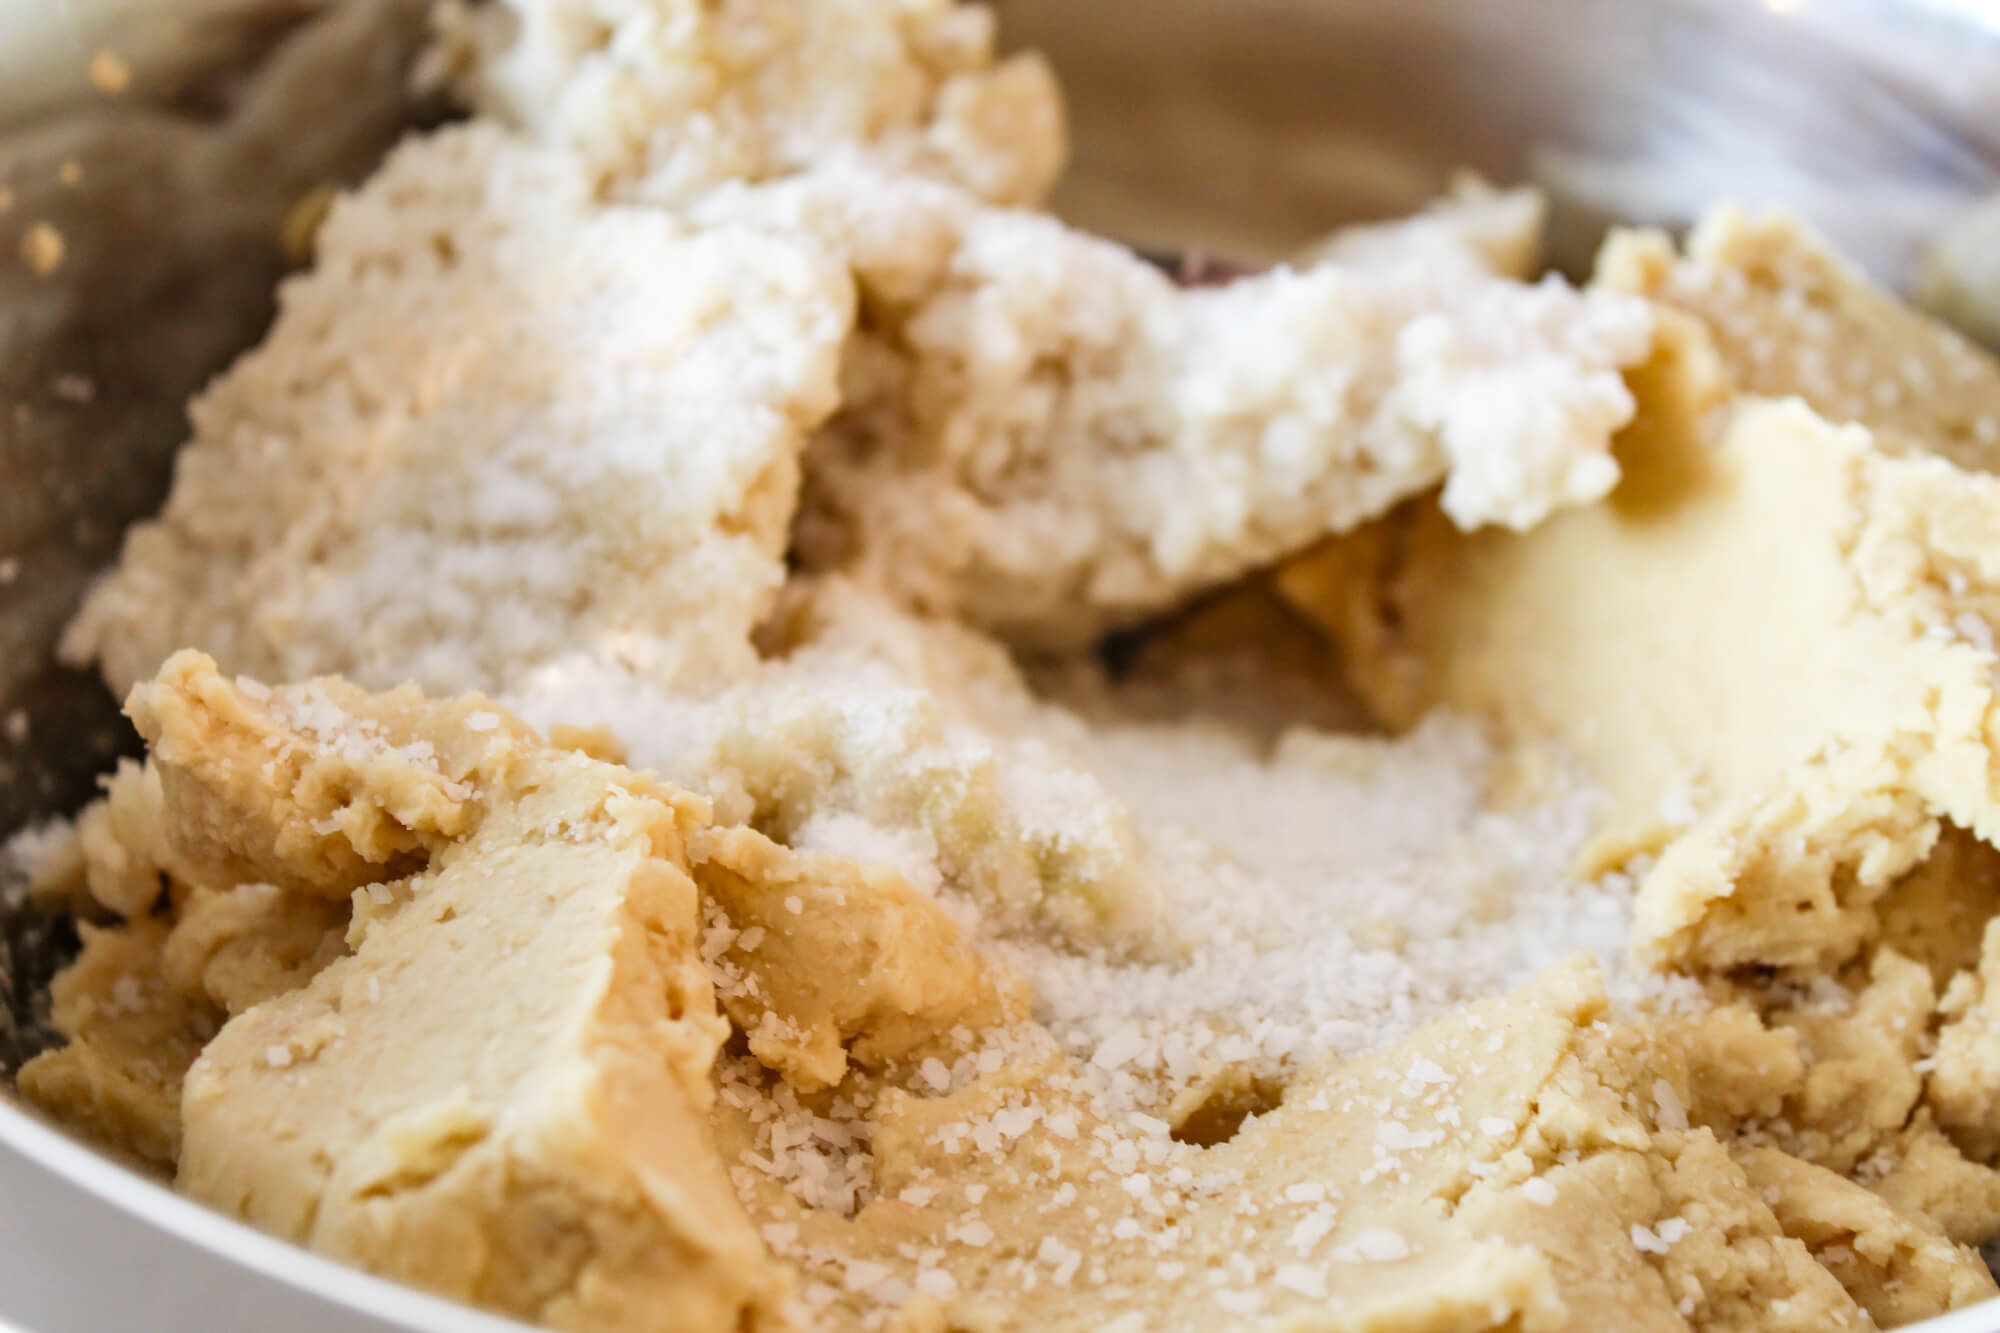
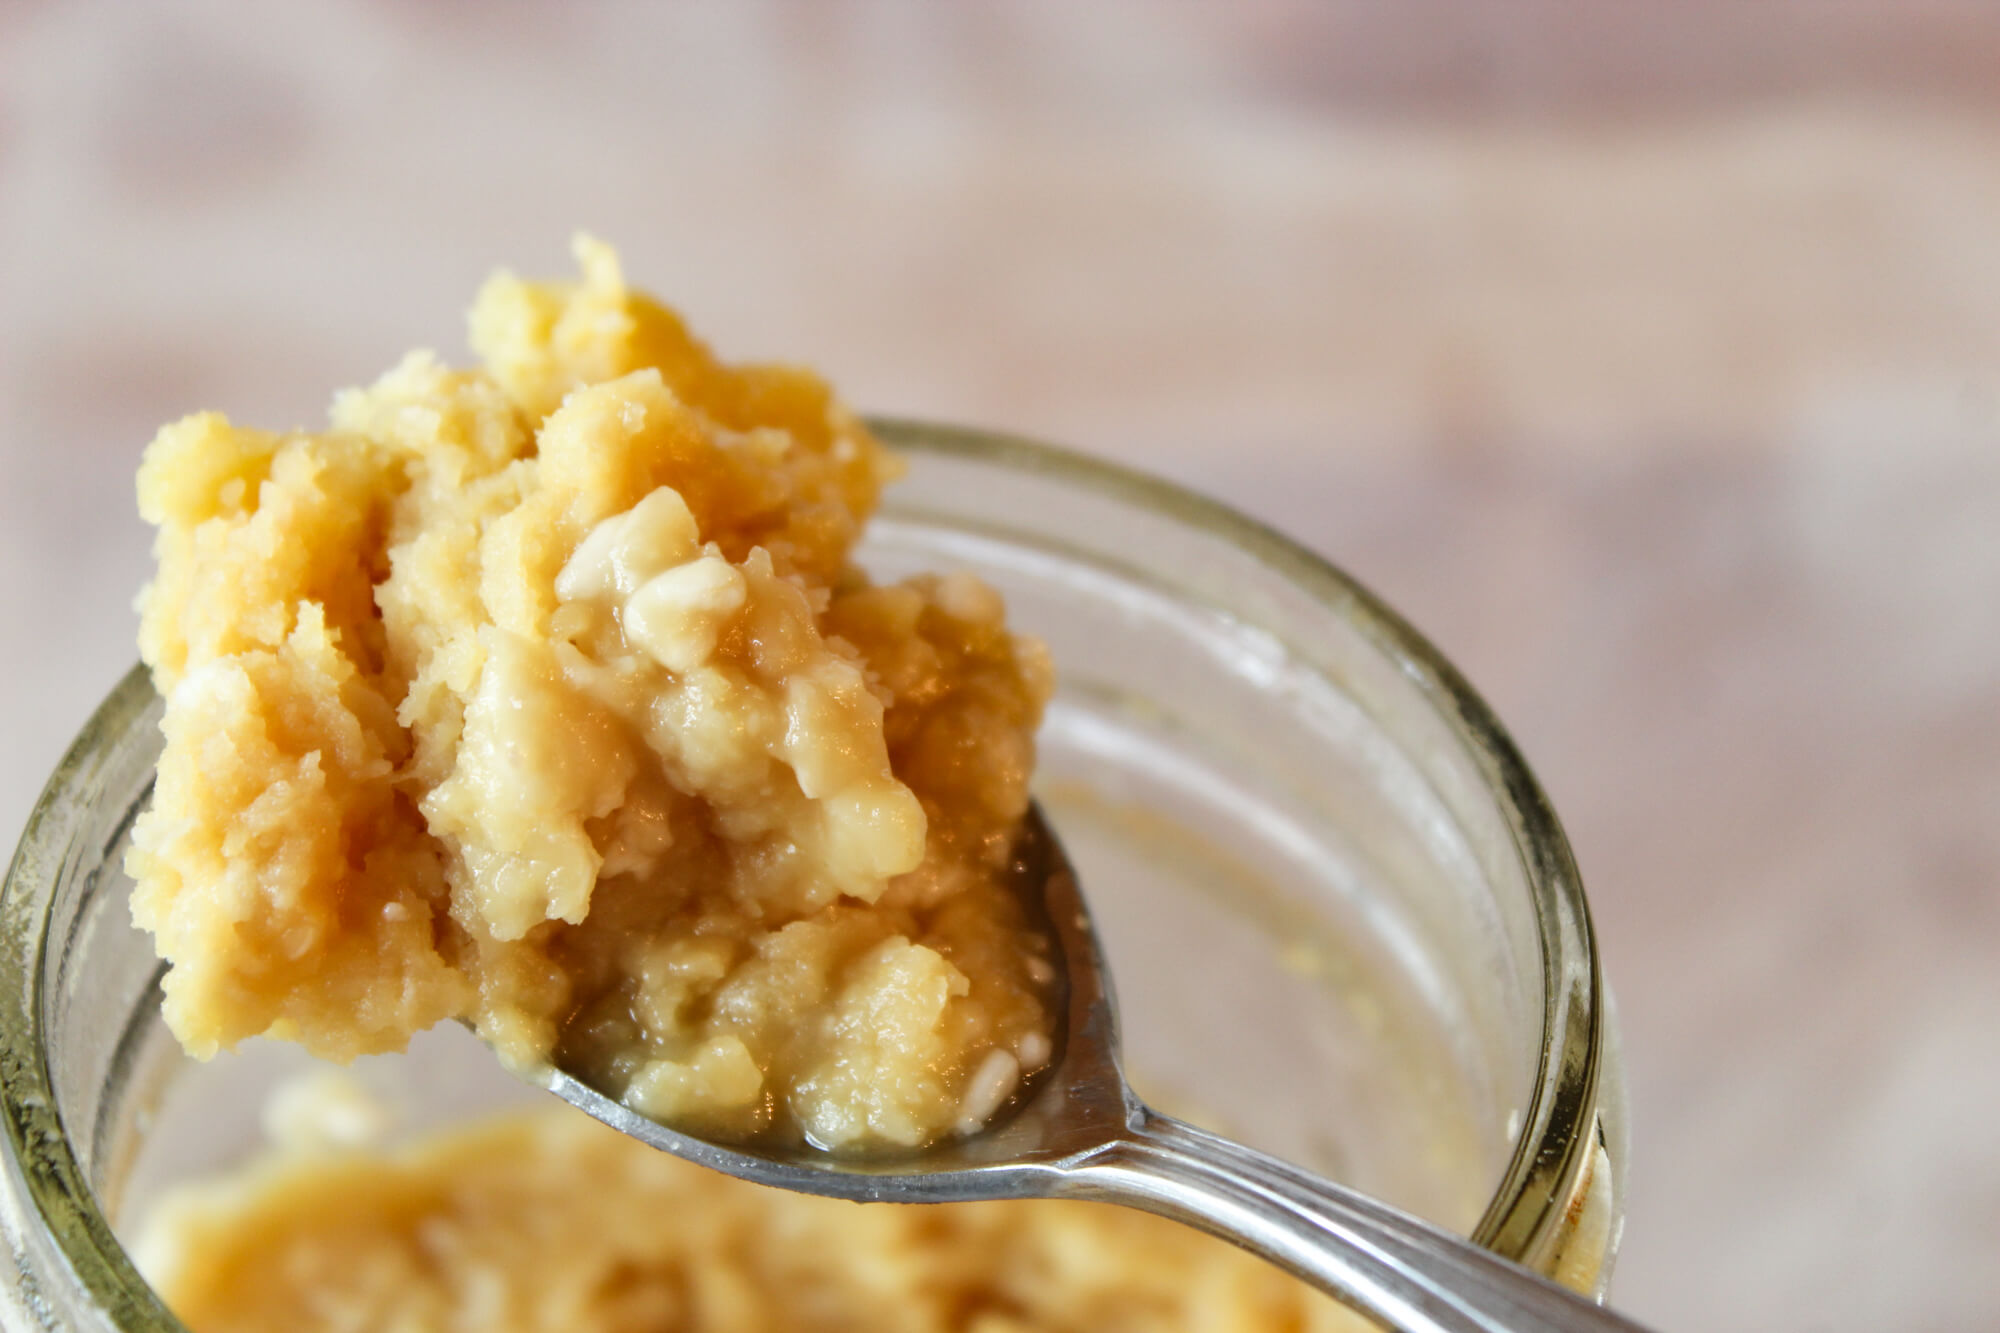
Cook the chickpeas until soft. Drain well and allow them to cool to about 80F. Mash them well. I use a food processor. It’s ok if you have some pieces that are not fully smooth but this is a “paste”. So, ideally most should be mashed. Mix very well with the Koji and salt.
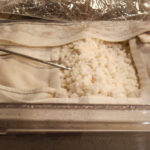
Pack tightly in a wide mouth quart jar or a similar crock. Best way to do this is to take lumps of the mixture, roll into golf-ball size pieces and press in the jar, keep doing that and pack to remove air pockets.
Sprinkle some kosher salt on the surface, lay a piece of plastic wrap on top and then weigh down to compress. Loosely cover with another piece of plastic and leave it in a dark place to ferment for about 3 months.
Every couple of weeks check on it. adjust the weights if needed, drain the tamari liquid that might have started to seep to the surface and always sprinkle a little salt on the surface before replacing the weights. If you notice any mold spots, scrape them off. Wipe the walls of the jar with a little alcohol (like vodka) or vinegar to help prevent any mold growth.
Start tasting it after a couple of months and see how it is coming along. It should be a touch salty, with sweetness coming through and a lot of savory umami flavors.
When done, seal the jar and store in the fridge. It will continue to very slowly develop. If you want to halt any further aging or development, heat the mixture in a sealed bag with an immersion circulator set to 190F for a couple of hours before putting in the fridge but I’ve never bothered to do that and the pastes have remained delicious for months in the fridge.

I love this! Thanks for building community with koji!
Means a lot coming from you chef! Thanks for the kind words. Koji has been an eye opener…once I started it’s tough to stop asking “what else can this work with?”. I have a few posts in the works that I’m hoping to get up here soon.