What has changed in my weekly-ish bread baking since I last posted about it? Not a ton. I’m still partial to naturally leavened (sourdough) breads that use a 100% rye starter and usually a 50/50 whole wheat/white flour at 100% hydration for the levain as described in that previous post. Baking on almost a weekly basis remains a favorite activity in the kitchen.
Impatient? Skip to the Compleat Wheat or the 85% Hydration formula
That being said, I wanted to post a formula with some instructions. I also have been using a slightly different baking setup with the cast iron combination pot (specifically the one I have is the Lodge 2-in-1 Cast Iron Combo Cooker) and I really like it. No wonder many bakers from Chad Richardson to the Modernist Bread authors recommend it for good heat retention and steam formation. The Le Creuset-style Dutch oven method works great too of course. This version is basically the same thing but more convenient and efficient.

Another reason for this post is to describe the Modernist Bread at Home method for making wheat bread that I quite liked. Baking with whole wheat can be a bit tricky. I include it in most of my loaves but once you have too high a percentage of it, the bread ends up heavier, with a tighter crumb. I sometimes want that and do not mind it at all. A thin slice from a denser loaf toasted and topped with butter and something salty is delicious. Other times though I want the additional flavor of the whole grain while maintaining as much as possible a fully risen loaf with a tender and light crumb.
The reason whole wheat loaves are dense is because the bran and germ from the grain interfere significantly with gluten development. In very simple terms and as far as I understand it, they almost act as tiny abrasives that tear the gluten as you mix the dough. No good gluten development, no good rise or oven-spring and you end up with a dense loaf of bread.


Modernist Bread calls their wheat bread formula “Compleat Wheat”. It uses vital wheat gluten (sometimes called gluten flour), wheat bran and wheat germ. It’s funny what is considered “common” depending on where in the world (and sometimes in the same country) one lives. I did not think of how the Compleat Wheat might not be as easy to make for someone like my fellow blogger Stefan who mentioned in a comment exchange on his blog that these ingredients are not easily available to him in the Netherlands. He rightfully points out that it is a big miss for the Modernist Bread authors not to include a recipe that actually uses whole wheat flour. Yet, he has an oven at home with steam injection. Apparently that is relatively common in Europe. On the other hand, I have not seen one in a home in the US!


I did wonder how much of a difference it would make if I eliminate the wheat gluten flour from the Compleat Wheat recipe to make it more accessible. It has a very noticeable impact, especially on the volume of the bread rise and oven-spring. Below are two loaves and the one with vital wheat gluten is clearly more risen and has a better crumb. On the other hand I also tested using oat bran (sometimes easier to find) instead of wheat bran. In this case the substitution works very well and I noticed little to no difference in the bread baked with wheat bran vs oat bran.

In the recipe section below I have both formulas, the “Compleat Wheat” and my everyday-everyweek-go-to-Tartine-based 85% hydration (meaning for 1000 gr flour we are using about 850 gr water) one that also makes great focaccia and pizza if you need it to.


Compleat Wheat
Adapted from Modernist Bread at Home
Servings: 1 large loaf (boule), about 1300 gr
- 85 gr Wheat bran
- 15 gr Wheat germ
- 500 gr Water
- 195gr – 200 gr Levain (50% water, 25% white flour, 25% whole wheat flour, 10% sourdough starter)
- 480 gr Bread flour
- 18 gr Vital wheat gluten (aka Gluten flour)
- 12 gr Salt
Mix and Bulk-ferment
- Toast the bran and germ in a wide pan very carefully over medium low heat, stirring frequently until aromatic, about 7 minutes or so. Alternatively, toast in a 350F oven, but I like the pan method more.
- Mix the bran and germ with 100 gr of the water and let soak for at least 15 minutes, but can be done the night before too.
- If using an electric mixer
- Place the remaining water and levain in the bowl of a mixer and stir briefly to mix.
- Add the remaining ingredients EXCEPT for the salt and using a dough hook mix for 5 minutes to hydrate everything and start developing the gluten.
- Sprinkle the salt on the surface of the dough and cover with a plastic wrap. Allow to rest (this is the autolysis phase) for about 30 minutes. If you are short on time, the salt can be added with the rest of the ingredients and mixed with very good results. I usually autolyze since it does improve the bread.
- After resting, mix the dough for another 5 minutes, add the soaked germ and bran and continue mixing for 5 minutes more. By now the dough should be relatively smooth and the gluten well developed.
- If you are mixing by hand
- Place the remaining water and levain in a large bowl and stir briefly to mix.
- Add the remaining ingredients EXCEPT for the salt and use your hands or a strong spoon (I really like using what is called a “Danish whisk” for this) to mix the dough into a bit of a shaggy mass with no dry flour patches.
- Sprinkle the salt on the surface of the dough and cover with a plastic wrap. Allow to rest (this is the autolysis phase) for about 30 minutes. If you are short on time, the salt can be added with the rest of the ingredients and mixed with very good results. I usually autolyze since it does improve the bread.
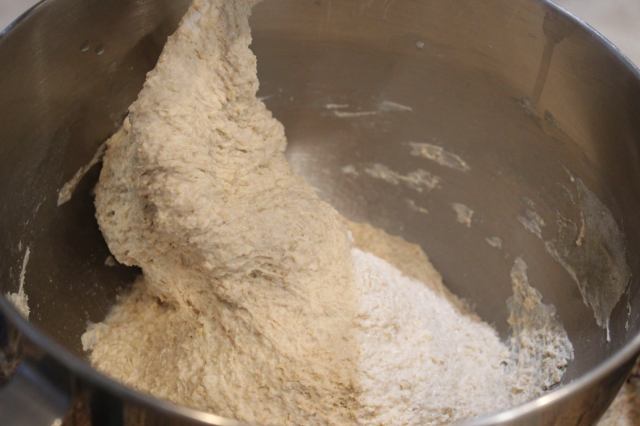
- After resting, mix the dough for another 2 minutes, this time using your hands only. Just get your hand under the dough in the bowl, lift up a bit and fold over, turn the bowl a quarter turn and repeat. Add the soaked germ and bran and continue mixing for another 2 minutes, using the same pull, stretch and fold method. It’s pretty simple once you get the hang of it and most times I use this method rather than a mixer. There are tons of videos showing this on YouTube I’m sure, just look up “stretch and fold method for bread” or something like that. At the end of the hand mixing the dough should be smoother, but not perfectly smooth yet and you should have very little dough stuck to the sides of the bowl.
- Allow the dough to proof covered for 3 to 4 hours (my kitchen is rarely cooler than 74F or so). While it is proofing, every 30 minutes for the first 2 hours, perform the folds as described above by getting your hand (helps if your hand is a little wet with water) under the dough in the bowl, lift up a bit and fold over, turn the bowl a quarter turn and repeat 3 or 4 times. Do this whether you used the machine mixing or hand mixing method but ESPECIALLY if you used the hand mixing method. By now the dough should be pretty smooth.
- Let the dough proof covered and undisturbed for the last 2 hours or so. By the end of it it should have risen to double its size, smells great and if you gently poke it your finger leaves and indent. All these are indications that you can form and shape.
Shape and Fridge-ferment (retarding)
- Shape the dough into a nice round boule or a more oblong shape if you prefer.
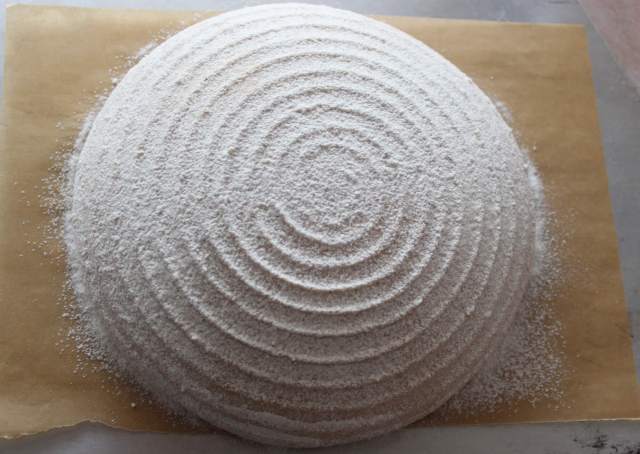
- Sprinkle a proofing basket or a bowl lined with a cotton towel with flour. I use rice flour most of the time because it is better at absorbing the moisture but regular flour works fine in a pinch.
- Place the shaped loaf in the basket, place the basket in a plastic bag or cover loosely with plastic wrap and put the loaf in the fridge to retard (the term for cold dough proofing) for at least 8 hours or up to 24 hours. Make sure the dough remains covered while in the fridge or else it will have crusty dry spots and that’s not good.
Baking
- Place a combo cast iron pan or a heavy Dutch oven with a lid in the oven middle rack. Heat the oven to 500 F. After 30 minutes of it hitting this temperature, you are ready to bake.
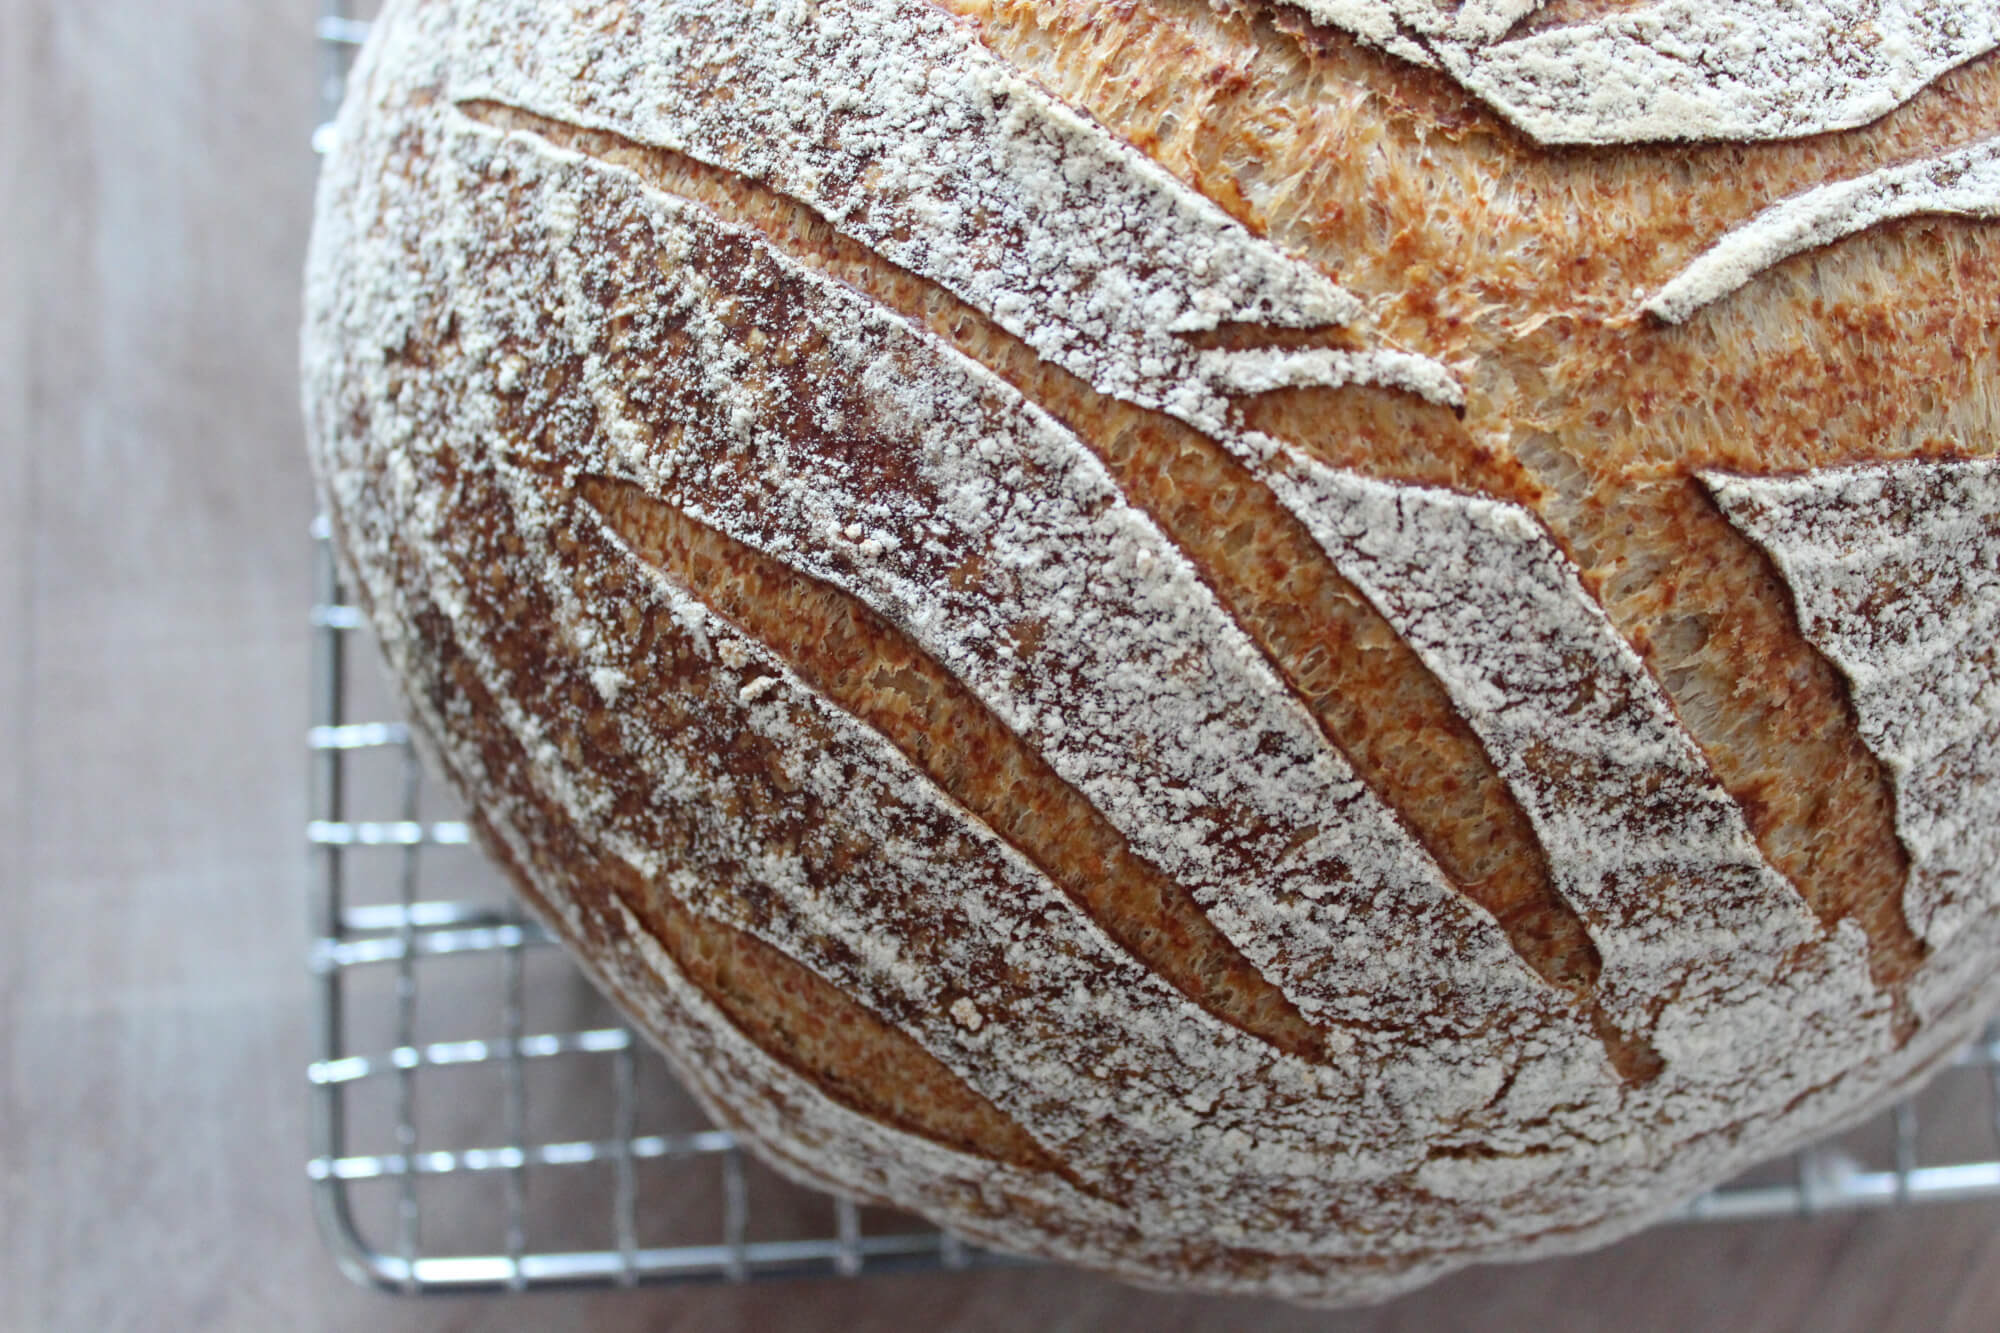
- When the oven has been heated for at least 30 minutes, remove the bread basket from the fridge, and turn the dough gently on a piece of parchment paper. Remove your baking vessel from the oven and remove its lid. Slash the dough decoratively as you wish with a sharp knife or razor and very carefully use the parchment paper to pick it up and put it in the heated pot along with the parchment. Place the lid on the pot and place it all in the oven.
- Bake for 20 minutes.
- Remove the pot and place it on a cool baking sheet. Place it all back in the oven (this is to protect the bottom of the bread from over browning, we’ll do this one more time). Drop the oven temperature to 450F and bake for 10 minutes still covered.
- Remove the pot and place it on a cool baking sheet. Place it all back in the oven on top of the other baking sheet (yes, now you have the pot sitting on 2 identical baking sheets. Seems odd, but really makes a difference in the final result for the bottom crust). Uncover the pot and bake the bread with the cover off for 17 – 25 minutes till dark golden brown depending on your preference. Start with about 20 minutes and see how you like it.
- Remove the bread from the pot and allow it to rest on a cooling rack for at least 1 hour before slicing into it.
85% Hydration Country Boule (Tartine method)
Servings: 1 large loaf (boule), about 1000 gr
- 450 gr Water
- 100 gr Levain (50% water, 25% white flour, 25% whole wheat flour, 10% sourdough starter)
- 400 gr All-Purpose flour (I use King Arthur that is 11.7% protein content)
- 100 gr Whole wheat flour (see Note 1 below)
- 12 gr Salt
- Up to 100 gr inclusions (Optional, see Note 2 below)
Note 1: instead of 100 gr flour, I play around a bit with this for different breads. For example, use 50 gr rye + 50 gr whole wheat or 25 gr Semolina + 25 gr cornmeal + 50 gr whole wheat. Try different combinations and see what you like. Just be aware that different flours will impact the end result in terms of structure as well. So, using 100 gr rye makes a delicious bread, but the dough will be more sticky and will have slightly less rise.
Note 2: inclusions could be anything from seeds, to nuts to dried fruit, to cooked grains, diced cheeses or cured meats or a combination of any of the above. Adding pumpkin and sunflower seeds to a dough with rye flour makes for a very tasty bread for example. Cooked whole brown rice or wheat berries that are very well drained makes the end result robust, but also light and moist. I recommend only incorporating inclusions after you have baked a few loaves “plain” if you are new to this.
Method
- Follow the HAND MIXING method described above for Compleat Wheat. I do not recommend using a machine for this since it is too wet and is very easy to mix by hand.
- Add inclusions if you are using them during the first fold in the proofing and bulk fermentation phase. Ensure that the inclusions are well distributed.
- Shape, retard and bake as with the Compleat Wheat instructions.


Very interesting. Can I conclude from the second recipe that without the vital gluten, you can only use 20% whole wheat to get a good result?
I have certainly used more than 20% whole wheat and still made very good bread. I play around with the ratios all the time, but in my experience about 20% is ideal especially for someone who might be pretty new at baking these types of breads.
Oh and it looks like I can order the vital wheat gluten, wheat bran, and wheat germ online, so I’ll have to give the Modernist Bread recipe a try some time.