We will call this one unofficially “Shoyu, take 1” since I am sure I will do this again but will refine the process and hopefully have learned form my mistakes. This is the longest of my Koji experiments so far. This is a Japanese style soy sauce, primarily based on the guidelines from Koji Alchemy book as well as the Noma Guide to Fermentation and it takes at least 6 months to make in this case. I made some mistakes that I will avoid next time. Still, this end product is wonderful and delicious. I am not claiming this rivals the top quality artisanal soy sauces made by true generational experts in their country of origin (be it Japan, China, Korea…). It is better than many mass-produced soy sauce brands and more importantly, it is all mine.
On another note, I managed to lose a bunch of the pictures I took of my koji experiments. I must have deleted the folder and did not even notice. That’s the main reason I have not posted about some of these in a while. The few photos here are taken with my phone and are pretty crappy.
Please read the post about making Koji for more background and context.
I intended to post about this experiment a while back. Then I decided to wait. Curious how the product will evolve and change and settle. Reading about Shoyu from a few online sources and watching a few videos convinced me to give it some more time after the “initial fermentation” is done. I’m glad I did. almost 2 years since I started this one, tasting it and using it every few months, I think it has developed wonderfully. Still as I alluded to earlier, I would refine and adjust the process next time around to make it more efficient and less fiddly.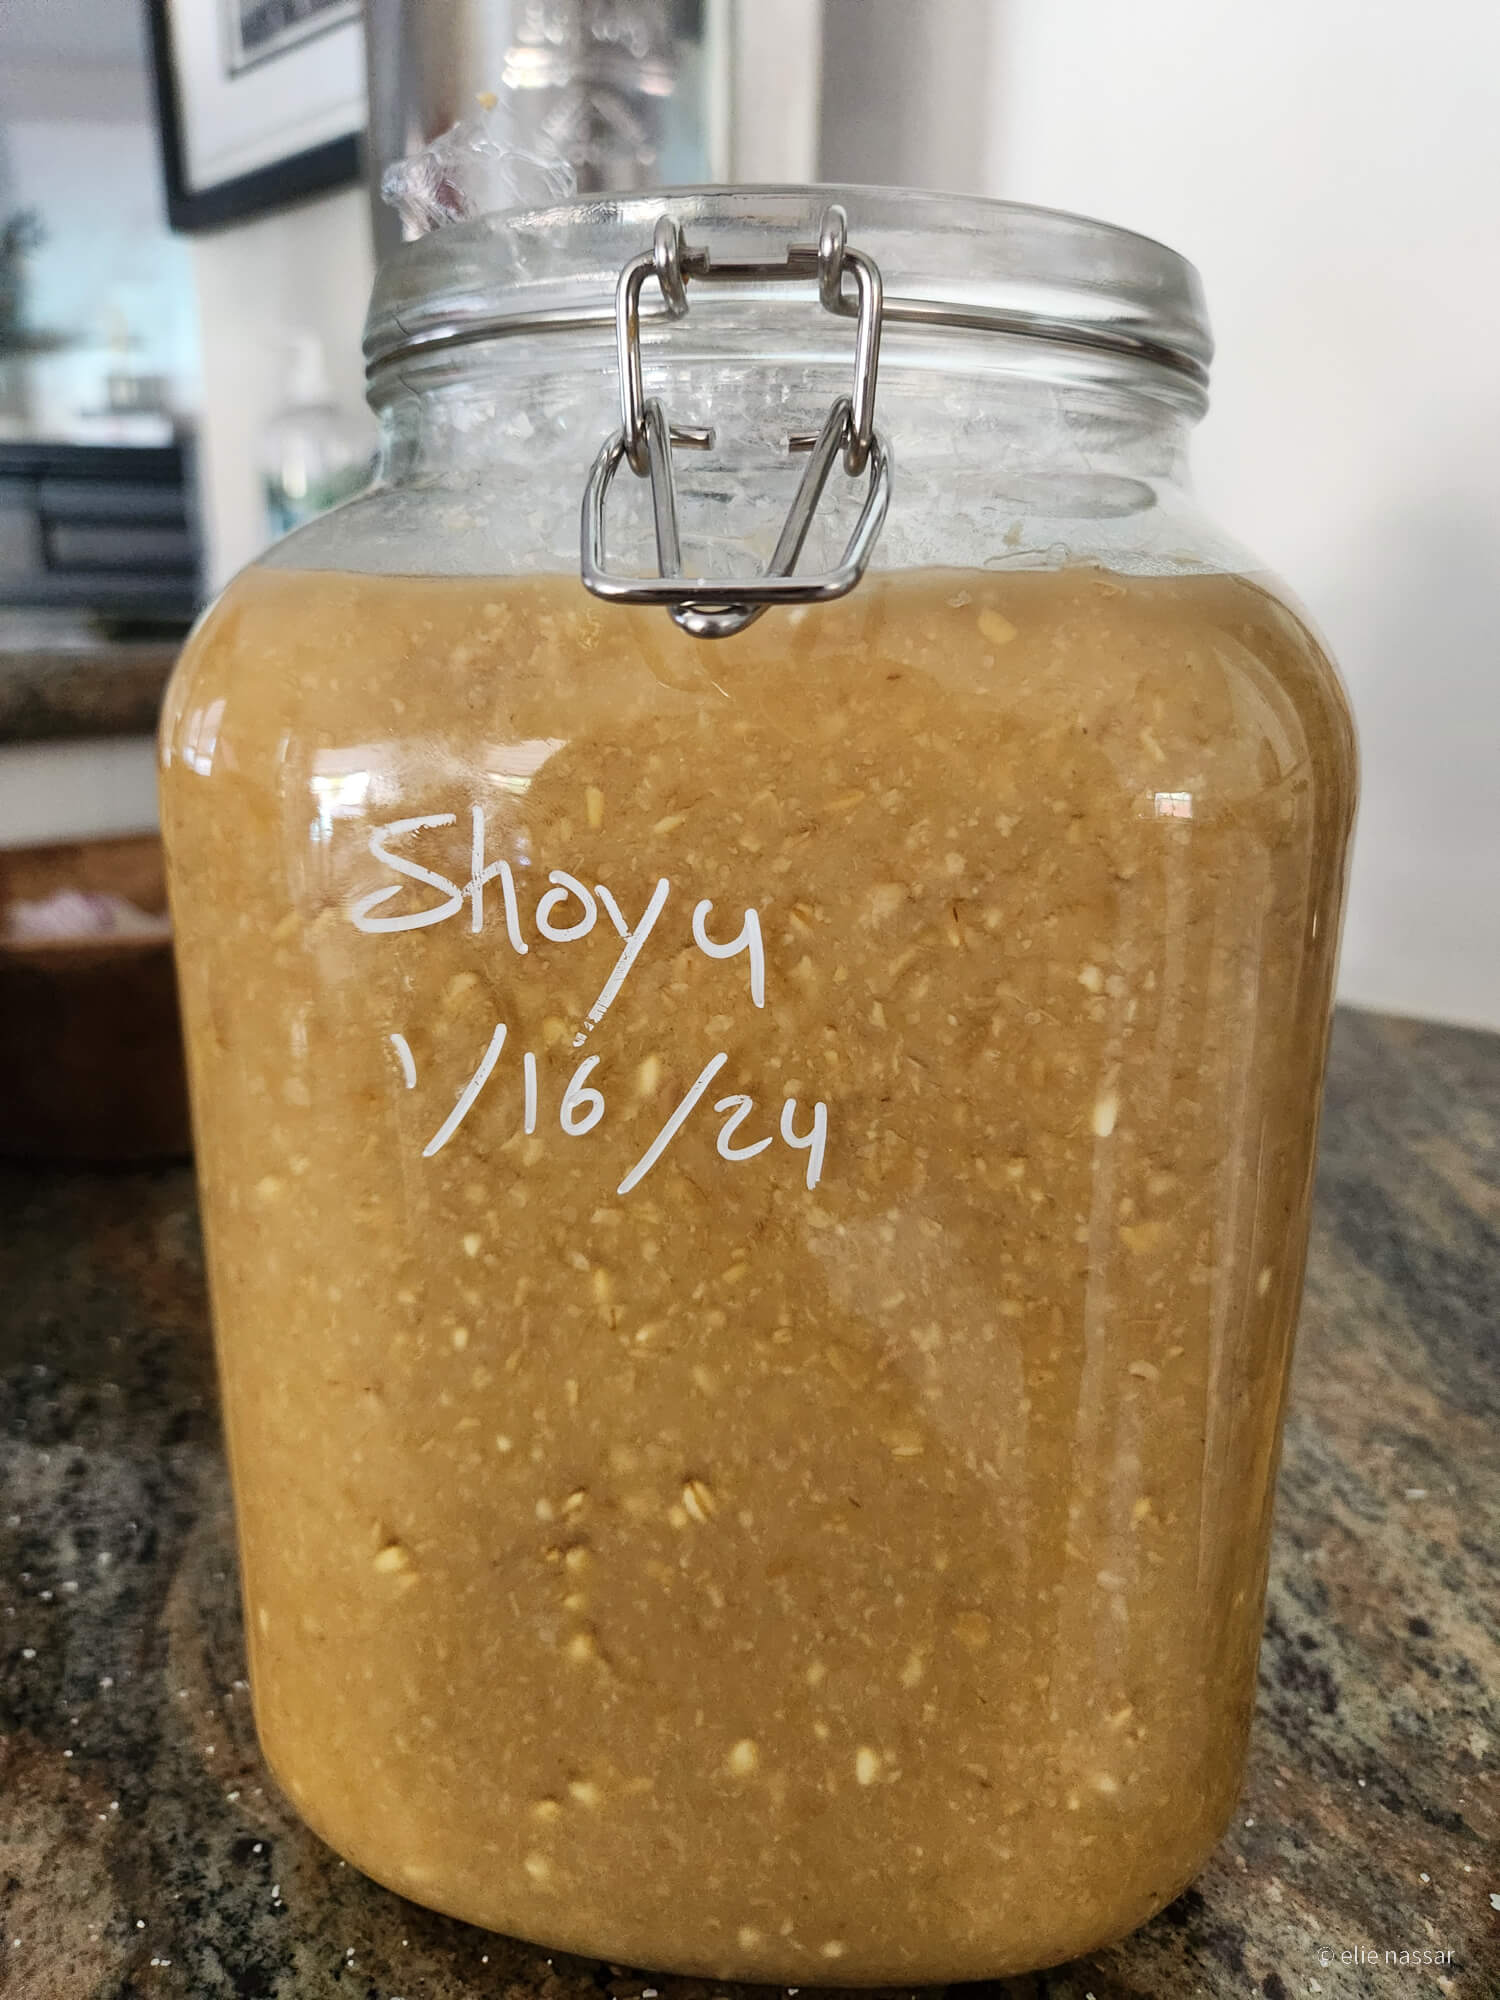
Shoyu (Soy Sauce) Process and Notes
Like amino pastes (e.g. miso) the base for soy sauce is koji + water + salt primarily:
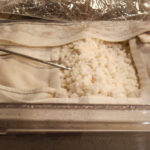
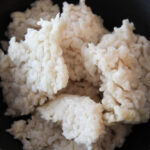
- The koji is not made form rice traditionally. Although an option can be Rice Koji + Cooked Protein + Water + Salt. Not in this first try though. The koji here is a combination of cooked dry soybeans and toasted cracked wheat. My first mistake is trying to make far more koji at once. The resulting koji was fine but was a bit on the wet side and not as evenly dry/crumbly as usual. This caused way more of a nuisance down the line with getting the stuff properly mixed and pressed down throughout the long fermentation timeframe. So, next time, don’t rush it or overcrowd the making of the koji.
- The mixture is combined with water creating a sludge of sorts as opposed to the miso paste. The ratio is 1 part of the koji to 2 parts water and about 7 to 10 percent salt of the total weight.
- This goes into a jar and a loose fitting lid or cheesecloth is used to cover the mouth of the vessel. The shape of the jar is important. I did not use a jar that has fully straight sides, meaning my jar did not have the same diameter all the way through from the bottom to the mouth. The one I used was tapered and narrows at the top. The problem with that is that it makes keeping the sides above the mixture clean more tricky since it is not as easy to get your clean hand in there and wipe it efficiently. I will use a straight sided cylindrical jar next time.
- It then sits and matures for at least 6 months. Stir it a couple of times a day for the first month. Then a couple of times a month for the remaining time. The idea is to keep all solids submerged. Fiddly task with the type of mixture I had and the type of jar I used.
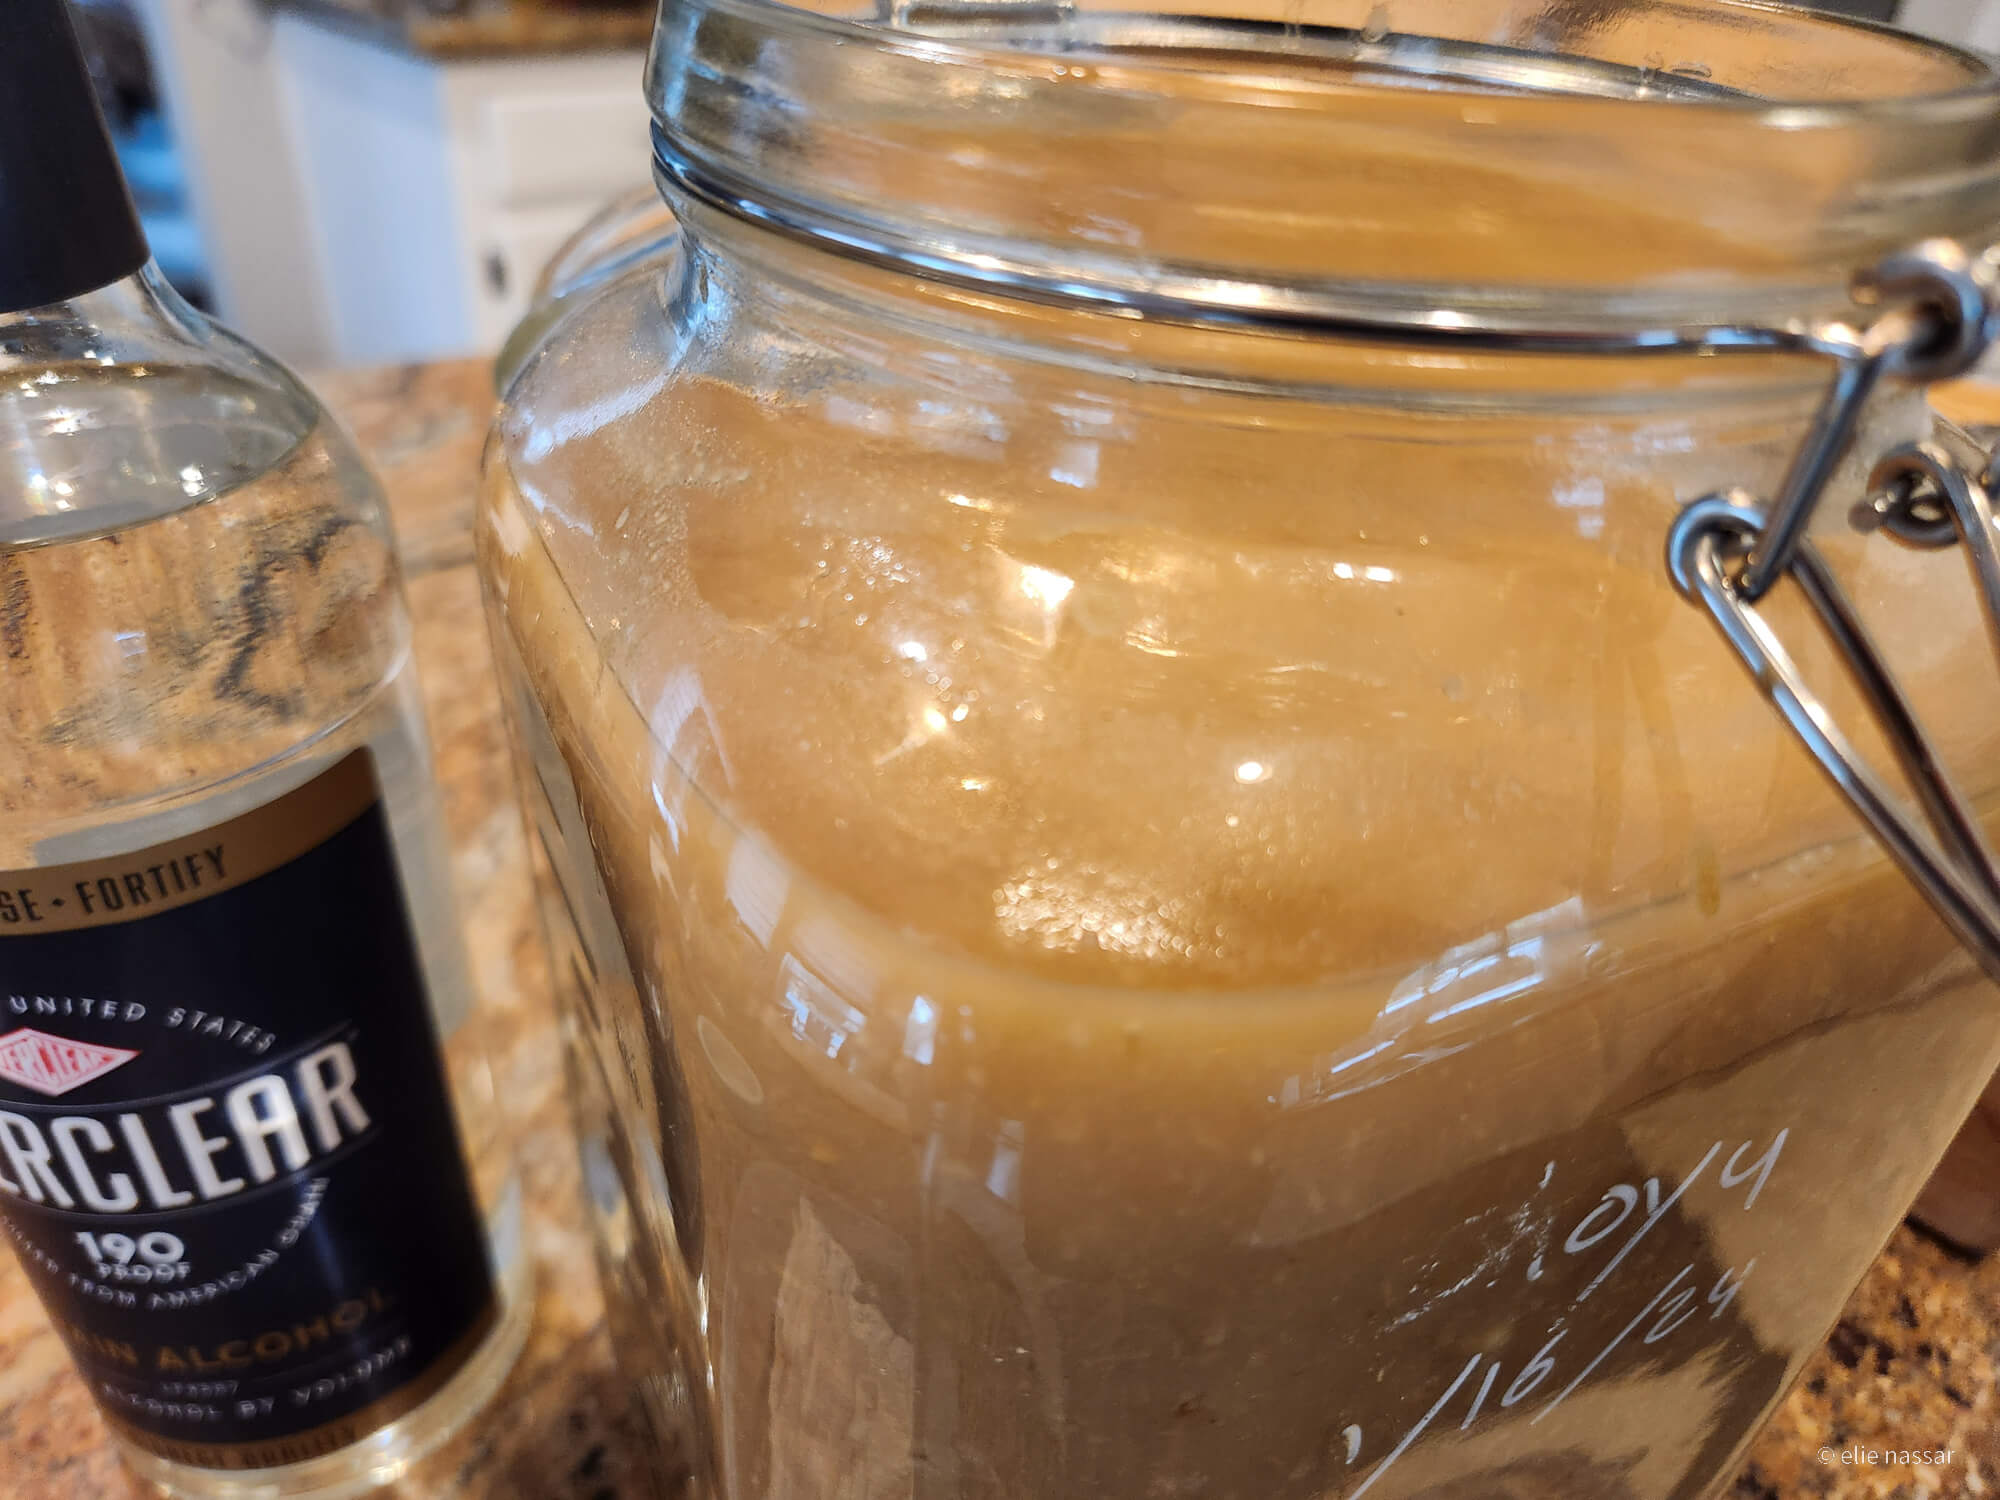
- Throughout that timeframe, you need to periodically check on the mixture, skim any molds off the surface and sanitize the sides of the jar. I used grain alcohol to wipe the inside of the jar above the line of the koji mixture.
How to judge that it is done? Well, I mostly went off time and taste. Six months or so was a good stopping point and what Shih and Umansky recommend in Koji Alchemy. This was when I strained the mixture and then passed the liquid through layers of cheesecloth. To ensure it does not keep fermenting, I sterilized the soy sauce. I sealed it in a bag and heated and put in a circulating water bath held at 195F (90C) for 2 hours.
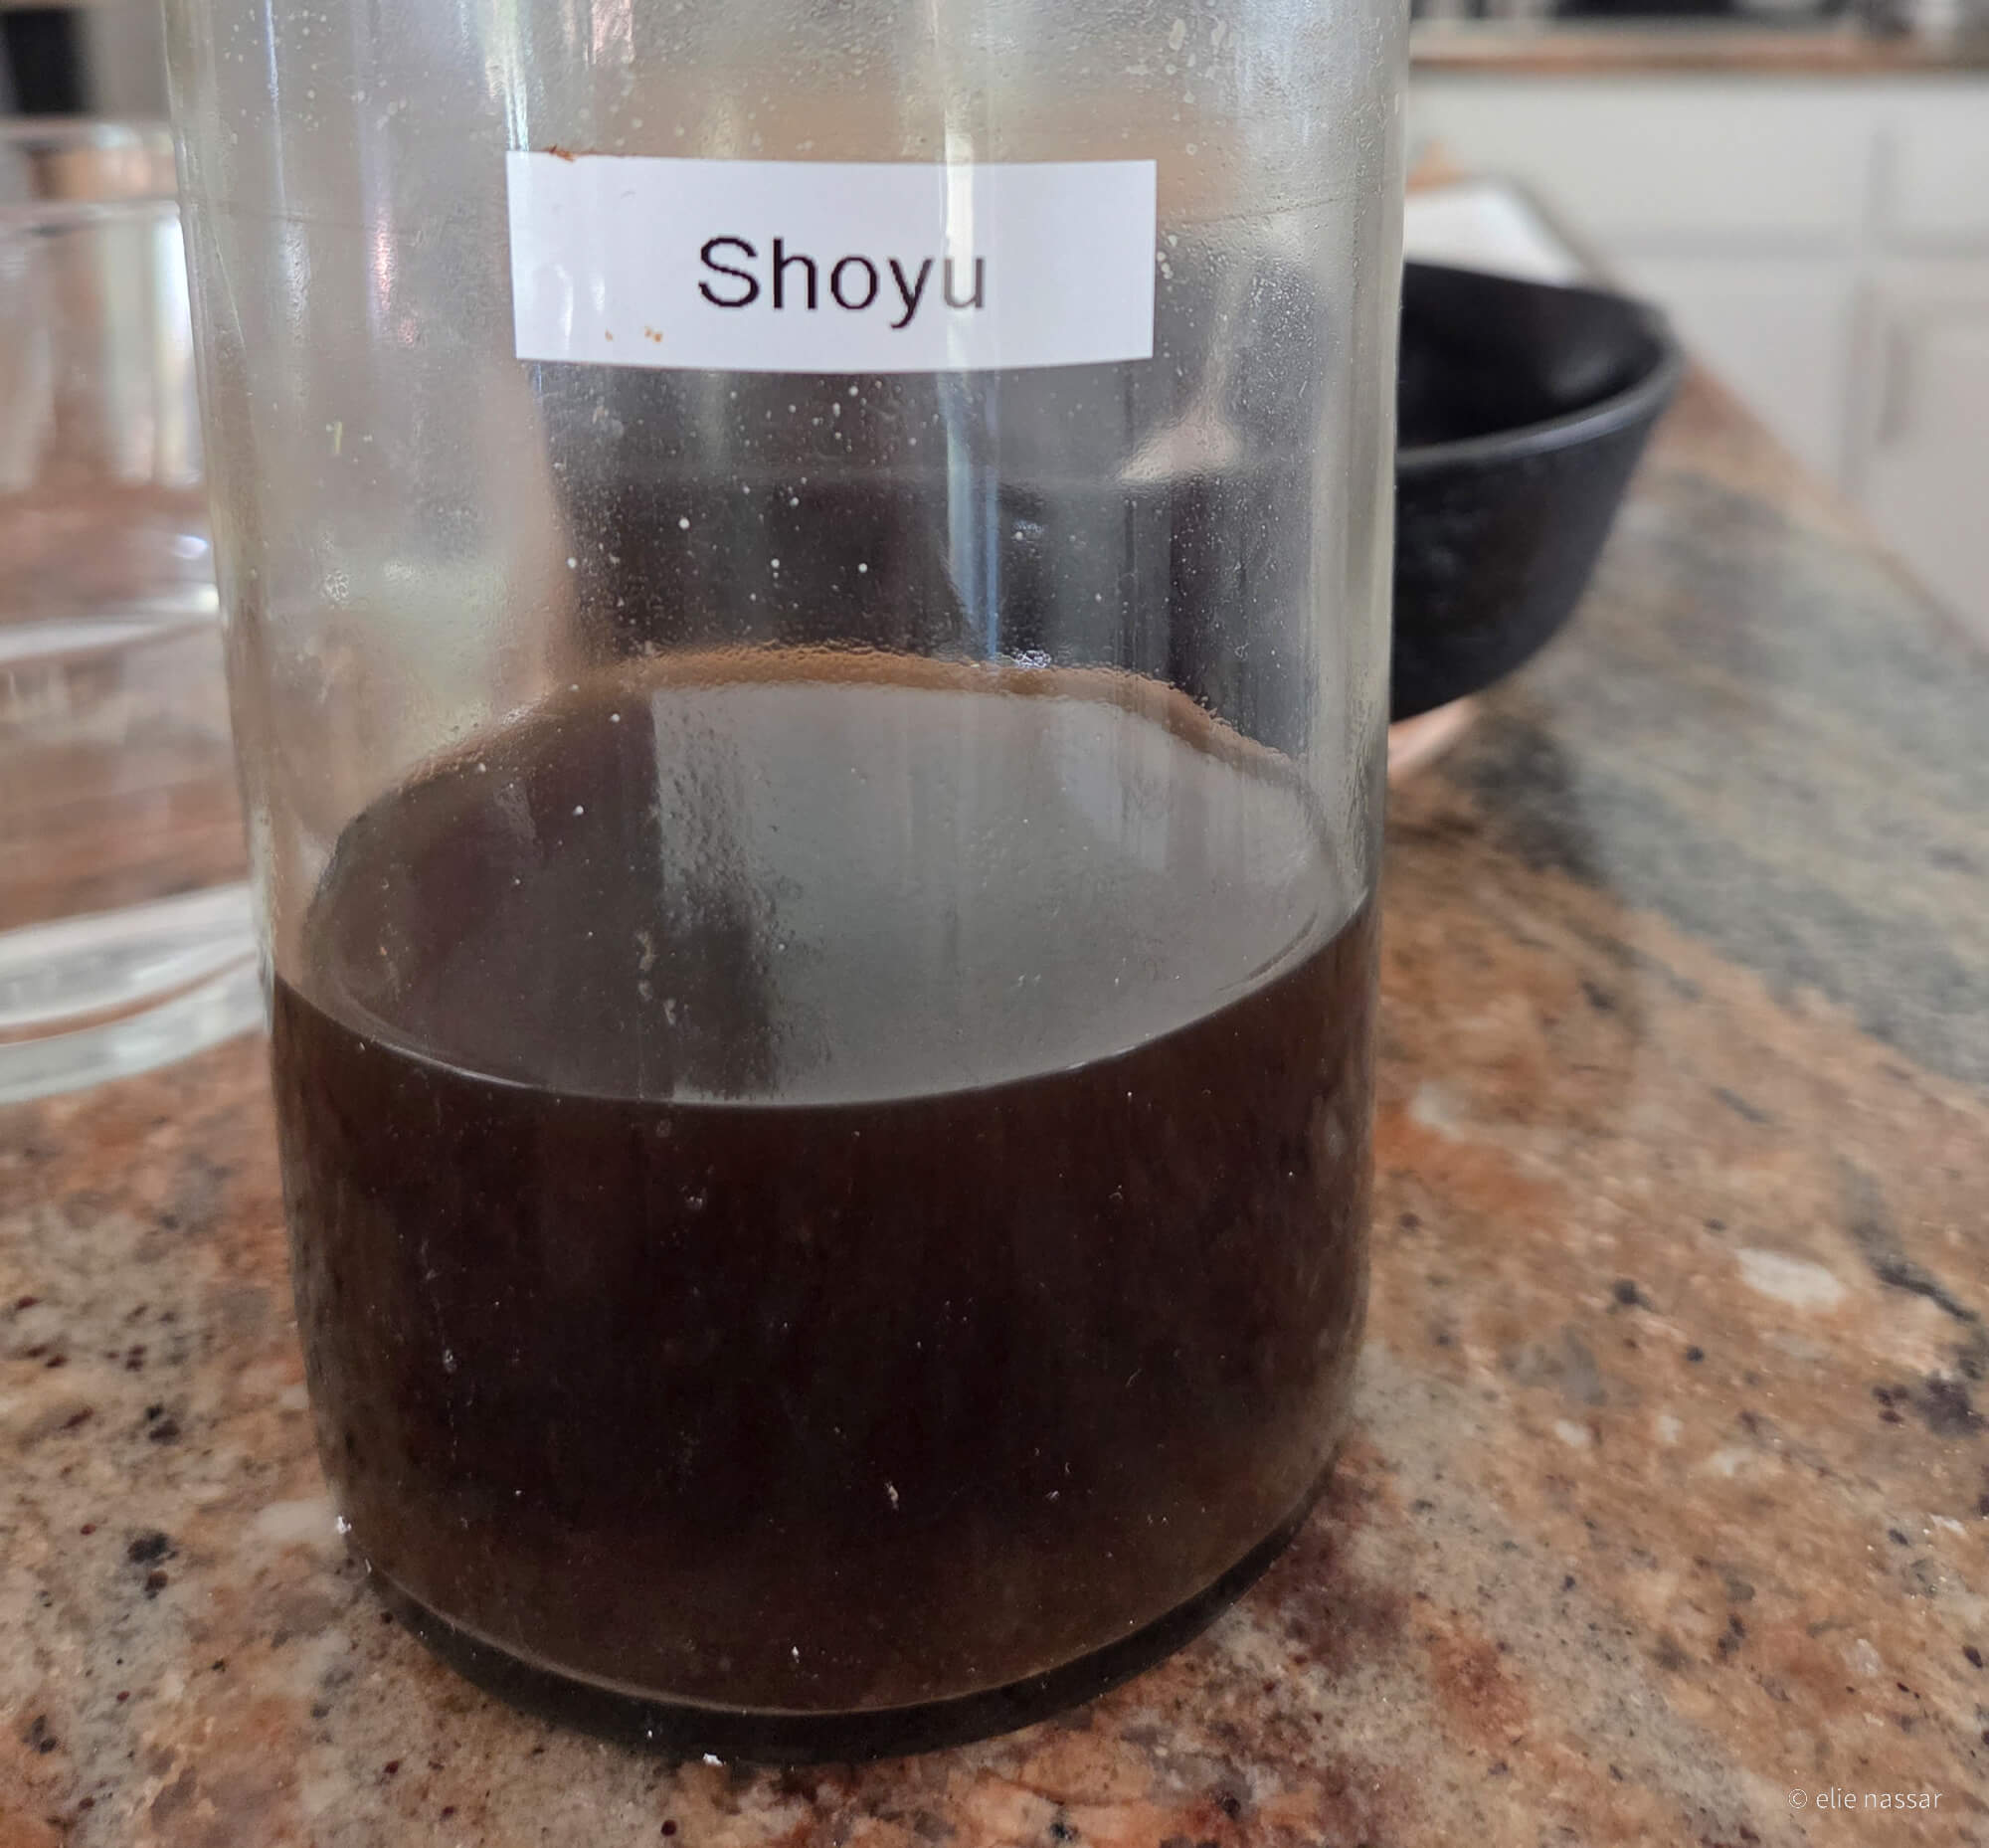
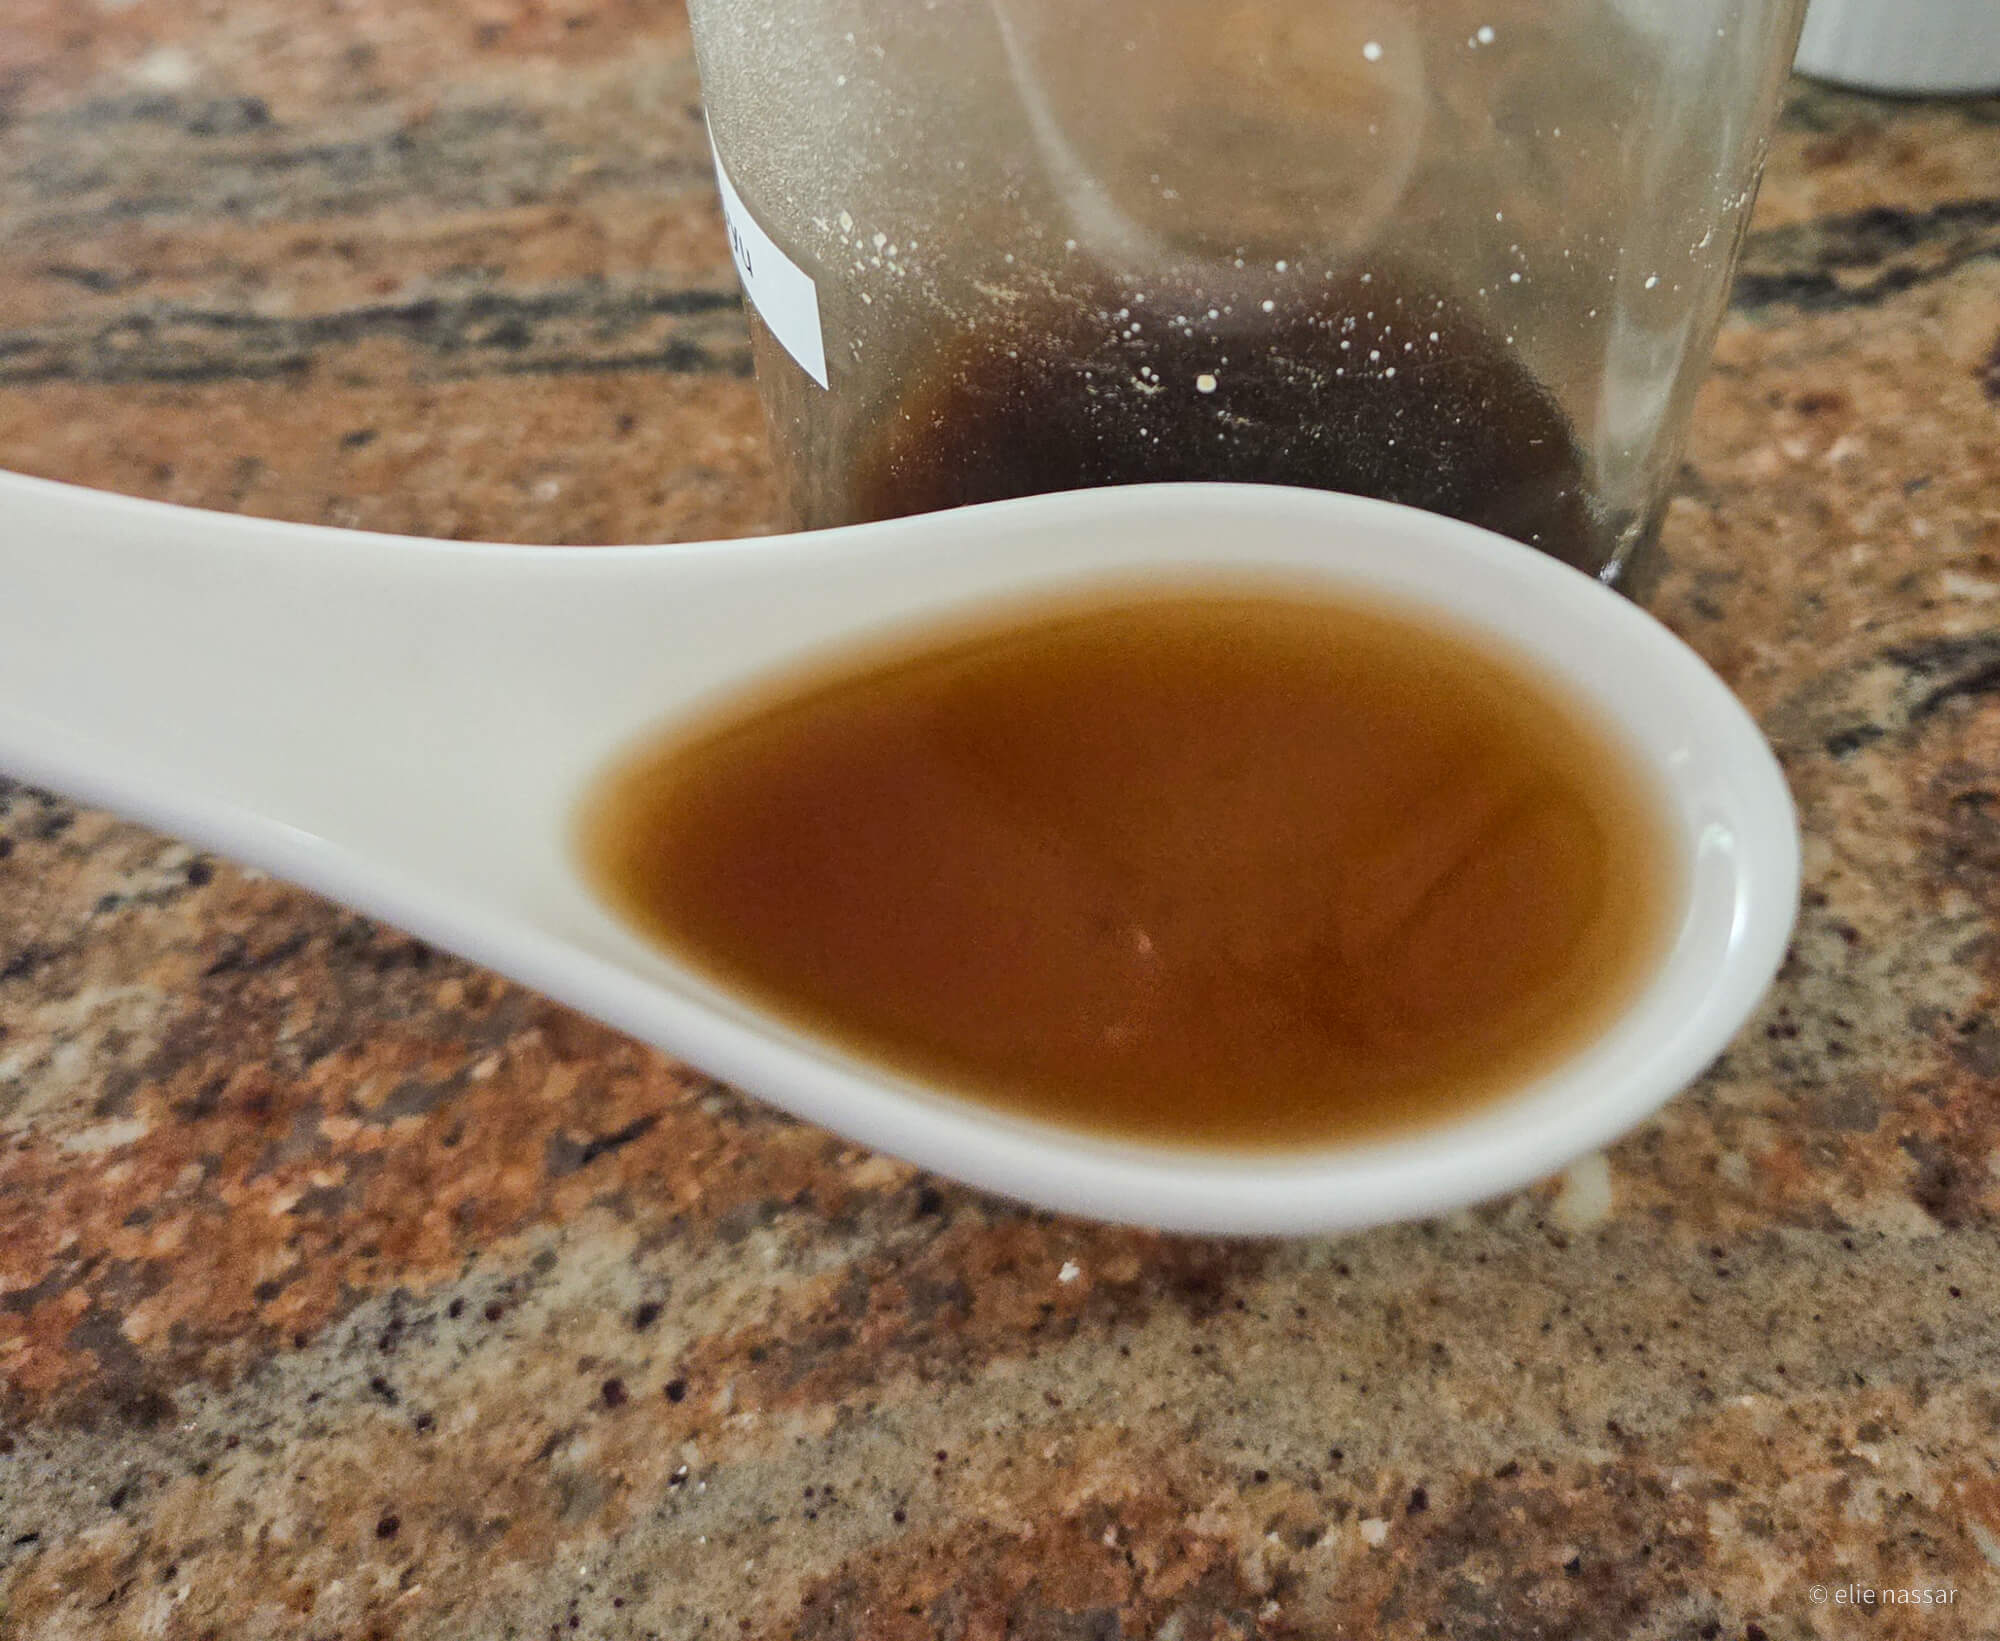
The initial shoyu flavor I would describe it as mostly like koji with salt and some umami in the background. Not bad, just felt like all my mistakes did not allow for this process to do its thing. It was also pretty beige in color. Not what I expected. So, I did more research on the web and watched a couple of YouTube videos. It really should be allowed to age and then see how it develops. Also, exposing the bottles to the sun will darken the color and also impact the flavor. I did just that. Left the bottles by the window sill for a few weeks and sure enough, they do gradually darken. Not pitch black soy sauce color but more of deep brown. With age the flavor really came into balance. The saltiness is of course there, but also really nice savory notes, some sweetness in the end and a wonderful aroma when you open the bottle.
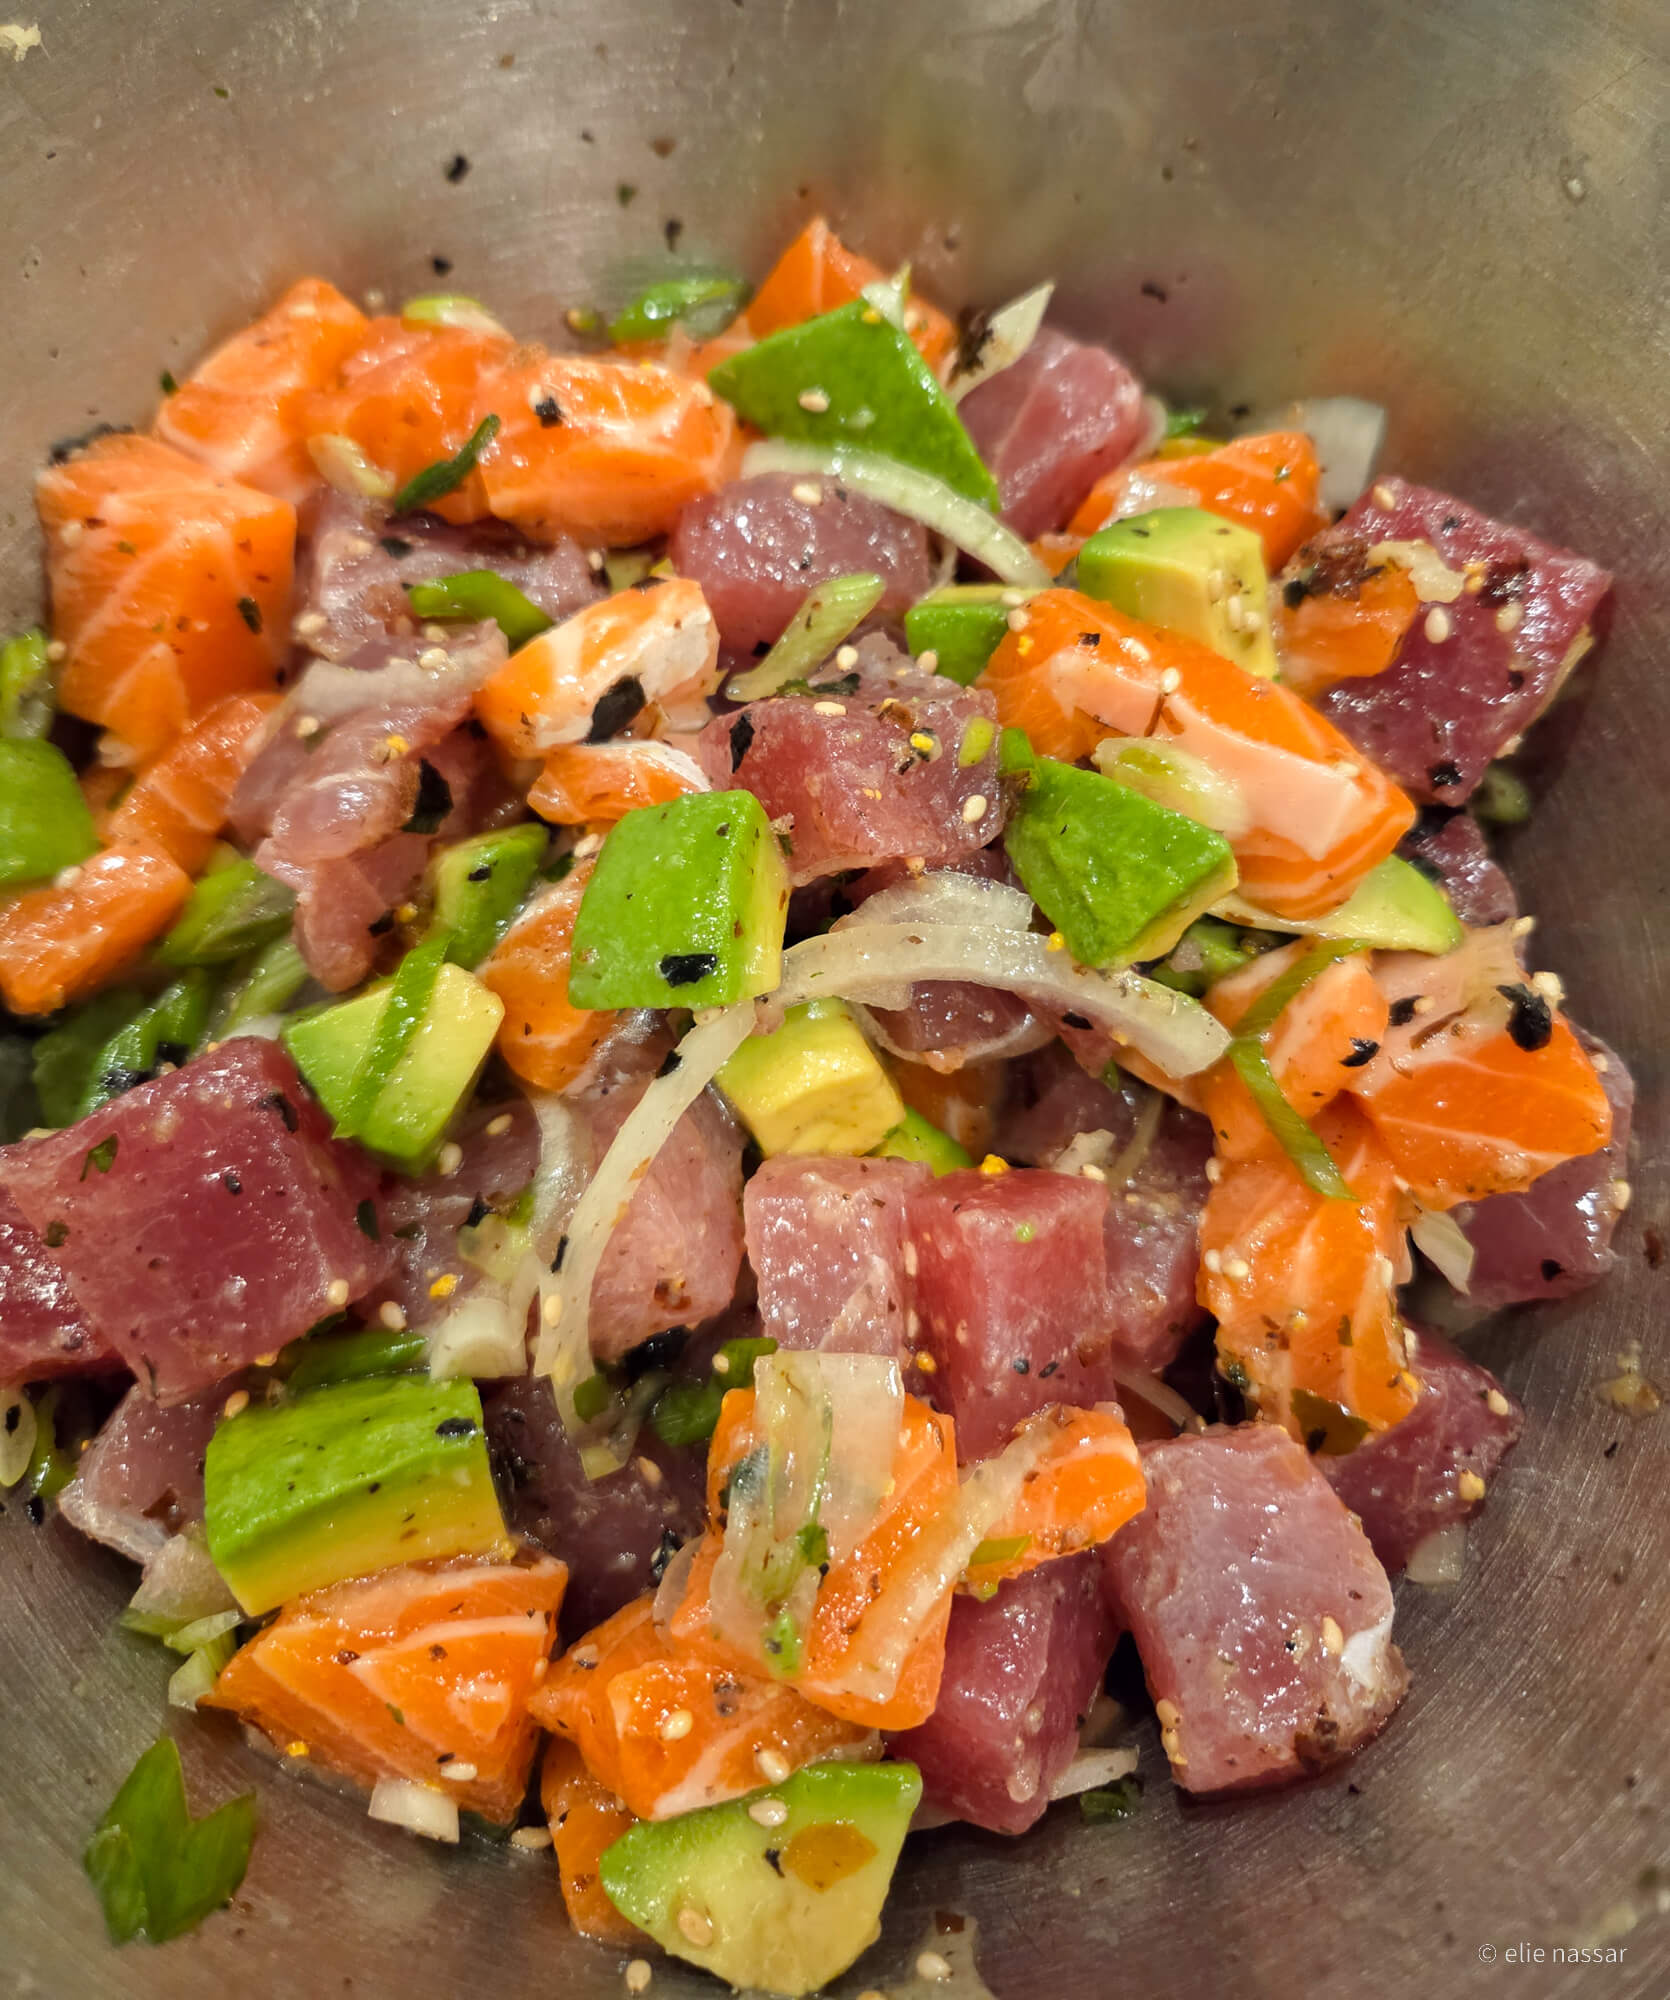
I use it mostly as a “finishing” sauce or when I really want to let it shine as a flavor. One great example is in a tuna or salmon poke bowl. I can use far more of my shoyu than the recipe asks for and it does not overwhelm the fish. I also love drizzling on bowls of rice when I make katsu and it really works as a topping (along with green onions, garlic, ginger) for grilled steak. Speaking of sauces, I’ve been adding it to anything from salad dressing to red wine butter sauce to Hollandaise. Anywhere where you need a hit of savory complexity and some salt, add that shoyu.
This post feels like it is getting pretty long already. So, to wrap up, I’ll learn from the mistakes of the first shoyu try and hopefully get a better product with less fuss.