
Summer is here but when it comes to ice cream, does that really matter? No matter the season there is always a batch or 3 of homemade ice cream in my freezer.
Impatient? Skip to the recipe.
I’ve been making ice cream at home for over 20 years and there are a ton of variations with how you can go about making the base for this dessert. At its core, ice cream is basically a mixture of dairy, sugar and flavoring that is churned to freeze and to add another ingredient – air. Sounds simple, and it is, but as with most things that are “simple” in the kitchen, the difference between decent, good and great lies in the details.
There is a lot of science and a lot of very good books (some of them very “nerdy” that I love) on the topic of ice cream and frozen desserts, but in short the goal is to have it sweet but not cloying, creamy but not so rich that the flavors are muted and to really help with the texture we want to have tiny imperceptible to the tongue ice crystals in the finished frozen ice cream. Have you ever had an ice cream that was clumpy, crunchy and watery tasting? These are those notorious large ice crystals. It’s also the hallmark of very cheap ice cream with up to 100% overrun, meaning it has as much air as actual product, so a 500 gr tub of this stuff is 250 gr of air. Not very good.
Different ice cream formulas tackle these problems by formulating the ice cream base recipe with some or all of the following:
- Sugar! Yes, it’s for taste and sweetness but also a requirement for a proper texture.
- Using egg yolks in the base to make a custard.
- Using different types of sugar to reduce crystallization.
- Adding a stabilizer of some type (starch, hydrocolloid, gelatin,…)
- Chilling (aka “curing”) the ice cream base for at least 8 hours in the fridge.
- Adding some alcohol to the mix (Bourbon, Rum, Vodka,…) to lower the freezing point slightly and help with making the ice cream scoopable right out of the freezer.
In this post I’m pretty much doing all of the above to get the best ice cream possible at home and one that rivals many premium brands. I do that while using a simple home ice cream maker, specifically the Cuisinart Stainless-Steel Ice Cream Maker, where you need to freeze the bowl in the freezer for 8 hours before churning. Mine always stays in the freezer in the garage ready to go. More fancy and expensive ice cream makers have built in freezers that do not require this “freeze the bowl” step. But, I do not have one of those …for now.
What about those “no churn” ice cream recipes? I am not a fan. Some make a decent frozen dessert, but none are as good as properly churned ice cream.
I’ll include a summary and a list of the main references for these ice cream recipes as I’m doing below. As always I highly recommend these books if you want to learn more about the topic.
Ice Cream Formula Summary:
- Base: Custard with egg yolks
- Stabilizer: Ice cream stabilizer (purchased online)
- Glucose syrup in addition to sugar (sucrose) makes for a better texture
- Cooking method: stove top or using an immersion circulator (“sous vide”)
Adapted from and/or Inspired by:
- Hello, My name is Ice Cream by Dana Cree
- The Perfect Scoop by David Lebovitz
- Under Pressure by Thomas Keller
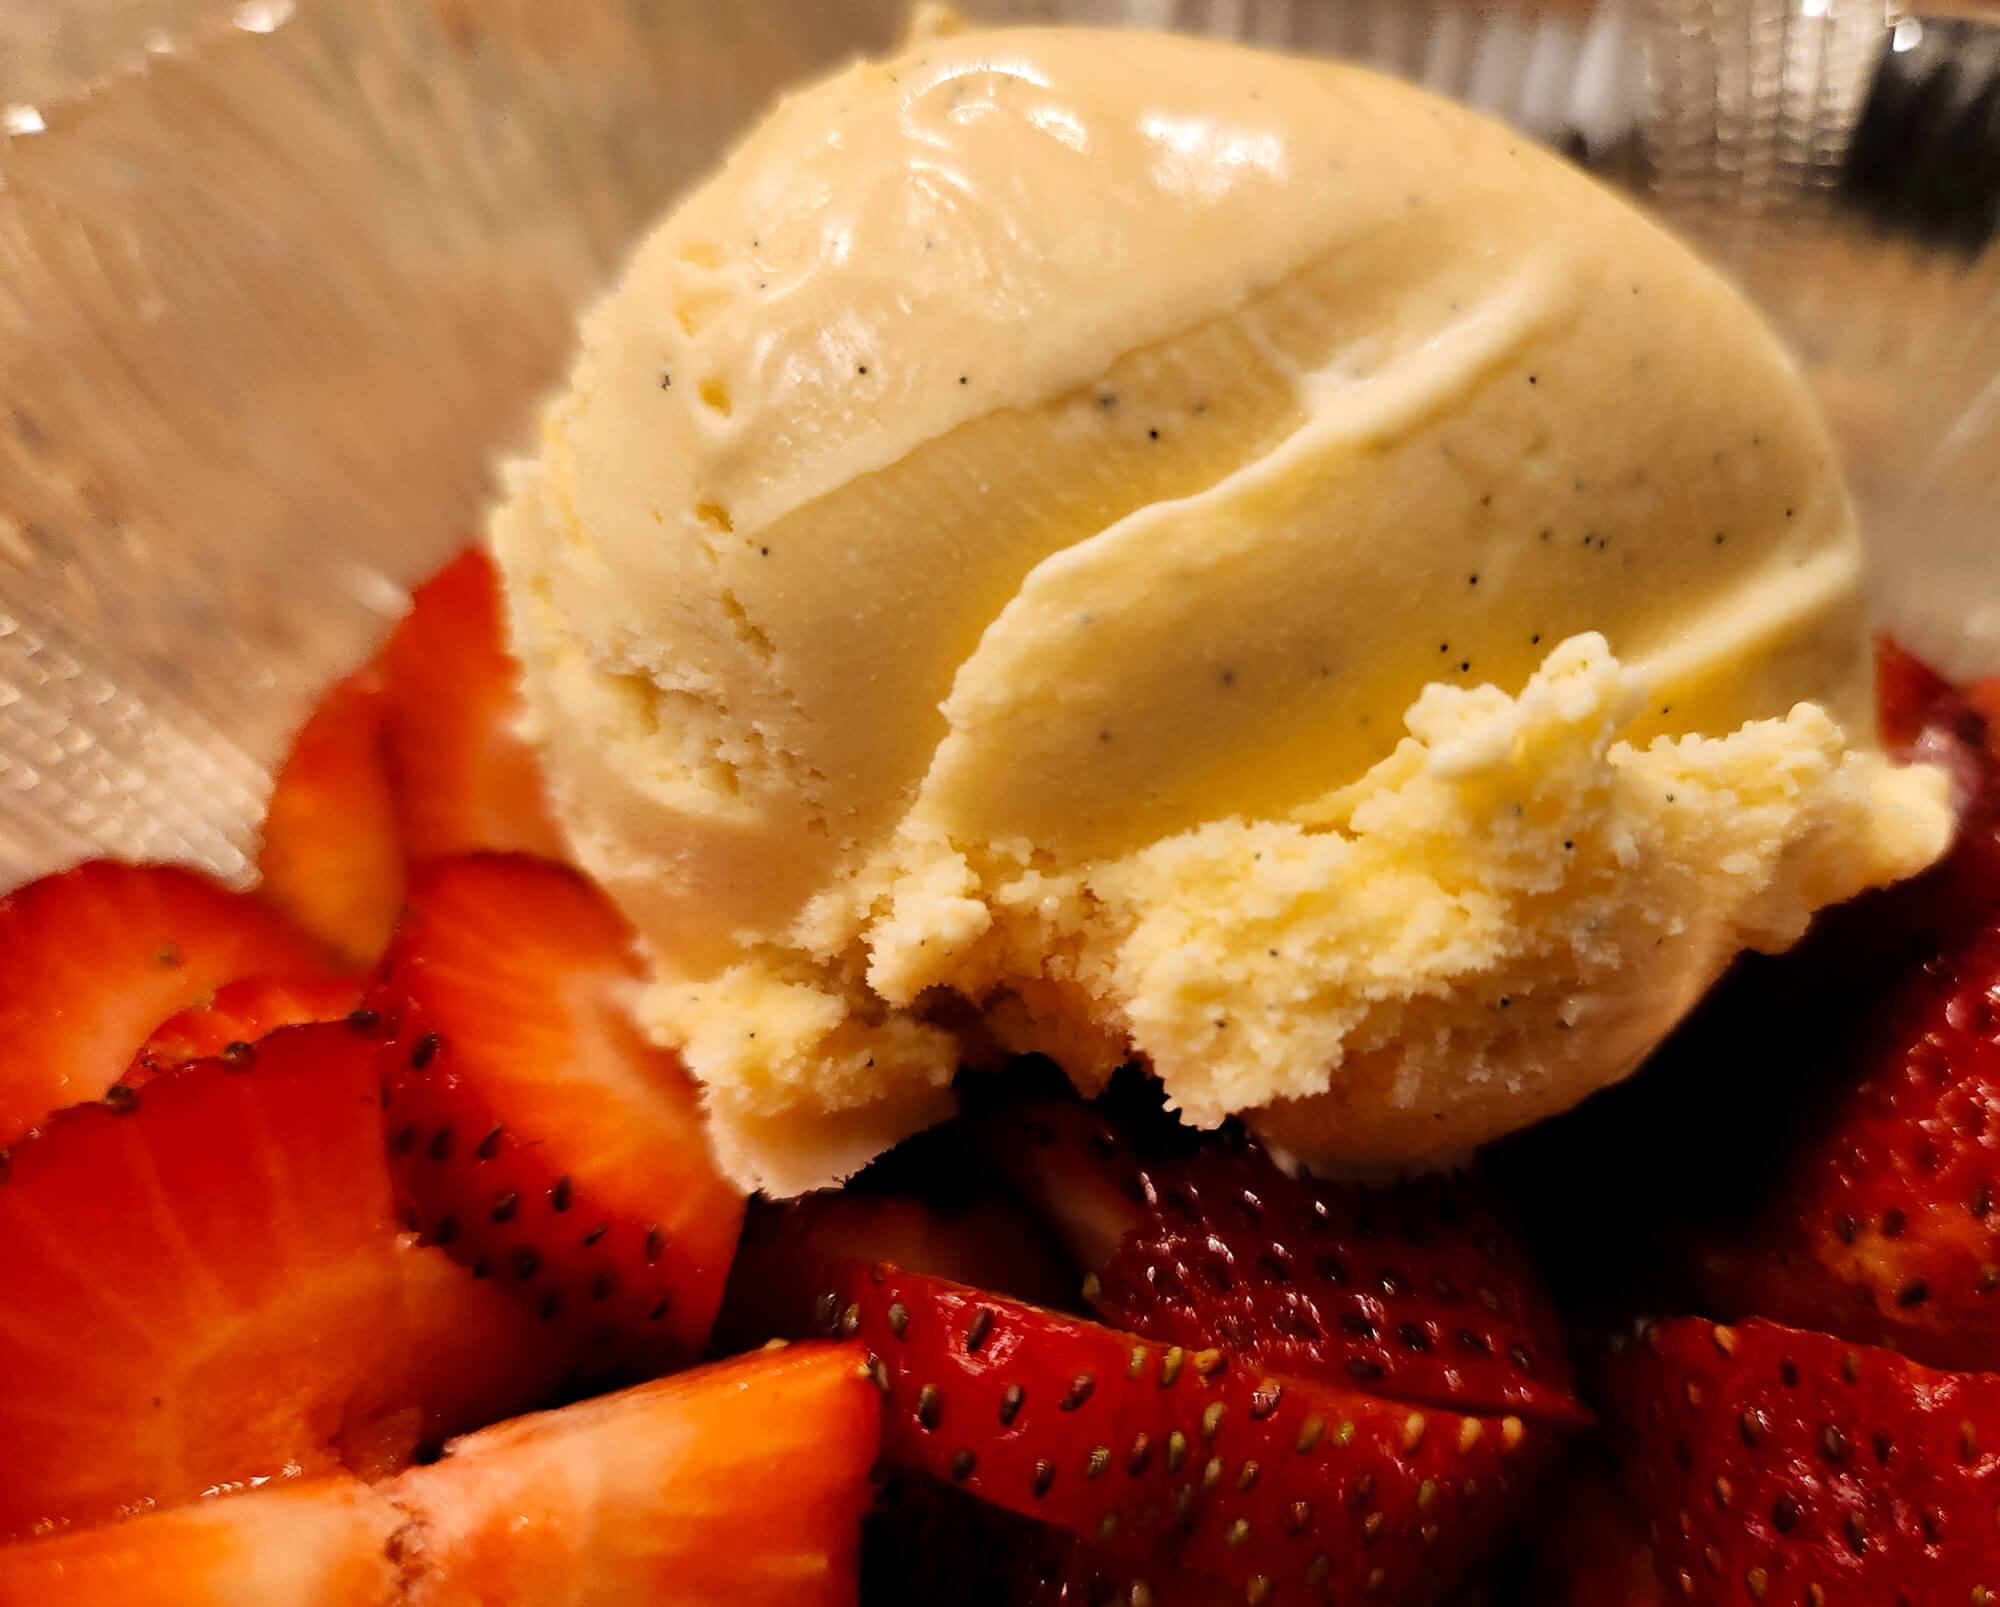
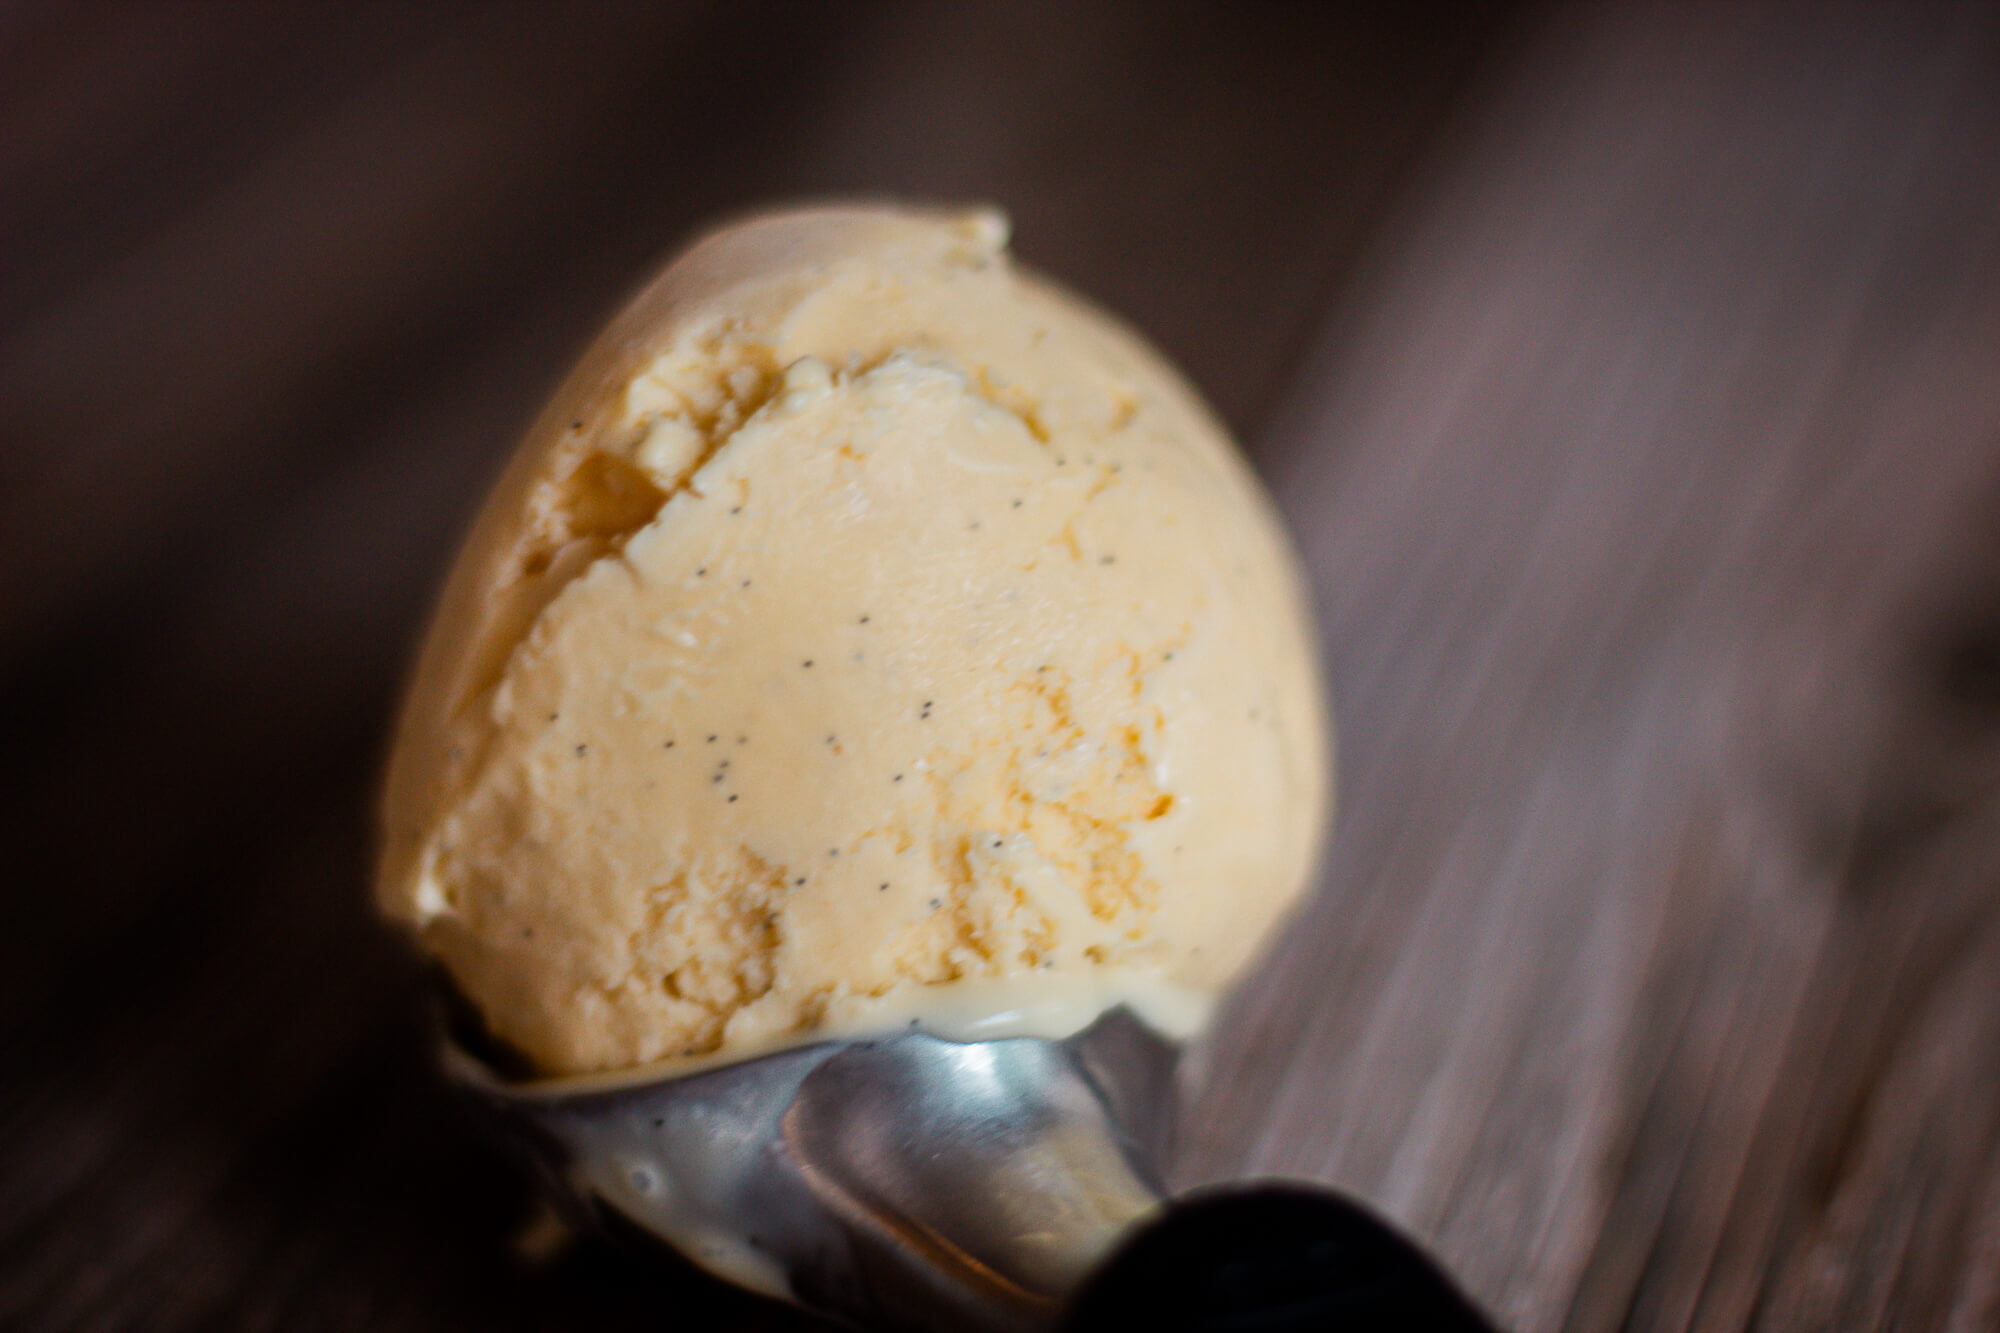
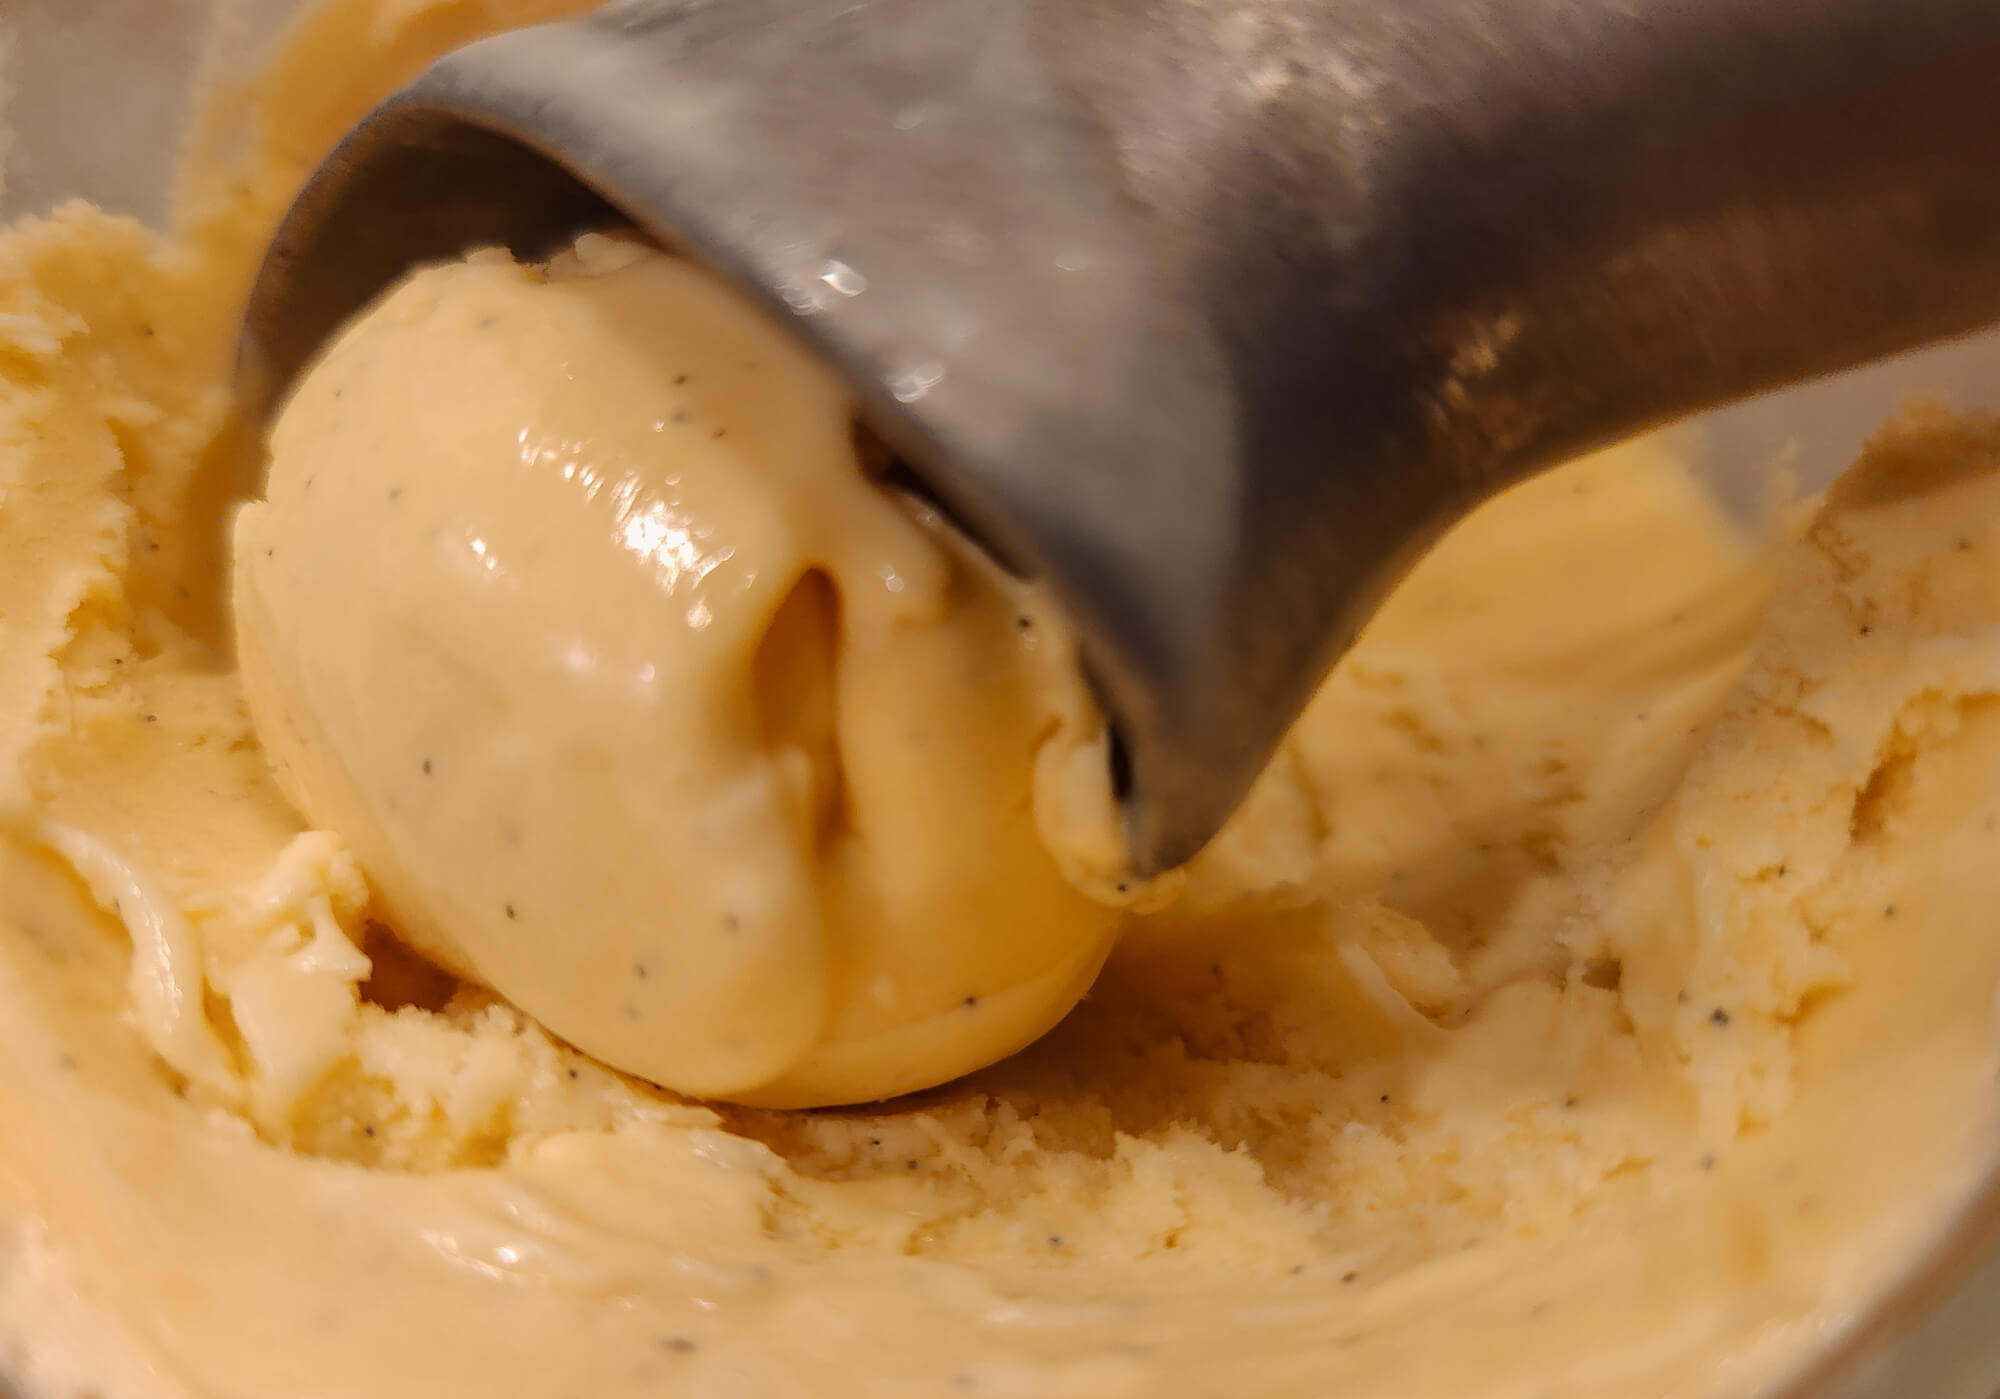
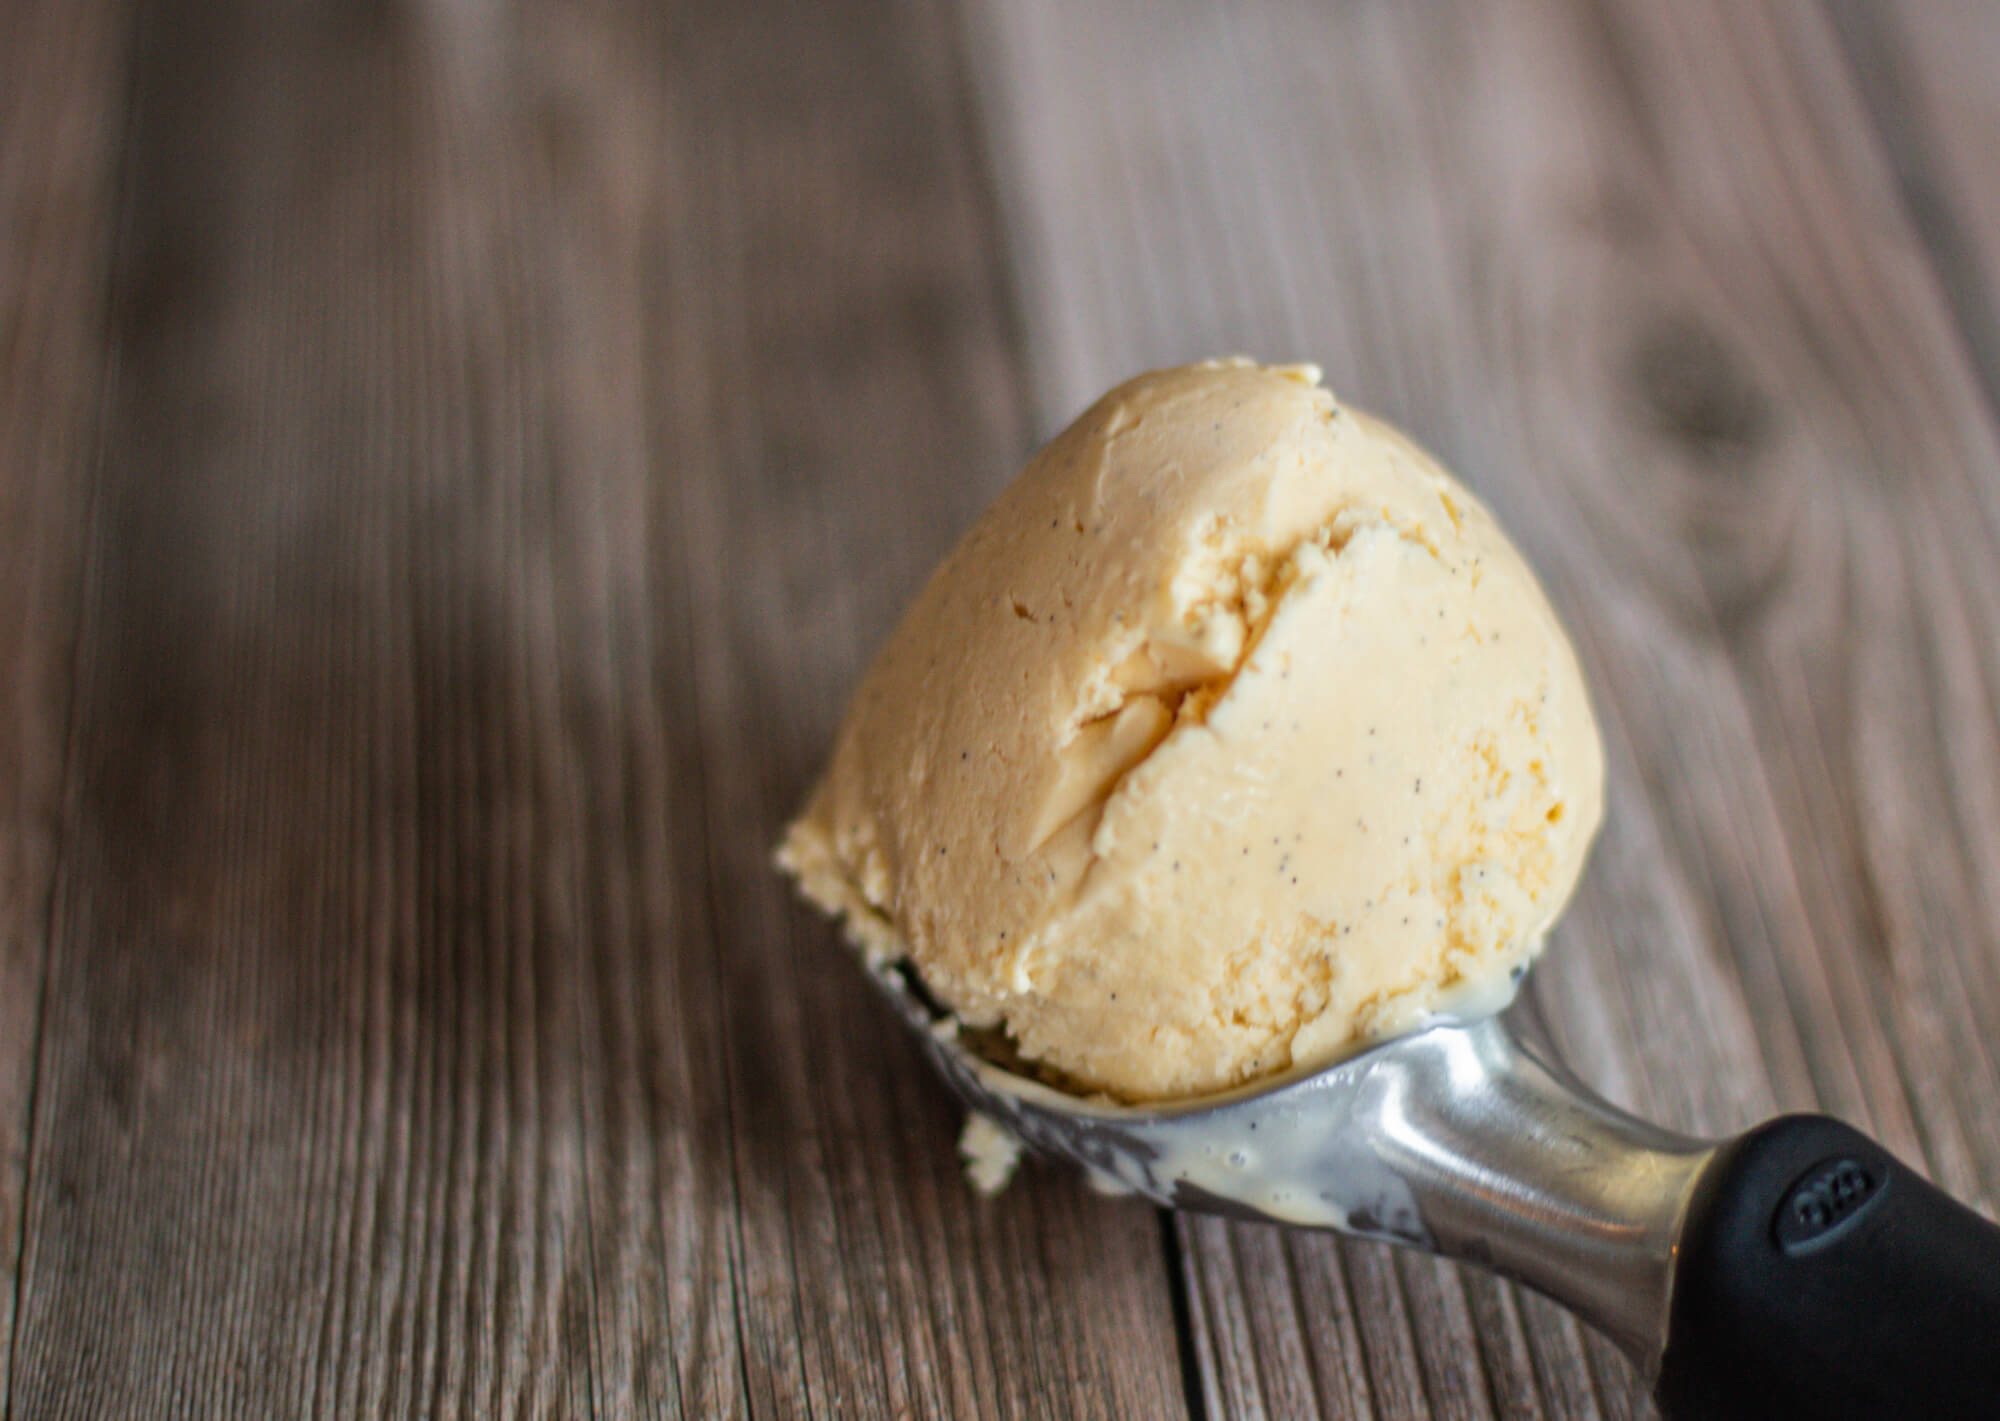
Vanilla Ice Cream: Custard Base
Ingredients
Equipment
Method
- In a pot mix the milk and the cream with the glucose (if you are using it) over medium heat. Mix the sugar with the stabilizer if you are using it and add to the dairy mixture in the pot. Keep whisking and making sure the mixture does not scorch or boil over. As soon as it comes to a simmer remove it from the heat.
- Cut each vanilla bean in half lengthwise and scrape the pulp with the tip of a knife. Add the beans and the pulp to the dairy mixture and let everything infuse for at least 30 minutes, but it can infuse for a couple hours too. If you are using vanilla extract, WAIT and add that all the way at the end.
- Remove the vanilla pods and squeeze them well to extract every bit of flavor from them. Bring the mixture back to a simmer. In a bowl, whisk the egg yolks very well. Add a small ladle (about 1/3 cup) of the hot dairy mixture while to the yolks while whisking. Add 3 or 4 more ladles of dairy to the yolk whisking all the time. This is called tempering and the goal is to start heating up the yolks but not scramble them. When about half of the dairy mixture is added to the yolks, pour the yolk-dairy mixture back into the pot and place over medium heat. Keep whisking or stirring with a spatula all the time until the mixture hits about 180F on a thermometer, it should thicken and coat the back of a spoon.
- Place a fine sieve over a bowl and strain the custard through it. You will notice some solids in the sieve. these are tiny pieces of cooked egg and we do not want them in the ice cream. Add the vanilla extract if you are using that. Cover the bowl and refrigerate the custard for at least 4 hour, but really 8 or even 24 hours is better. Now the custard is ready to be churned into ice cream.
- Place all ingredient in a blender EXCEPT for the vanilla beans. If you are using the vanilla extract, add that to the blender as well. Blend very well using medium speed to get a smooth and homogenous mixture.
- Pour the custard into a bag for sous vide. Cut each vanilla bean in half lengthwise and then across a couple of times to get 16 pieces total. No need to scrape the pulp out. Add the cut up vanilla pods to the bag. Seal the bag.
- Heat a water bath with an immersion circulator to 85 C. Add the bag with the custard mixture and then drop the temperature to 82 C. Cook for 25 minutes. Every 10 minutes or so, move the bag around a bit to agitate the mixture for a more even cook. Remove the bag and cool it in an ice water bath, moving it around every so often for an hour or so to chill it.
- Refrigerate the custard in the bag for at least 4 hour, but really 8 or even 24 hours is better.
- Place a fine sieve over a bowl or pitcher, open the bag and strain the custard through the sieve into the container. You will notice some solids in the sieve. these are tiny pieces of cooked egg and we do not want them in the ice cream. Now the custard is ready to be churned into ice cream.
- Churn the ice cream in your ice cream maker following its manufacturer instructions.
- Store in an airtight container in the freezer with a plastic wrap or wax paper on the surface to limit dryness. Usually the ice cream maintains it's quality for up to a month depending on the freezer conditions.

